


Wooden Growth Chart
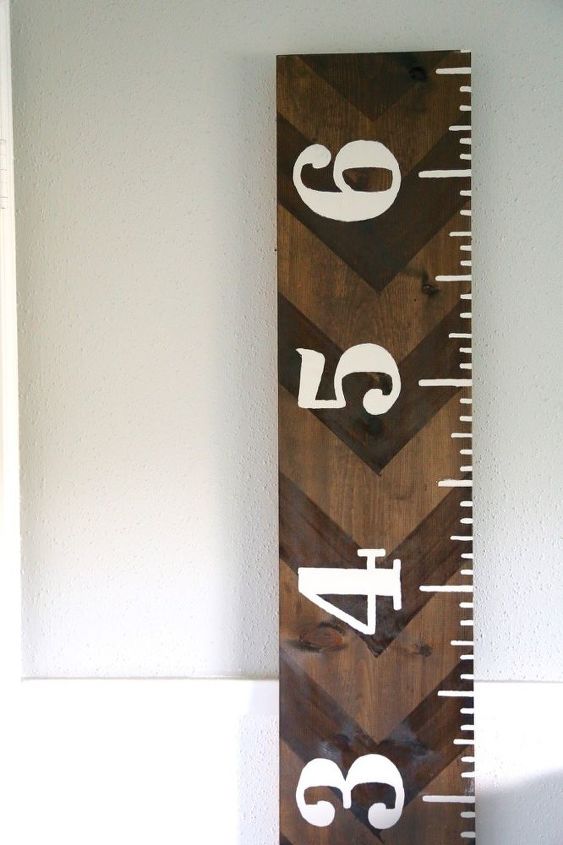
We made this incredibly simple DIY growth chart to keep track of how quickly our toddler is growing without leaving permanent marks on our walls. We wanted something we could easily bring with us when and if we move, and we love how this one turned out! It's very, very easy to make and looks adorable in the room! You can see all of the details and a few more photos on my blog post.
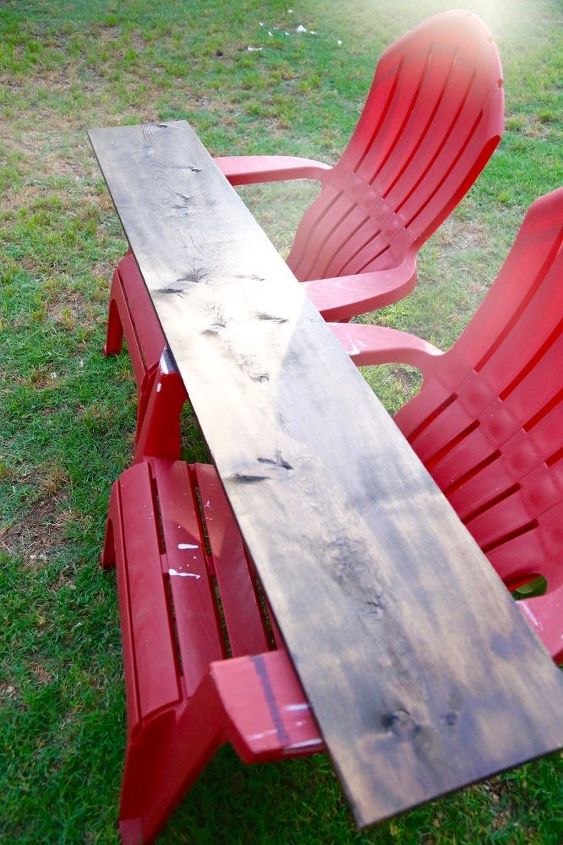
Our first step was buying a 6-foot long board and staining it.
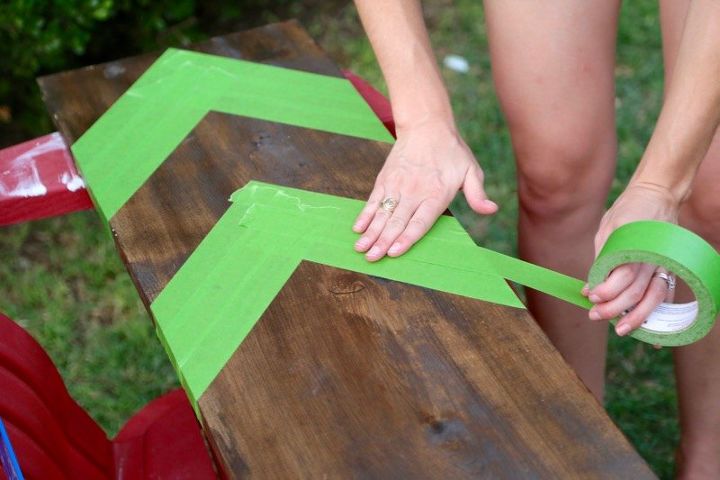
Once the first coat of stain was dry, we taped off the chevron stripes. We marked the top points and the points on the side by using a square to make sure our angles were precise (more details in the blog post.on how we marked it). Once we had all of our marks on the board, I just connected the dots with tape and made sure everything was completely covered within each stripe.
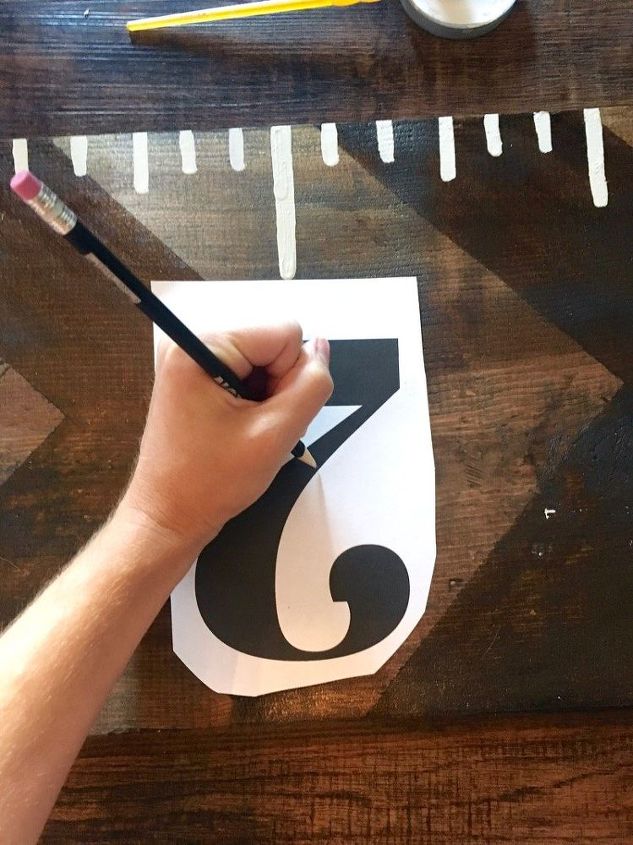
Once the stripes were completed and dried, we used white latex paint to add ruler marks along one side. Then, I printed out numbers for the board and used a pencil transfer technique to get a clear outline on the board that I could then fill in with my paint.
Once it was complete, we used some scrap wood to create a french cleat to hang it on the wall. We have trim around the walls in his room, so we needed it to sit away from the wall - the top has a french cleat for hanging and the bottom of the board has a piece of scrap wood attached as a spacer.
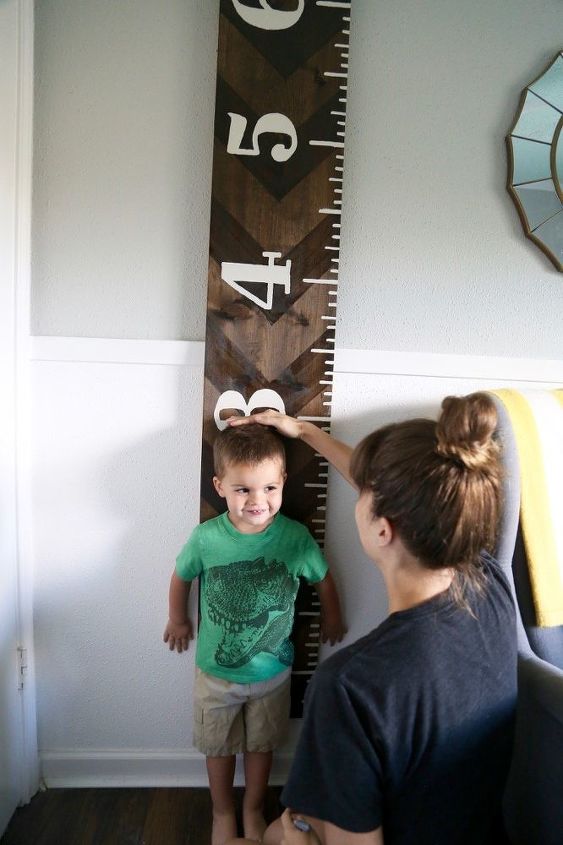
That's all there is to it! We use a silver metallic Sharpie to track our son's growth on the chart, so it's nice and easy to just grab and mark whenever we want.

Want more details about this and other DIY projects? Check out my blog post!
Comments
Join the conversation
2 of 19 comments
-
I love that you made it with the chevron detail!
-
What a keepsake! I love it! Your grand kids could be measured on it too!


Frequently asked questions
Have a question about this project?