


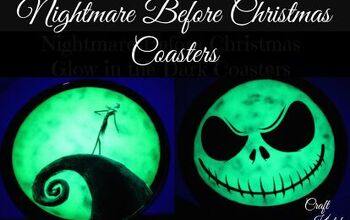
DIY Photo Coasters

by
Katie Surly
Cheap, but thoughtful. Photo coasters.
What to do:
1. Choose your photos.
2. Depending on the size, trim your photos to the size of the tile.
3. Brush a layer of Mod Podge on the tile. Place the photo on the tile, then brush a smooth layer to the top of the photo.
4. Give it some time to dry, then spray the enamel over it.
Estimated time: 10 minutes
These would be a great addition to any Christmas present! I saw some on Pinterest with scrapbook paper, but thought these added a personal touch.

Want more details about this and other DIY projects? Check out my blog post!


Frequently asked questions
Have a question about this project?