


How to Host Your Own Paint Party, Even If You Can't Paint!
7 Materials
Have you heard of "Paint and Sip" parties? They basically involve drinking wine (or coffee) while an instructor takes you step by step through the process of making your own work of art. It's a fun way to hang out with your friends, while being creative, and they make a great excuse for downing some yummy party food and drinks! They can be a little pricey though, so here's how to host your own, complete with step by step Aspen Trees painting project!

Step 1: Put on a party! You know how to do that, right? Gather some yummy finger foods and fun drinks, throw together some colorful decorations, and invite your friends. Aside from the food and drinks, you'll need some art supplies.
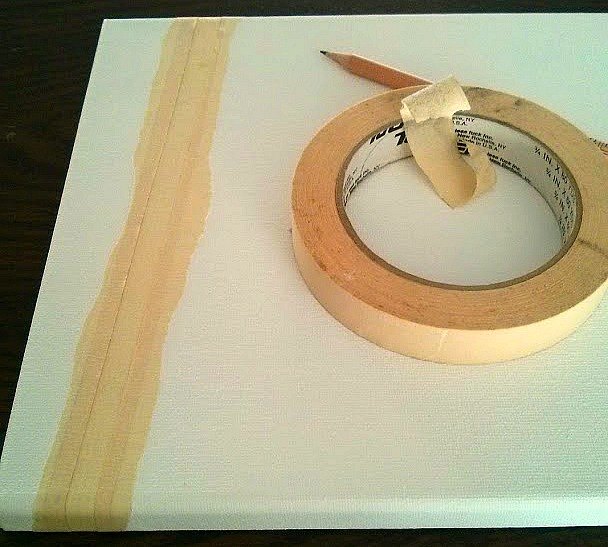
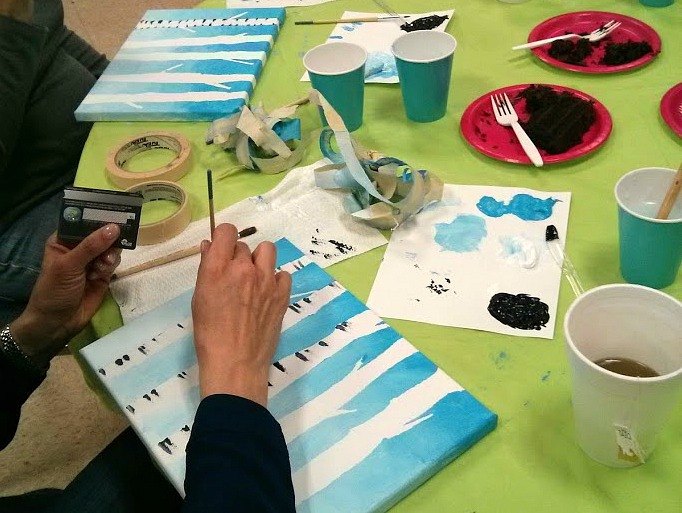
After everyone's had a chance to grab some party snacks and a drink, it's time to get to work on our aspen trees! First, use the masking tape to make tall vertical tree trunks.
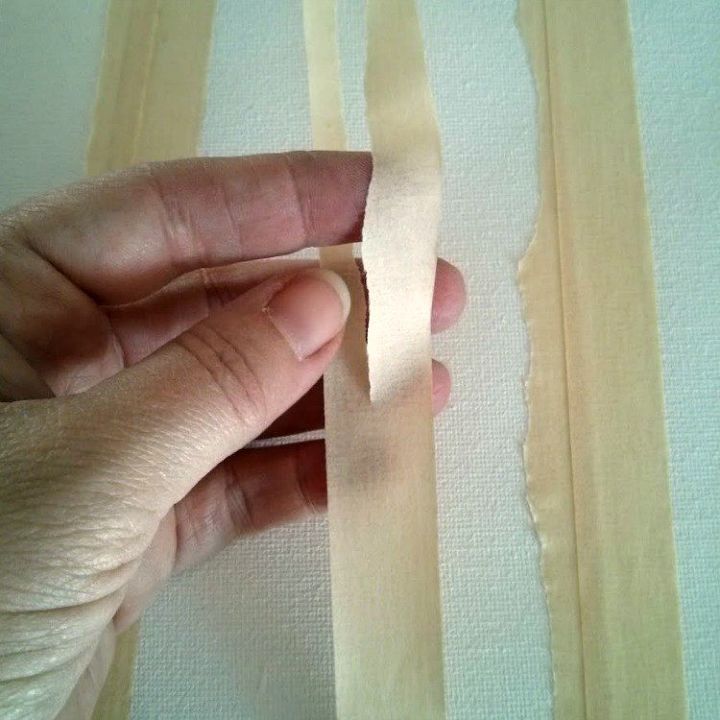
You can tear the tape down the middle, so your lines aren't too straight and they look more like natural wavy trees. Apply the torn side to the outside edge of the trees.
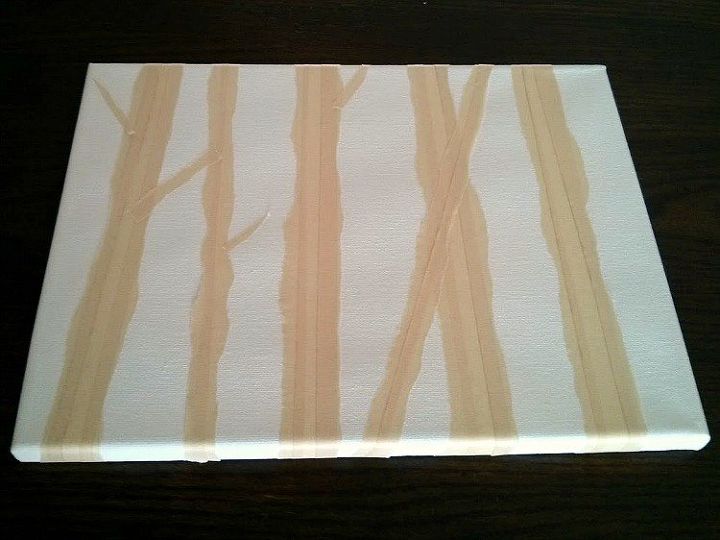
Tear off a few small strips of tape to add branches here and there. Consider adding a leaning tree or two, as you'd probably see in a real forest of aspen.
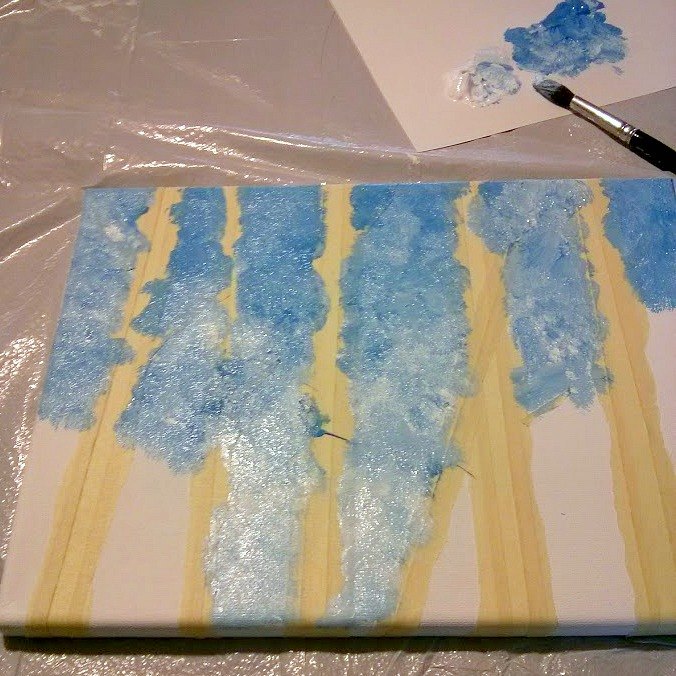
Once you like your tree design, start adding blue paint. With your large paintbrush, dab Cerulean blue along the top edge of the canvas. Work your way down the canvas, mixing in a little more and more white as you go. This is because the sky is naturally a darker blue at the top and less saturated at the bottom near the horizon.
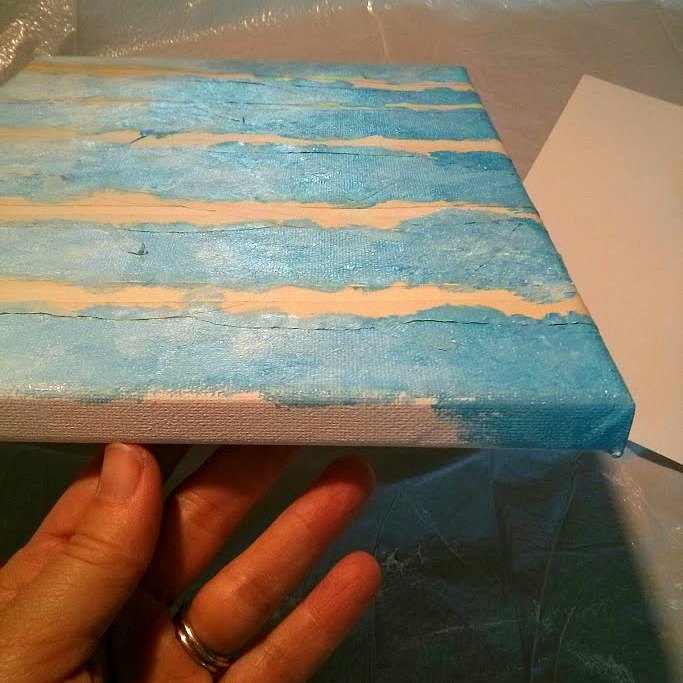
Be sure you paint the edges of the canvas as well, so you can hang it on the wall without the need for framing.
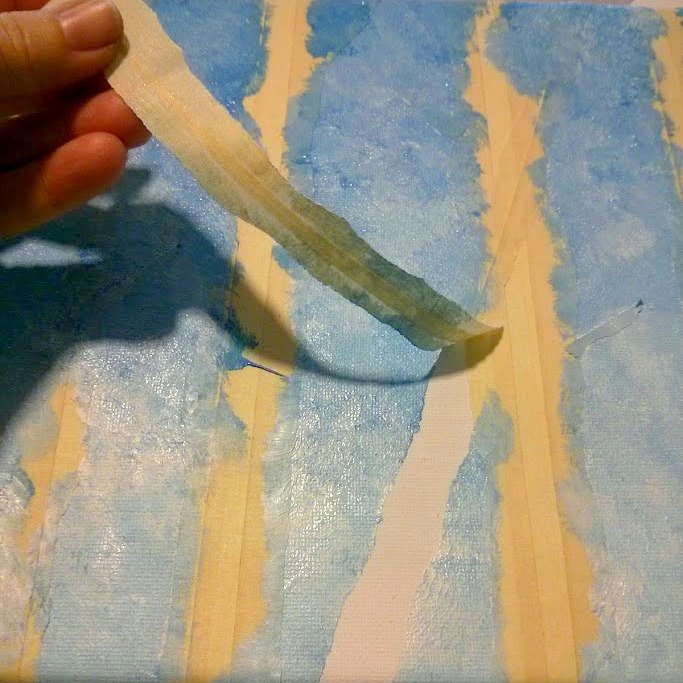
After you've covered the whole canvas with paint, carefully lift up the masking tape while the paint is still damp.
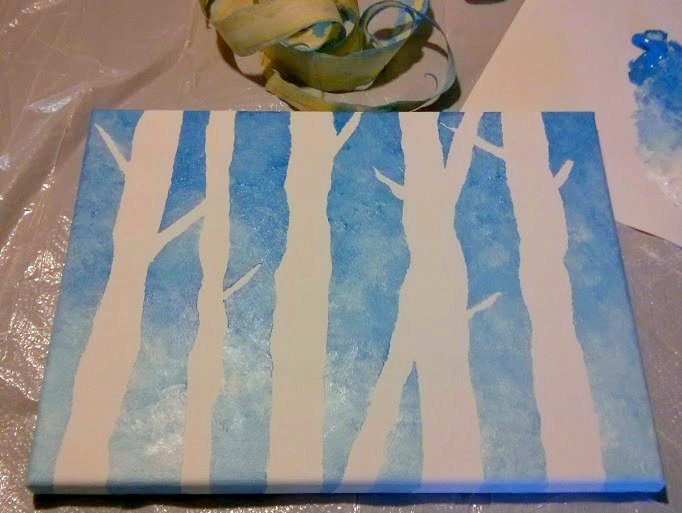
Those trees look pretty good! You can leave them as simple silhouettes, or you can go on to the next step to add the bark texture.
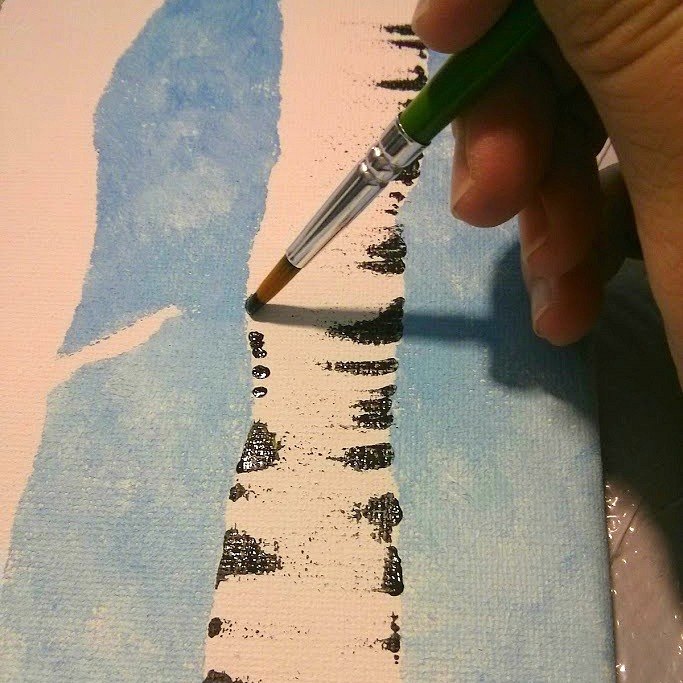
Along the outside edges of the tree trunk, dab a few small dots of black paint in a random pattern. (If you apply the dots too evenly, your trees will look like zebras!)
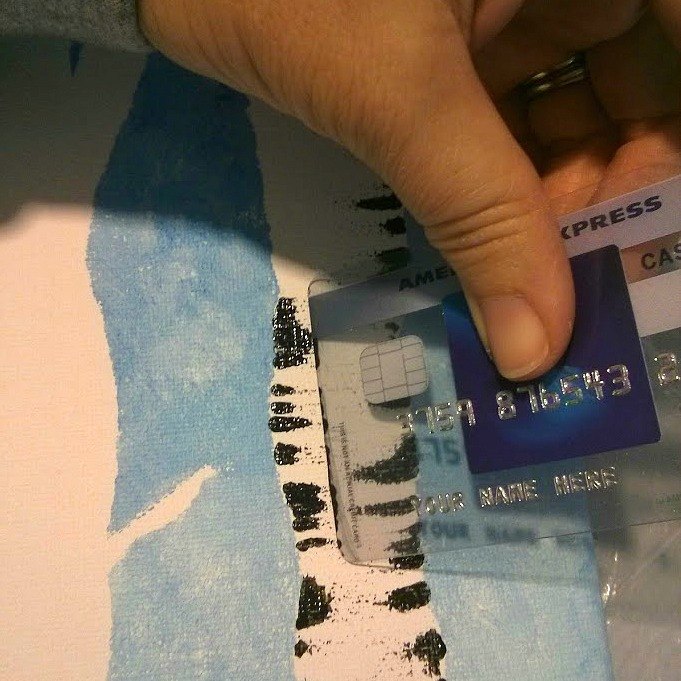
Using a credit card or library card, drag through the black paint toward the center of the tree trunk. This creates a broken, uneven stripe that looks more like natural bark.
With a little chocolate cake, and some good friends, art takes on a whole new life!
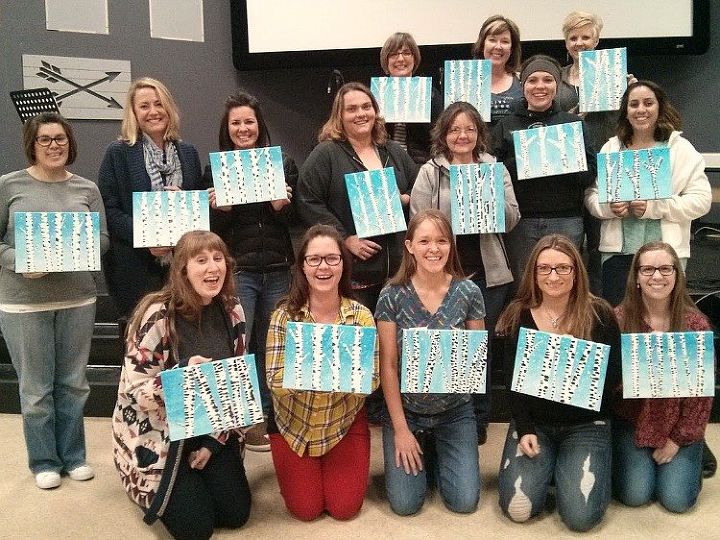
These ladies are already asking me when the next paint party will be. Give it a try with your friends. I know there will be lots of laughter and fun, and they'll surprise themselves with their hidden talents!

Want more details about this and other DIY projects? Check out my blog post!
Comments
Join the conversation
2 of 38 comments
-
I had my daughters bridesmaids paint a picture of something that reminds them of her. They were nervous, but once they got started, WOW! Now my daughter has 4x6 canvas memories.
-
Great idea thank you for sharing.


Frequently asked questions
Have a question about this project?