


Lavender Sachets
Once upon a time… it all started with a rain storm… seriously?? yep that’s what started this fun easy crafts project. Two days after the rain storm, we went to the Finger Lakes Lavender Festival in Skaneateles, NY. I started reading the right way to cut the lavender and the best way to dry it.
I started reading where the best spot to cut your lavender to in Fine Gardening ~ Pruning Subshrubs.. it was really very helpful for a newbie (that’s me!!) See my pictures below. I had 12 small bunches of lavender in my shed drying out for 1 month.
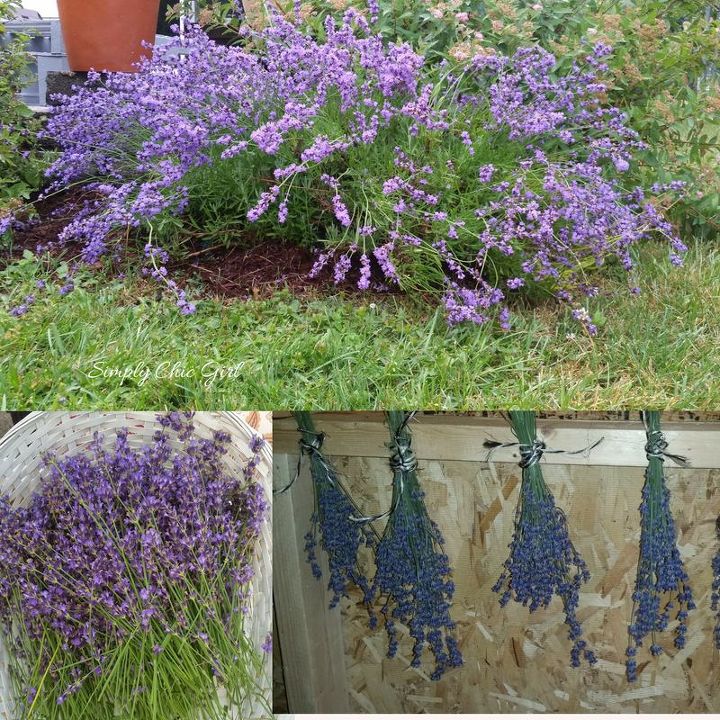
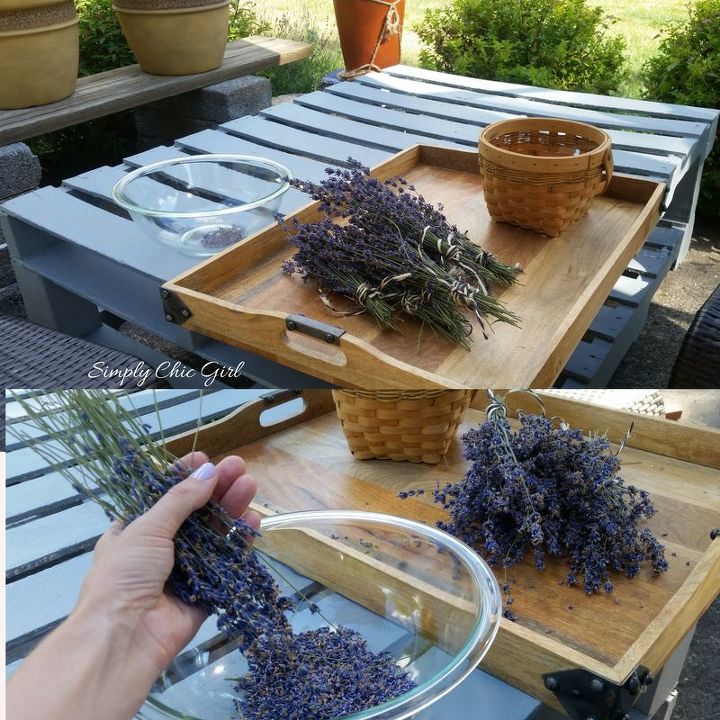
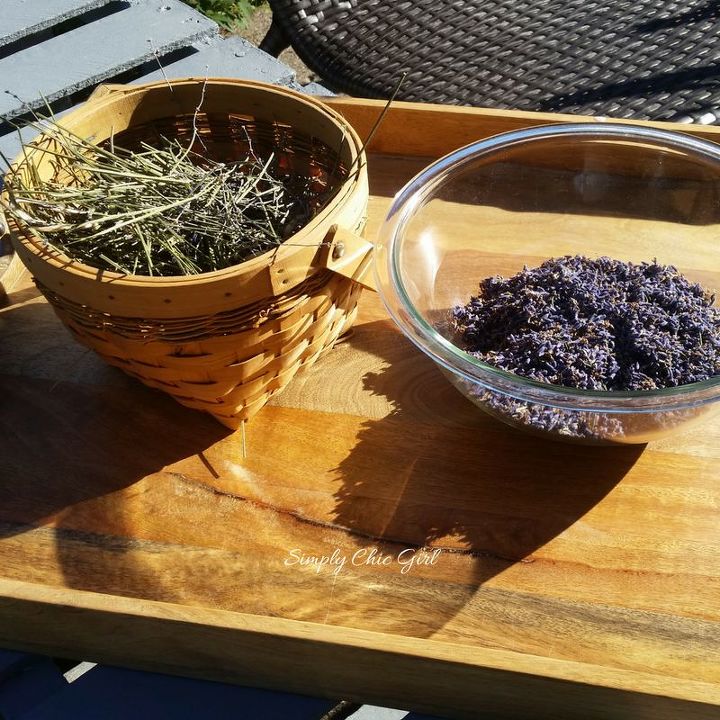
After reading Kimberly Hites blog post ~ Drying Your Own Lavender… I decided to rub the buds/pods together between my hands… what I found was that If I broke the pieces in half and rubbed together it went faster… this will be a time consuming project… be prepared… have some music, someone to talk to, or do what I do and just kept smelling the lavender… the smell was amazing and made the process relaxing.
"The fruit derived from labor is the sweetest of pleasures" luc de clapiers
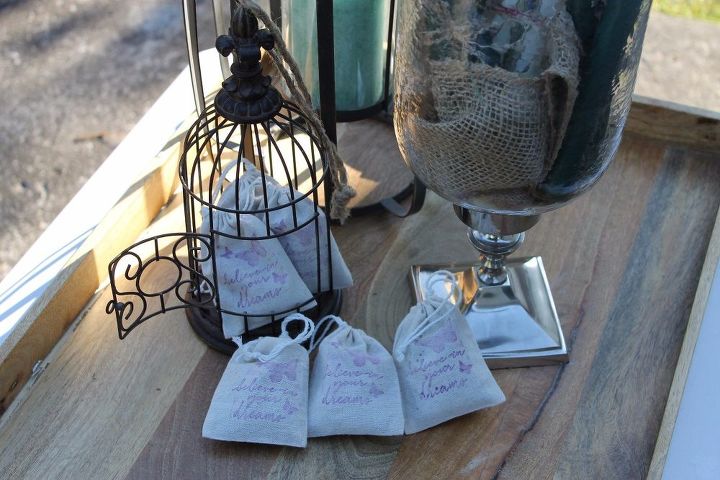
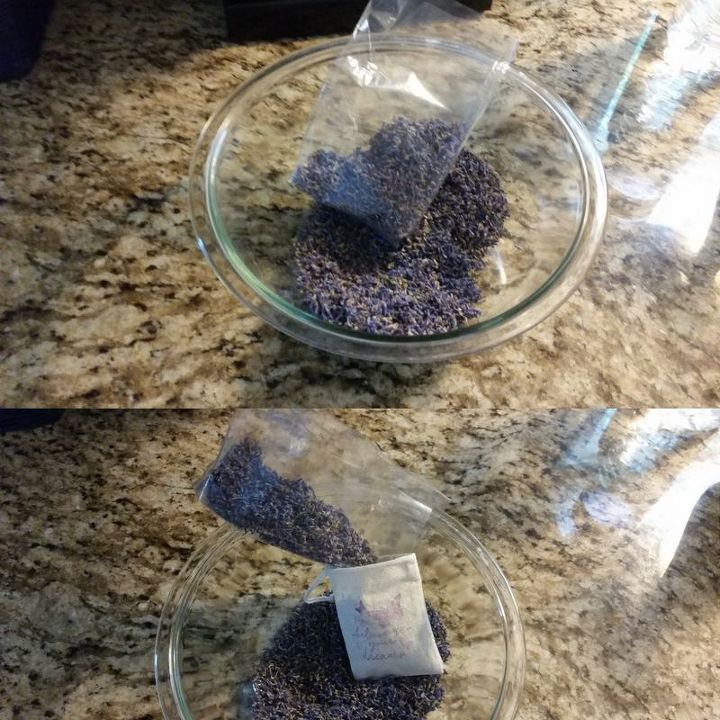
I watched a Martha Stewart video where she handmade her sachets and filled them. I do not have a sewing machine and I did not want to hand stitch sachets. So, I picked these linen sachets, a fun stamp and purple ink all at Michaels. The stamp and the ink was in a clearance bin and I used the 40% off coupon for the sachets. So it was fairy inexpensive to personalize these, I might of spent a total of $8 for this entire project.
I stamped the sachets with the saying “believe in your dreams” I don’t think anyone is going to notice the stamp, they usually start smelling the bag 🙂
as for filling the sachets: You can use a piece of paper and make a funnel to add the lavender to the sachets; however, I used the plastic bag from the linen sachets. Use what you have 🙂
What do you think? I wish you could smell how good they smell!!!
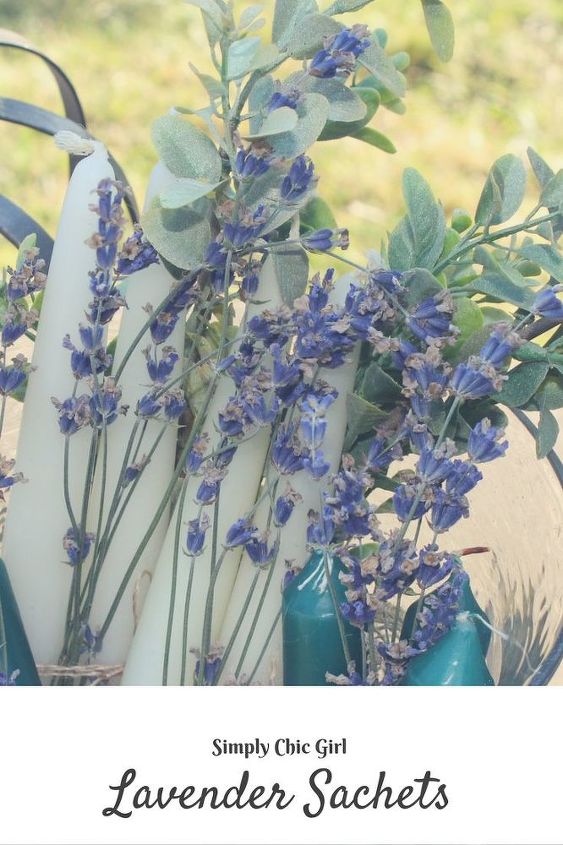
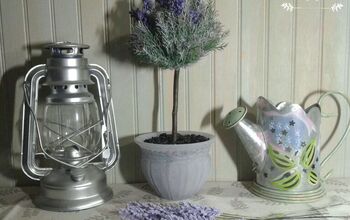
I also used dried lavender, thin burlap string and candles for another fun easy crafts project. My taper candles have been sitting tucked away for so long.. Now they are on display with some dried lavender.
Check out my post if you want the links to the websites that I researched with and my Pinterest saved pins on DIY Lavender Ideas

Comments
Join the conversation
-
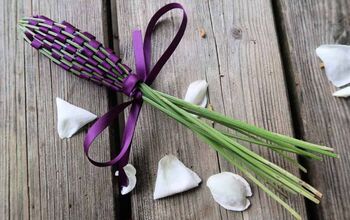
Lori to make the wands you need about 28 long stems of lavender a little green so the stems will bend. Don't panic if they break they're still useable. Then bend the stems over the lavender. Doing 4 stems at a time start weaving under and over the stems. If it comes out even just split some. Then when you get to the rnd near the split your ribbon length Wise. Tie it off. Don't use craft ribbon. Yourcwands will shtink as they dri but...they last for years. I just gently squeeze them and oh my the aroma!! Enjoy.
-
I have a lot of Russian Sage bushes in my yard. They smell absolutely beautiful when they are in bloom. Is it possible for me to use this in place of the lavender?


Frequently asked questions
Have a question about this project?