


How I Made a Beautiful Mantel Using an Antique Wood Remnant

by
Leslie H
Hello friends. Today I want to share an update on one of my biggest DIY projects yet--Big for me because:
1. I've never built anything before and
2. I've never even cut a piece of molding before this project--but once my Dad left for home I was on my own to trim out the entire mantel.
1. I've never built anything before and
2. I've never even cut a piece of molding before this project--but once my Dad left for home I was on my own to trim out the entire mantel.
Recently, when my parents came for a visit, my Dad and I decided to tackle the final missing piece on our renovated living room wall.
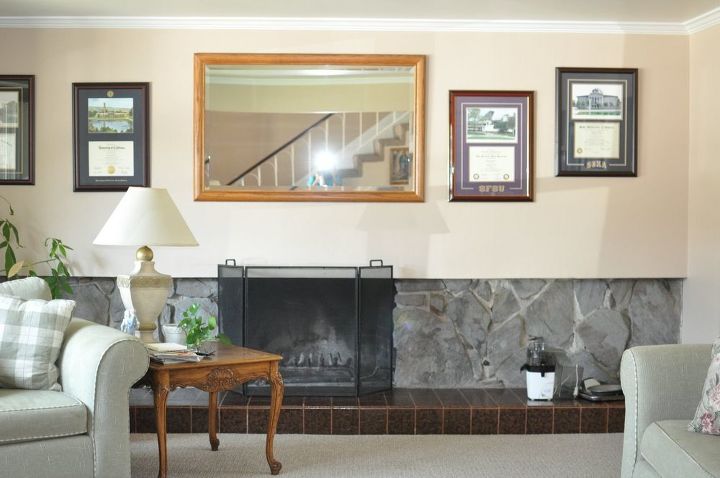
Do you remember the circa 1965 living room wall that was here when we moved in?
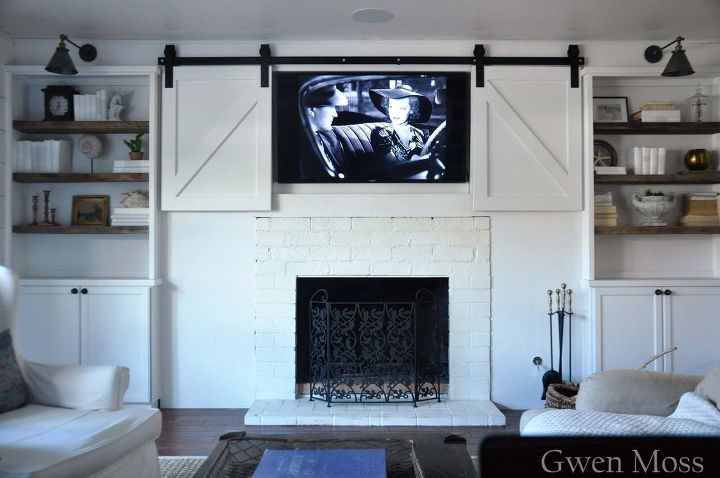
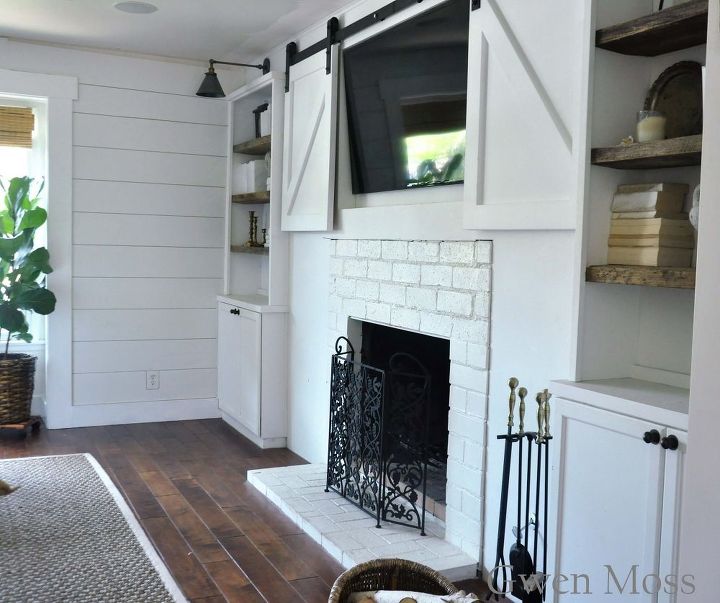
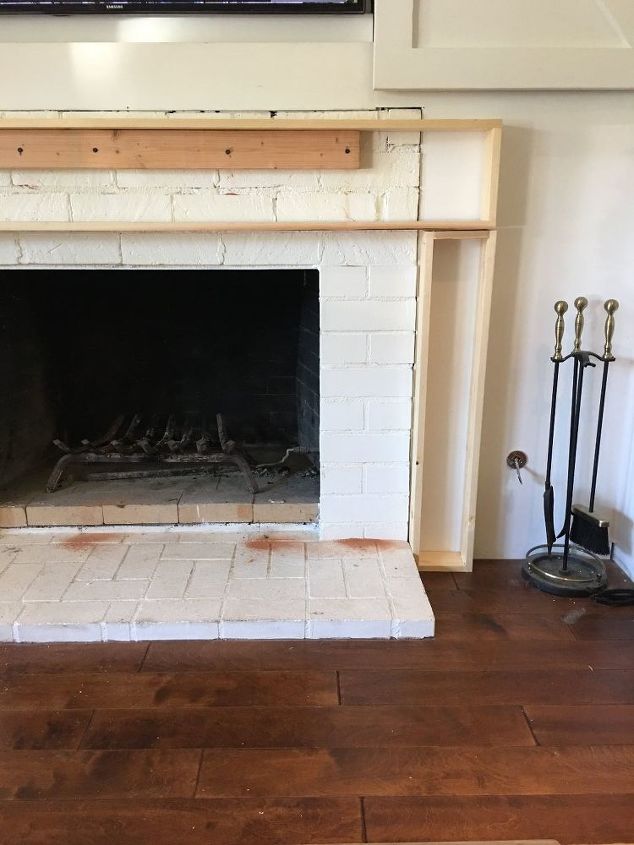
Well this is what it looks like now after all our work. It's just missing that mantel. After I finish painting it, this fifteen and a half foot wall will be mostly done and I promise to share the steps involved in transforming this wall.
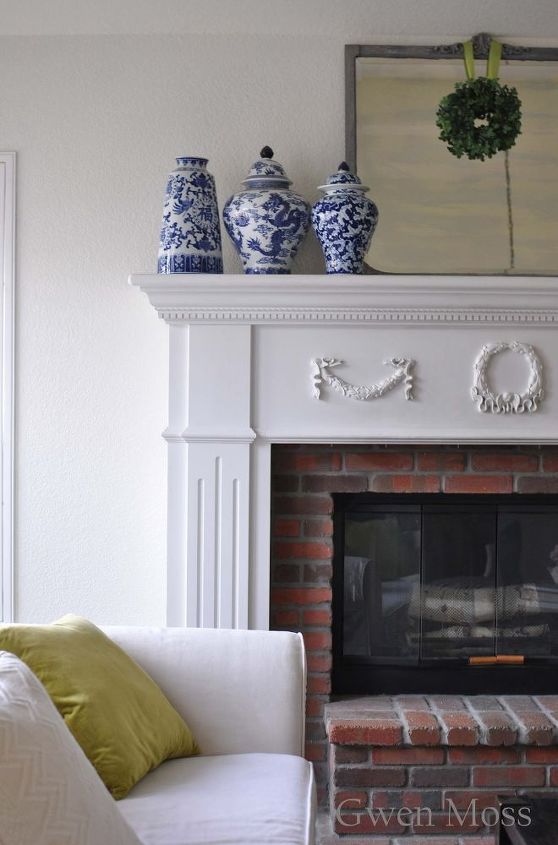
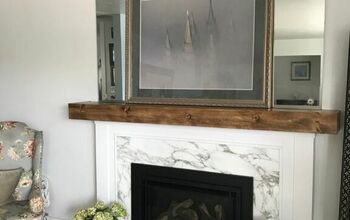
This is the mantel I had in my previous home. I paid a professional to build it.
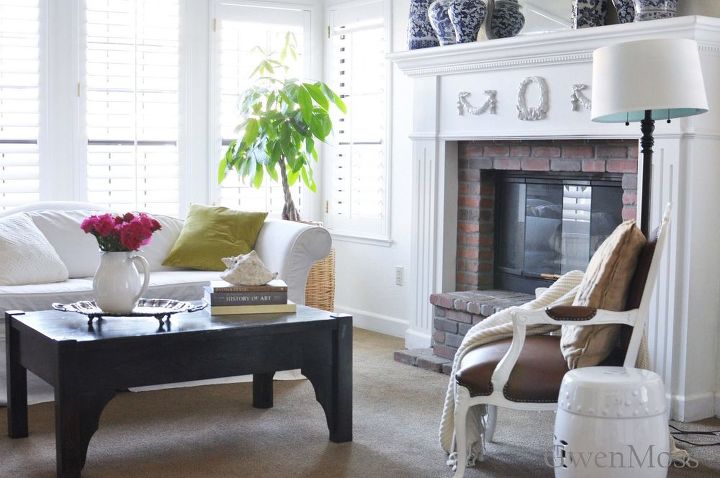
I'm showing you this because it illustrates how the house you live in dictates the design of something as creative as a fireplace mantel. I loved the traditional, classic molding I picked for this one, but now that we live in a beach community my vision for this home is very different.
The first question I had to deal with was the size of this mantel.

After a lot of measuring and staring at this wall, I decided to keep as much of the white painted brick visible as possible, and I sketched out this picture for my Dad after we took our measurements.
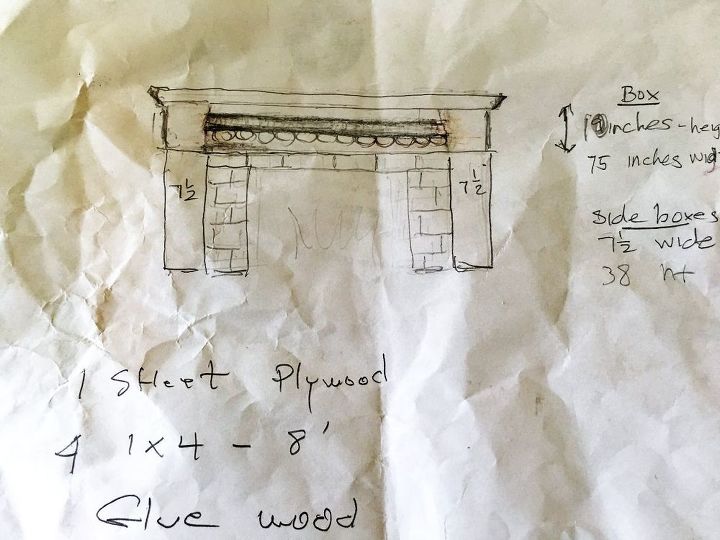
I still had no idea about the final look, what kind of molding I wanted etc.. I only knew I was designing it around a piece of old wood that I hoped we could cut into without it falling apart.
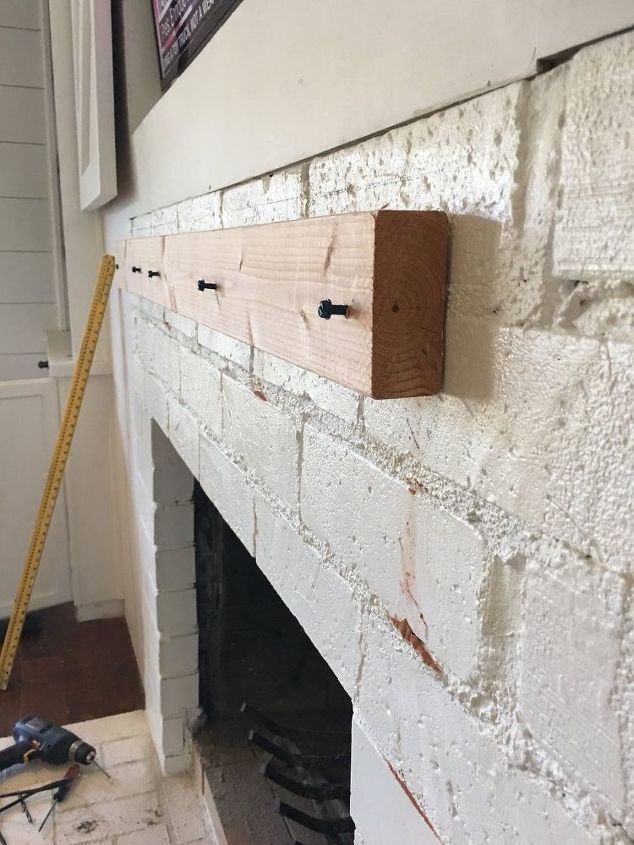
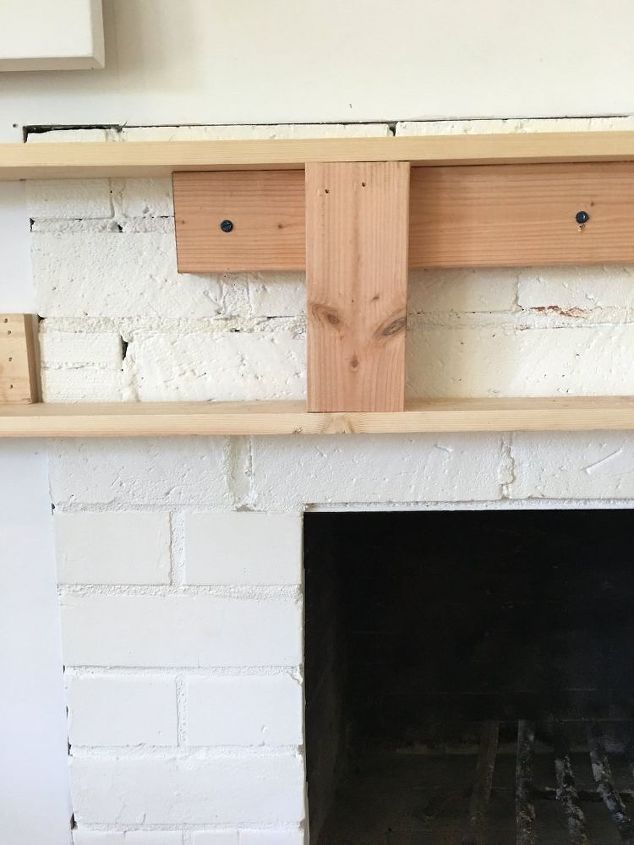
First things first. Finding the center of the fireplace for a 2x4 that we would use to attach our mantel. Then our focus was on making the frames for our plywood boxes to fit over.
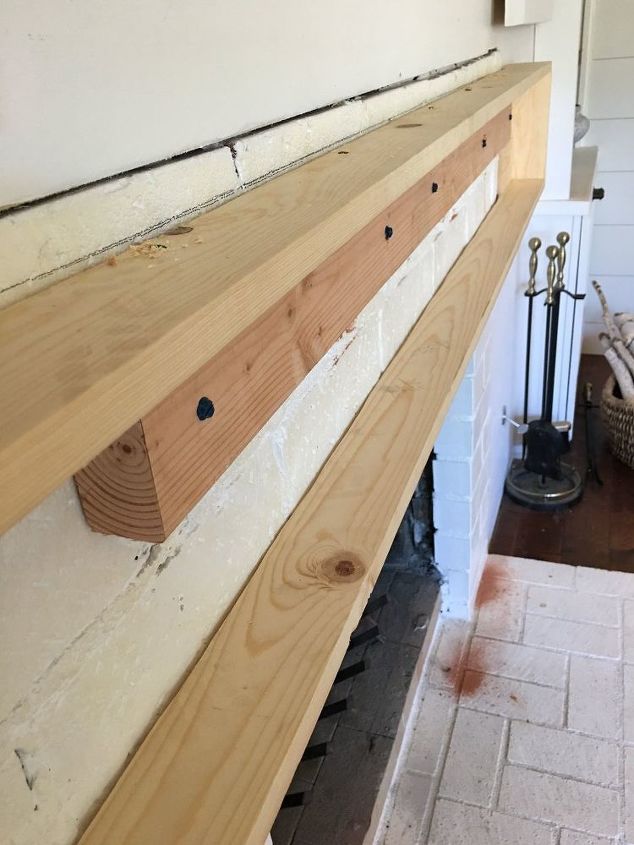
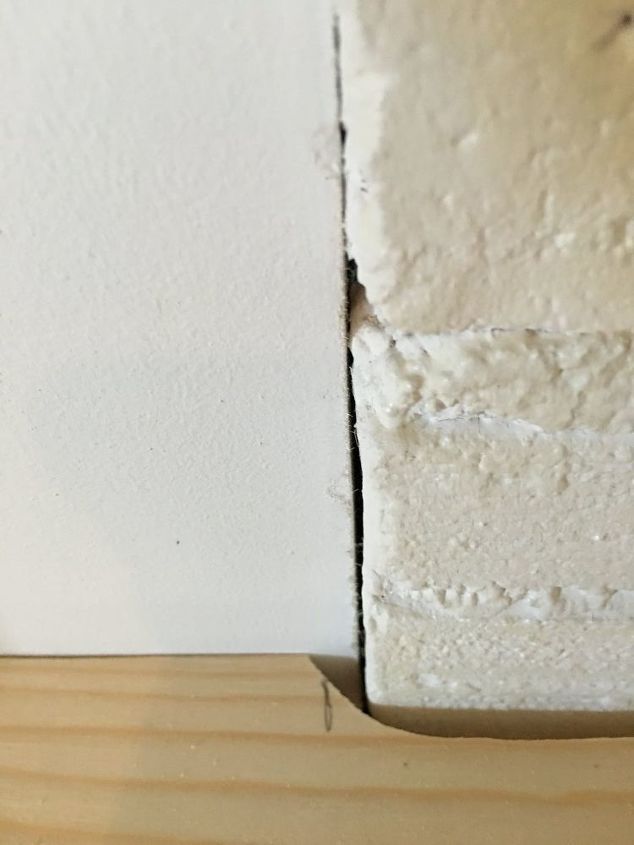
One important design decision was figuring out the space for the top of our mantel. We have the sliding doors above, that made these final measurements crucial. Can you see the crack where the brick ends? At this point I was still thinking of only using one thick piece of wood for the top.
Here's a picture of the side frame being checked for snugness. Our level was constantly with us.
Since the brick stuck out from the wall, it left a gap between the box and the wall near the ends.
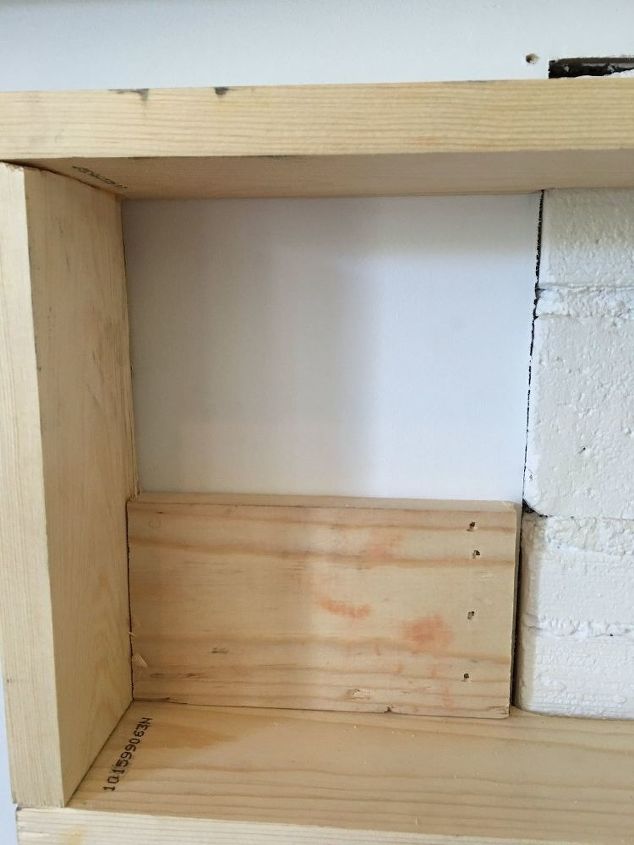
So we added a piece of wood to close the gap behind the 'box' for easy attachment.
This gap also meant the bottom and top pieces of the frame had to be notched around the brick. I left that for my Dad.
Want more details about this and other DIY projects? Check out my blog post!
Comments
Join the conversation
2 of 4 comments
-
Amazing!
-
Thanks Hillela, I think you'll like the finished mantel.


Frequently asked questions
Have a question about this project?