


DIY Upcycled Pencil Case With Duck Tape
4 Materials
$15
30 Minutes
Easy
Back to school is such a nostalgic time for us: memories of filling the shopping cart with back-to-school supplies such as lined paper, binders, fresh new pencil crayons and a shiny new protractor set (why did we need a new one of these each year?) are still vivid in mind.
But our pencil cases were different, the one thing we kept consistent from year-to-year. Now that our girls are school-aged, we wanted to make new pencil cases for them that they could enjoy year-round and maybe carry forward to the next year.
But our pencil cases were different, the one thing we kept consistent from year-to-year. Now that our girls are school-aged, we wanted to make new pencil cases for them that they could enjoy year-round and maybe carry forward to the next year.
So, we picked up some bright and colourful Duck Tape Brand Duck Tape at our local craft store and set to work. Here's how we made fun new upcycled pencil cases which the girls love with just a few supplies!
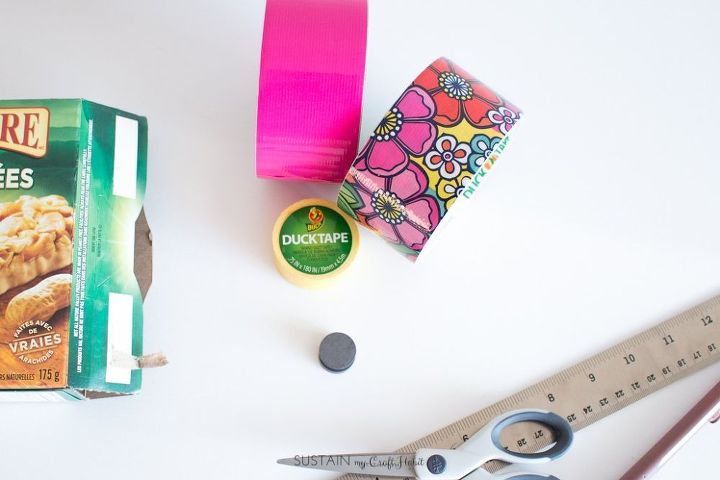
1. Choose a snack or cereal box size that will fit pens and pencils. We found a granola bar package worked really well!
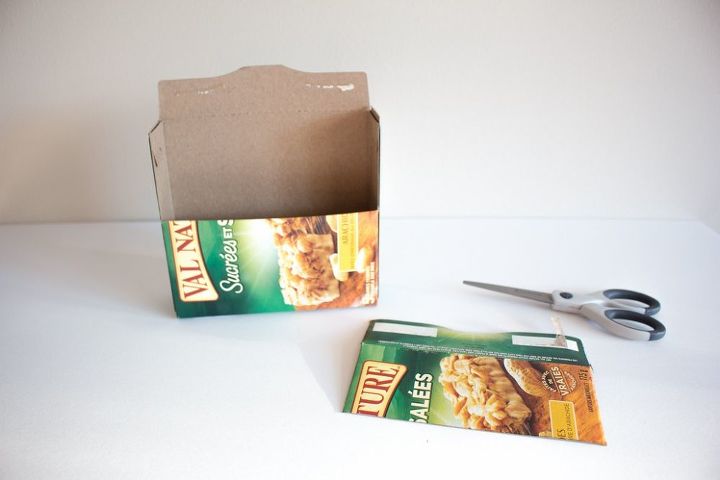
3. Cut along the sides of the box and shown. Fold in sides. Cut at excess and leave ¾” from fold.

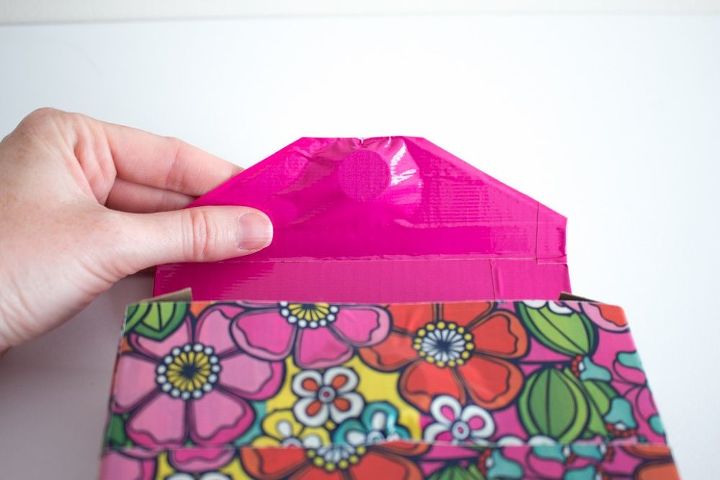
5. Mark the fold line of the lid flap approximately ¼” from the edge of the cardboard box to make room for the magnet closure. Crease along the marked line.
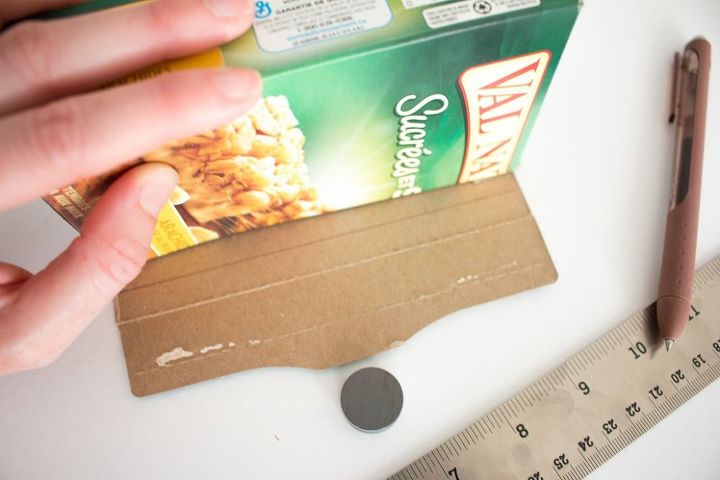
6. Angle cut the lid flap as shown.

7. Begin to tape the pencil case with Duck Tape with the wider width of tape starting at the bottom. Continue to apply Duck Tape in pre-cut strips around the box. Position one side of the magnet in place. Conceal and secure with Duck Tape.
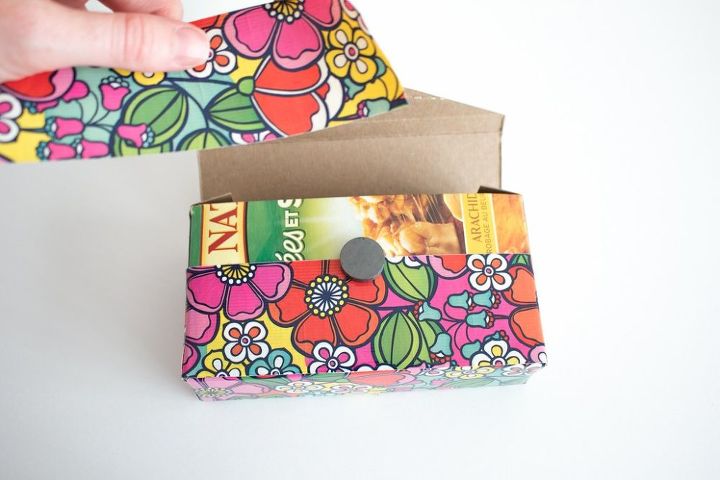
8. Tape the pencil case lid as shown starting at the base of the lid. Position the other side of the magnet near the inside flap edge. Conceal and secure in place with Duck Tape.
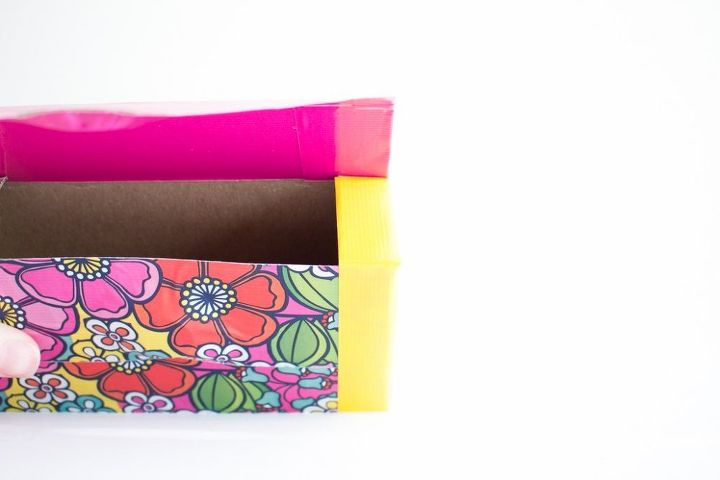
10. Finish the edges of the pencil case with narrower sized Duck Tape starting at the inside folded flaps.
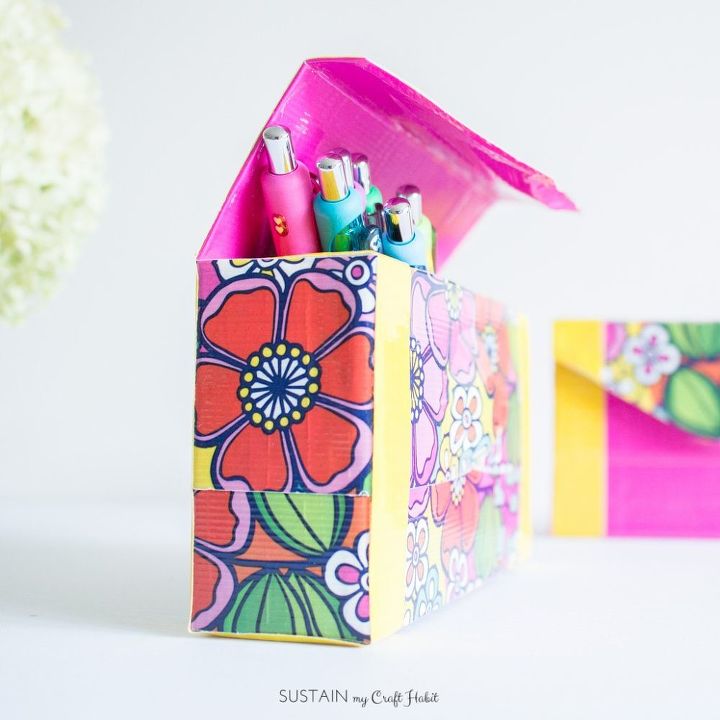
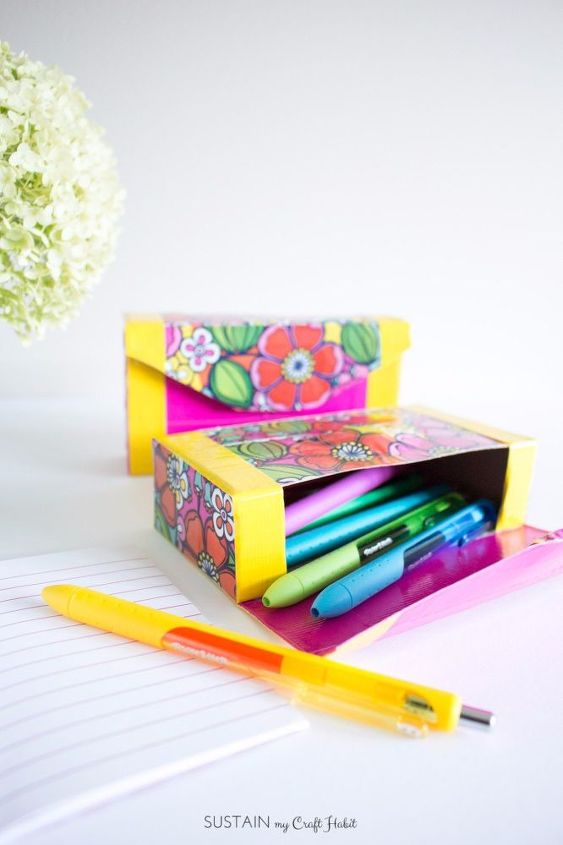
11. Fill your newly made DIY upcycled pencil case with pens, pencils, scissors and other supplies! Enjoy!
We'd love for you to pop by the blog for additional photos and the full supply list.
Have you heard of our Simple Daily DIY challenge? This free, live 15-day creativity challenge is a great way to make something, unwind, feel productive and make some new friends along the way. You can learn all about and enjoy the challenge here.

Want more details about this and other DIY projects? Check out my blog post!
Comments
Join the conversation
3 of 13 comments
-
This is a great idea. I changed it just a bit for myself. I do a lot of research and need something to keep everything handy for my notes. This is easy to carry in my large tote bag. I used black duct tape on the inside and a simple burnished foil technique on the outside, which I covered with clear heavy-duty vinyl tape. It holds a small notebook, index cards, and a couple of pens and highlighters. Thanks for the idea.
-
I scene all the different color duct tape in the Dollar Tree... Not all stores carrying it.


Frequently asked questions
Have a question about this project?