


Fridge Makeover Command Center
5 Materials
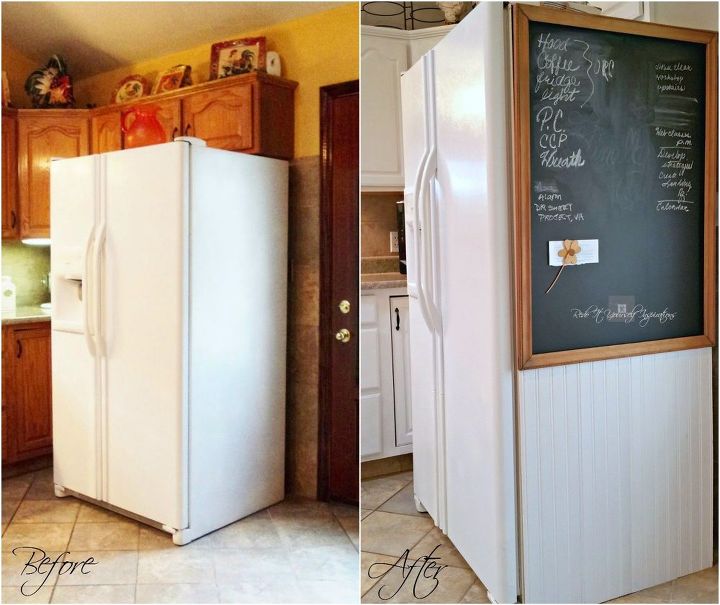
Everything important ends up on the refrigerator. Appointments, to do list, school events, grocery list, and of course, two calendars. One for school and one for family. It's such a mess.
Most important is the school notices and deadlines. They have been placed on the side of the fridge so not to miss them. And forever updated. I wanted to make it look better and organize it.
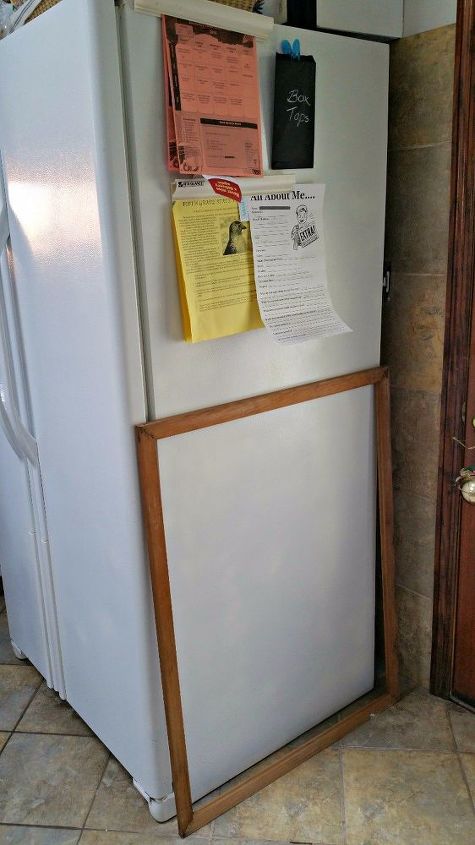
So I picked up an antique frame and cut it to fit the side of the fridge. Then glued on magnets. For the framed chalkboard area, I used a roll of contact adhesive in chalkboard format. I just cut it to size and pressed it into place.

Then to further dress it up, I added beadboard to the bottom of the fridge.
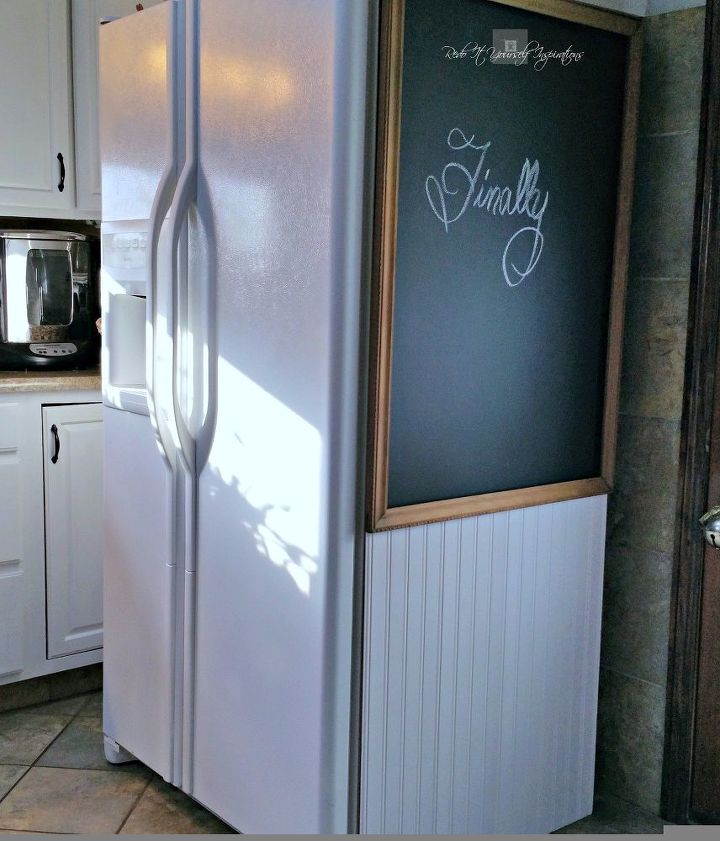
After gluing the beads boards together, I added magnets to apply it to the fridge.
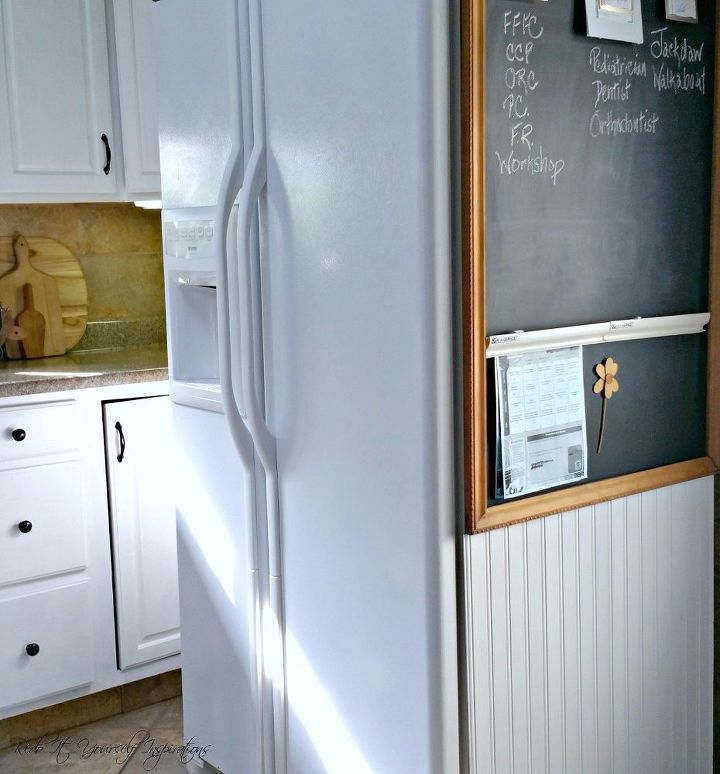
Now, we are ready for back to school and family calendars along with all of the weekly important information organized in one area.

Want more details about this and other DIY projects? Check out my blog post!
Comments
Join the conversation
4 of 42 comments
-
Wonderful, but where do you find such strong magnets?
-
I love this Idea! I am definitely going to make over my frig.


Frequently asked questions
Have a question about this project?
Did you press the contact paper on to the fridge? Or put some form of back in the frame and put it on there? I'm in a rental and would be afraid it would mess up the fridge if I later took it off. Thank you!