


Dresser Makeover

by
Melly
1 Material
I was ready to take this dresser to the DUMP, but wait till you see what I did with it instead!

This is the dresser I have had in my room for years. The second drawer has been broke for a while now. I decided it was time to either throw this old thing out...
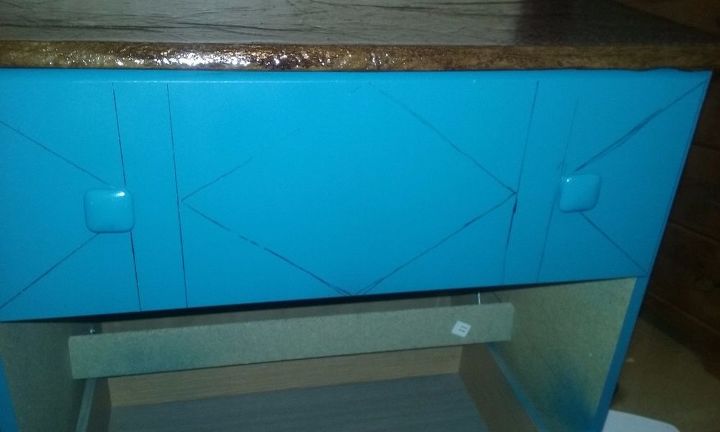
The first thing I did was sand the entire dresser to make sure the paint would stick.
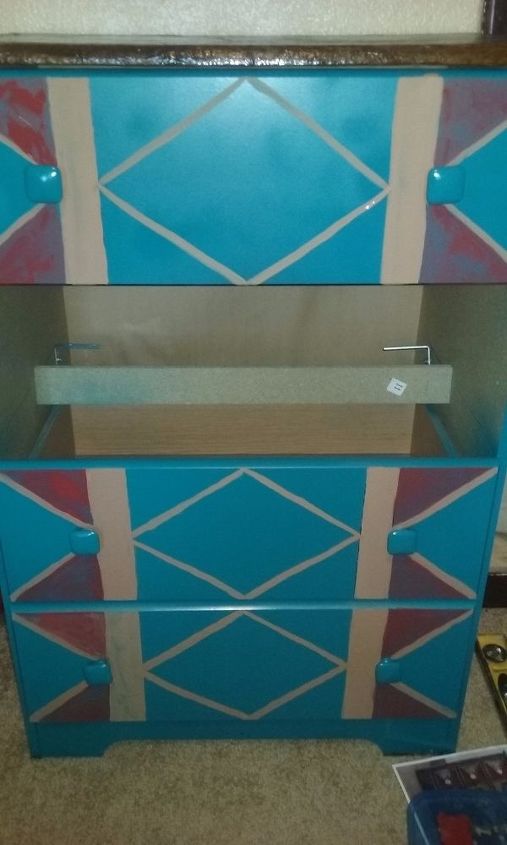
Once I had the design traced onto each drawer, I now needed to paint the design.
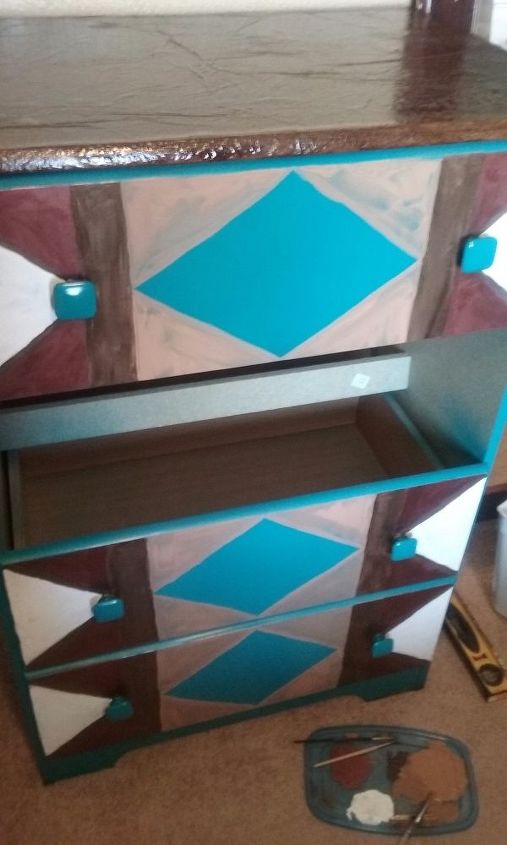
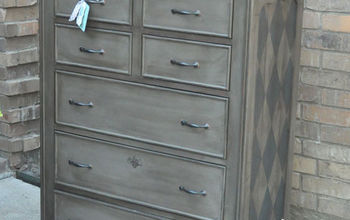
Once I had the base coat all finished on the dresser, I decided that I wanted to add the brown paper to the center diamonds to make them look like leather inlays on the drawers. I thought that this would give the dresser a more rustic, yet expensive look.

This picture not only shows how the diamond looks with the "leather inlay", but also shows you how I fixed the problem of the broken drawer.
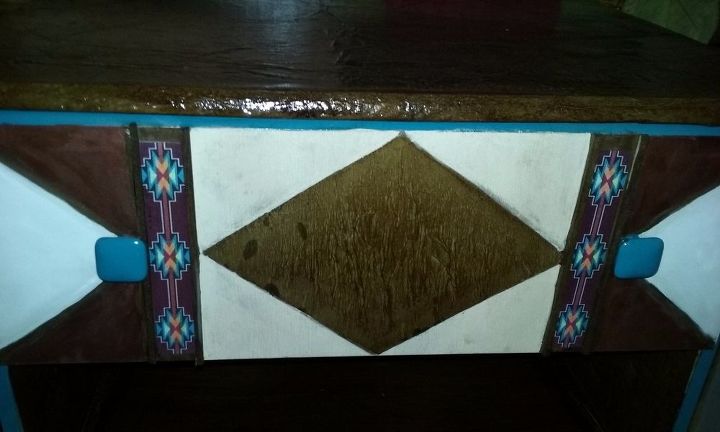
Now I had printed the graphic you see in the stripe on my ink jet printer and used MOD PODGE to attach the graphic to the dresser.
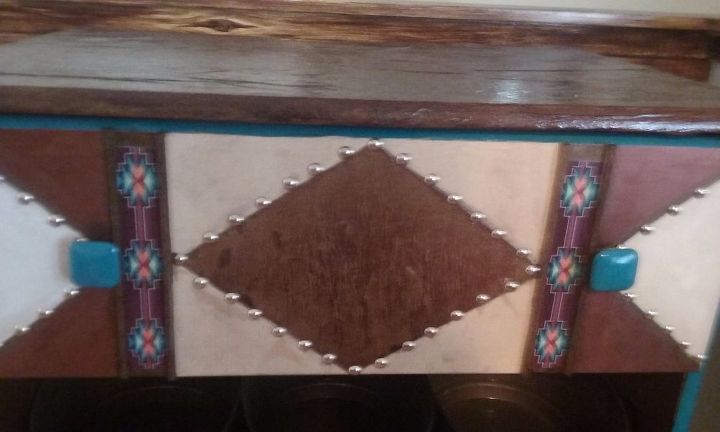
The last detail I wanted to add was these NAIL HEAD TACKS. I wanted to further enhance the illusion of the diamonds being leather inlays, so I outlined all the diamond shapes with these nail head tacks.
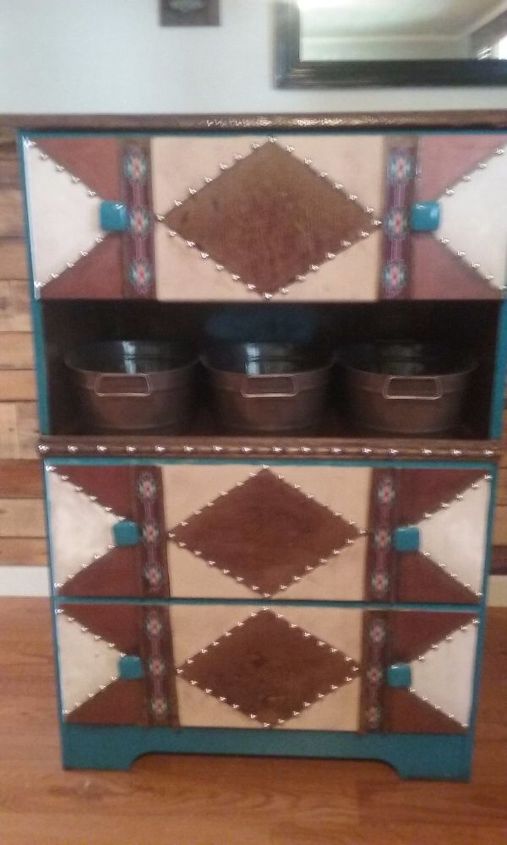
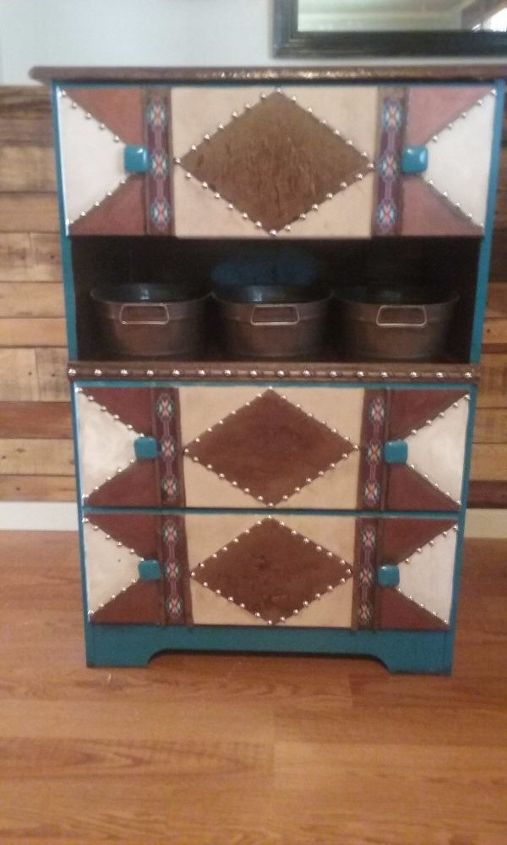
Finished! I am thrilled with the finished project. Especially the fact that I got a "NEW" dresser for the bargain price of $42.00.
Comments
Join the conversation
2 of 58 comments
-
Wow! I'm impressed.
-
No questions, but didn't see where I could comment on how stunning this turned out, wow!!! Wasn't too sure about it at first, but you really pulled it all together!! Talk about high end!


Frequently asked questions
Have a question about this project?