


Easy Thrift Store Dresser Transformation
If you love this project, grab your quick start DIY guide & subscribe to our blog!
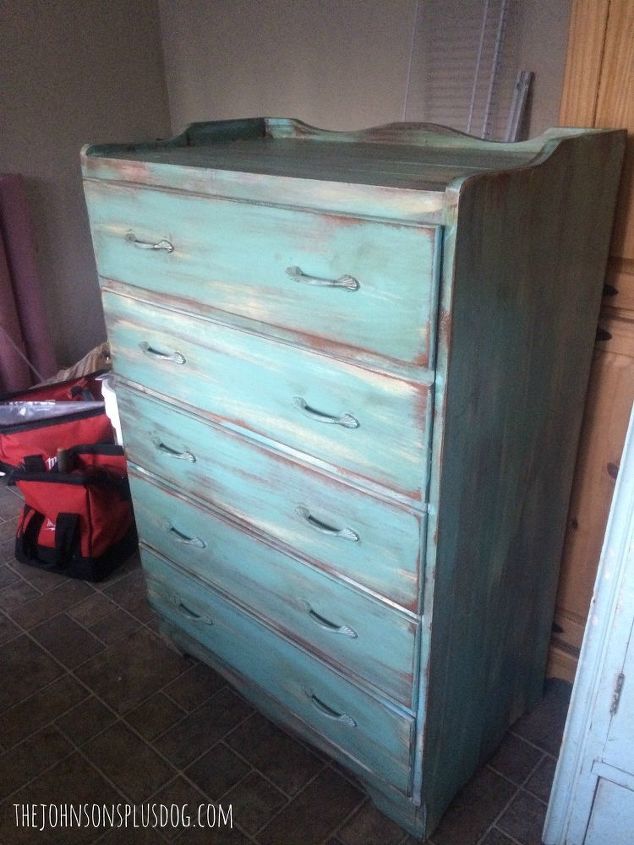
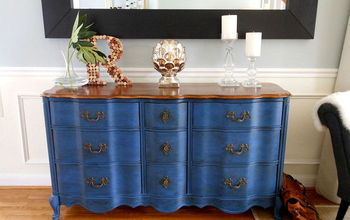
Today, I’m going to show you how I quickly transformed a thrift store dresser. Our master closet is small, small, small! The closet systems we installed definitely made our closets much more efficient, but it still wasn’t going to fit all the clothes we needed to store. I was on the hunt for a dresser when I came across this amazing dresser at one of my favorite antique stores.
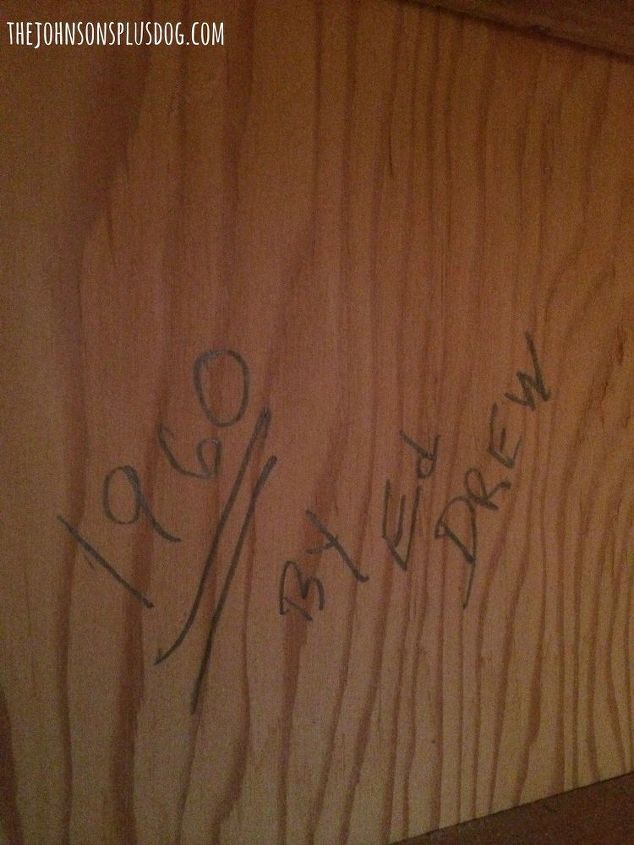
I love buying old, thrifted furniture. My favorite thing about old furniture is the story behind each piece that sometimes you get to hear or sometimes you have to fill in the missing pieces of the story yourself. With old furniture, you get to discover things like this… where the builder has signed & dated the inside.
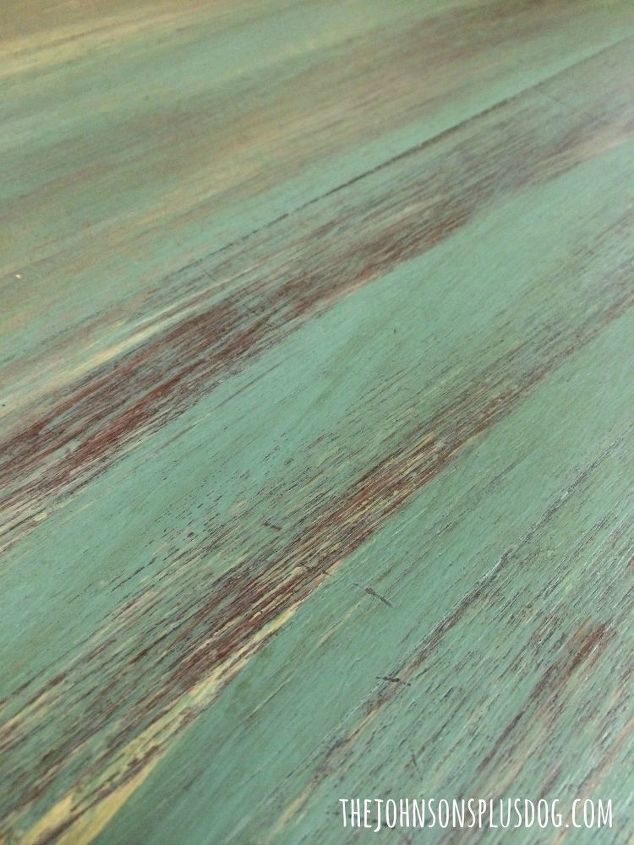
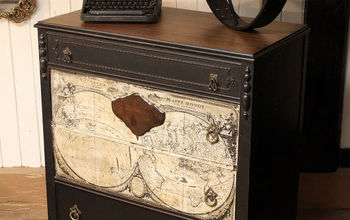
I loved how it was already painted (and so uniquely, might I add) because the last thing I needed when I purchased this was another project. We were knee deep in renovations and I needed something that would was ready to stuff full of clothes immediately.
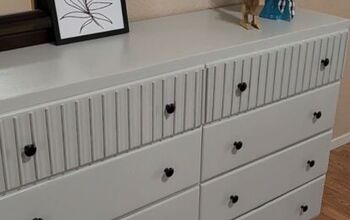
The one thing I didn’t like was that the handles were painted the same as the dresser. I instantly envisioned how easy it would be make those handles pop a little.
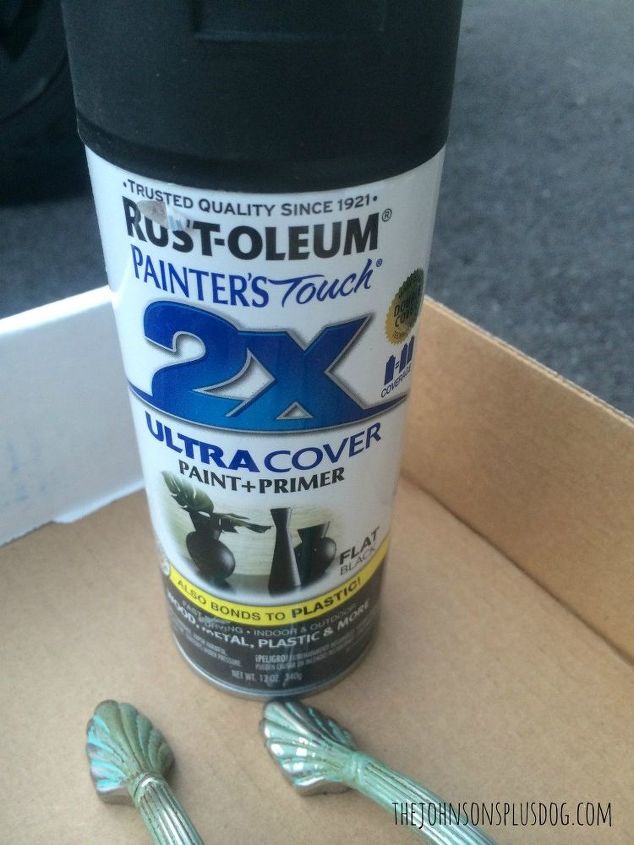
The one thing I didn’t like was that the handles were painted the same as the dresser. I instantly envisioned how easy it would be make those handles pop a little. Enter my favorite black spray paint. Visit my blog to see how I incorporated the spray paint for a dramatic transformation on this dresser!


Frequently asked questions
Have a question about this project?