


DIY Wooden Centerpiece Box
4 Materials
$10
1 Hour
Easy
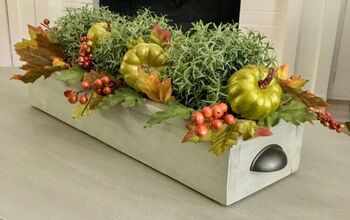
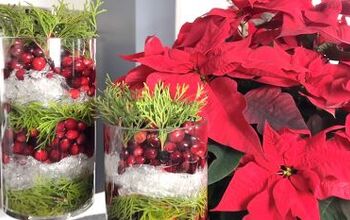
The holidays are coming up and its that time of year when we will be hosting guests for dinners. Dress up the table with this simple yet elegant wooden display centerpiece. Display flowers or your favorite decorative items on your table in this rustic DIY centerpiece. Perfectly sized to accommodate pint sized mason jars, this Do-it-yourself project is sure to provide countless uses. **This was a sponsored post**
{
"id": "3538843",
"alt": "",
"title": "",
"video_link": "https://www.youtube.com/embed/yLLz96PhGZw",
"youtube_video_id": "yLLz96PhGZw"
}
{
"width": 634,
"height": 357,
"showRelated": true
}
Watch me make this centerpiece LIVE via Facebook.
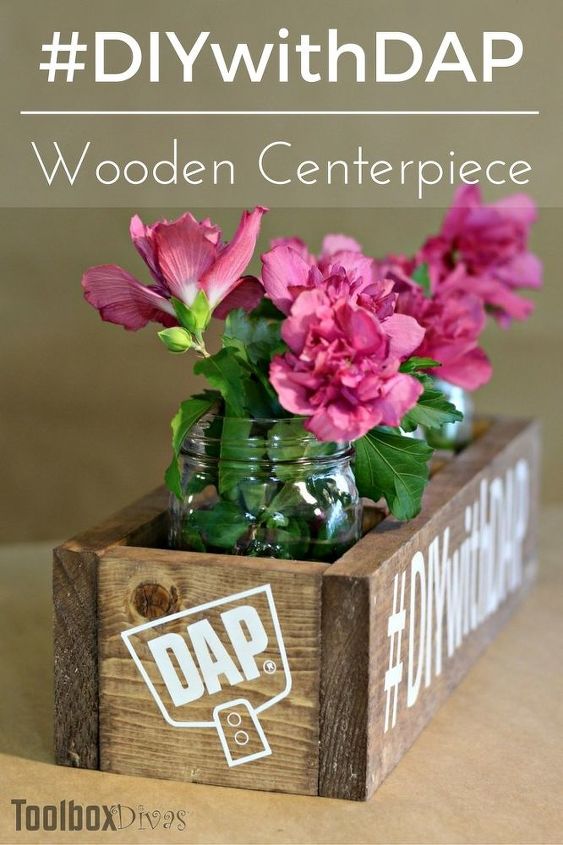
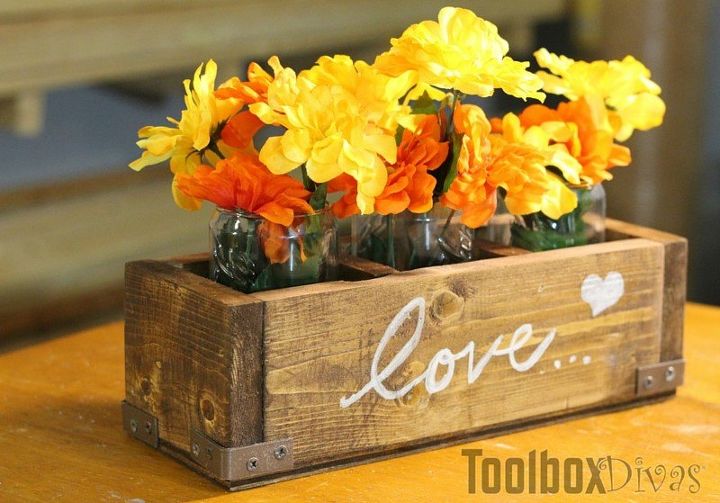
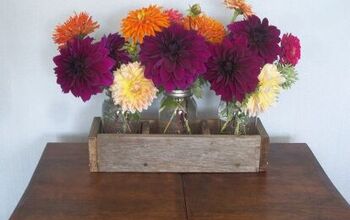
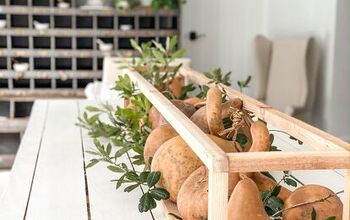
Perfect centerpiece or desk organizer. Really you can store or display just about anything in this.
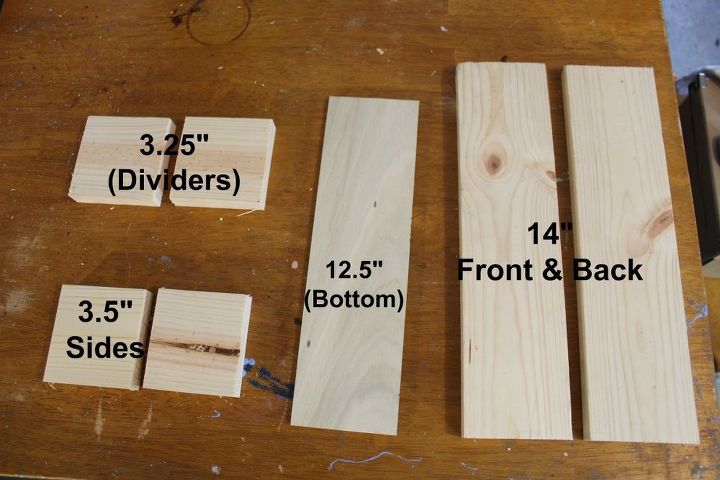
The Cut list. This wooden centerpiece is constructed using 1”x4” common board .25” x 4” craft board for the bottom. It could literallly be put together with just glue. But I recommend some small brad nails for additional security.
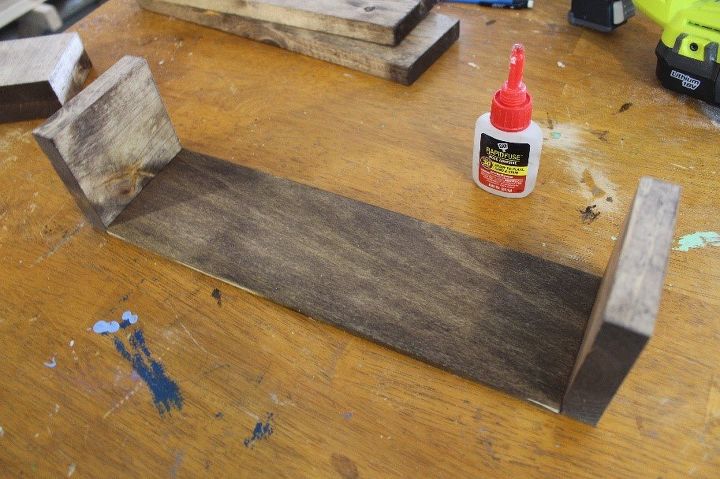
Sand and stain first. Then start by attaching the 2 sides to the bottom craft board.
Then the back panel.
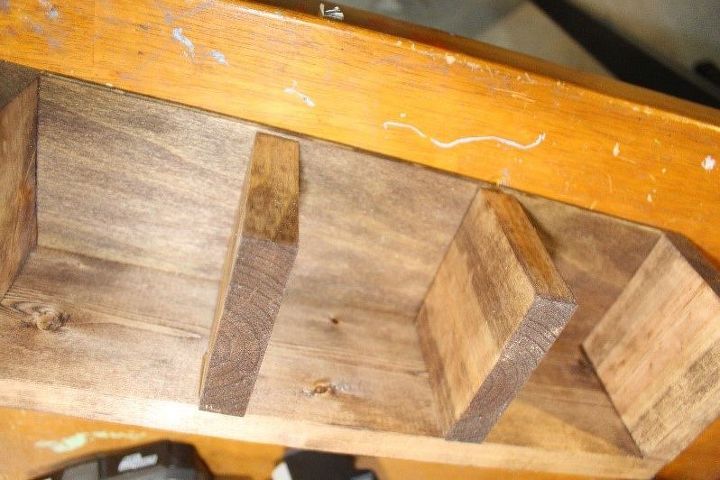
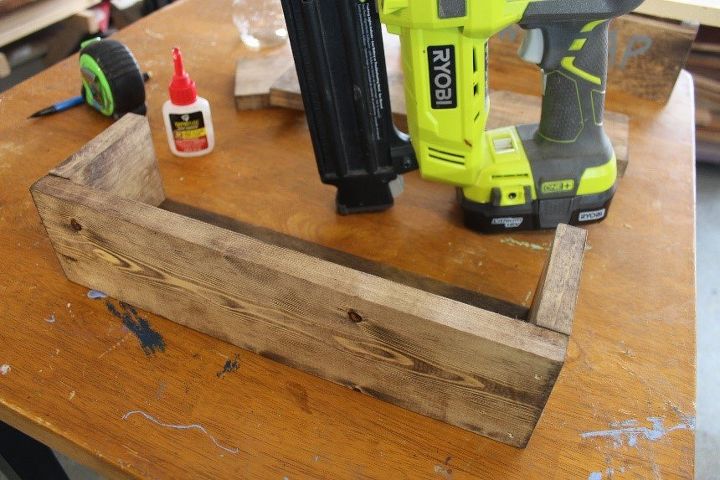
Before attaching the front panel add the space dividers. Mark lines for the divider pieces measuring 3 ¾” from either end. This centerpiece holds pint size mason jars.
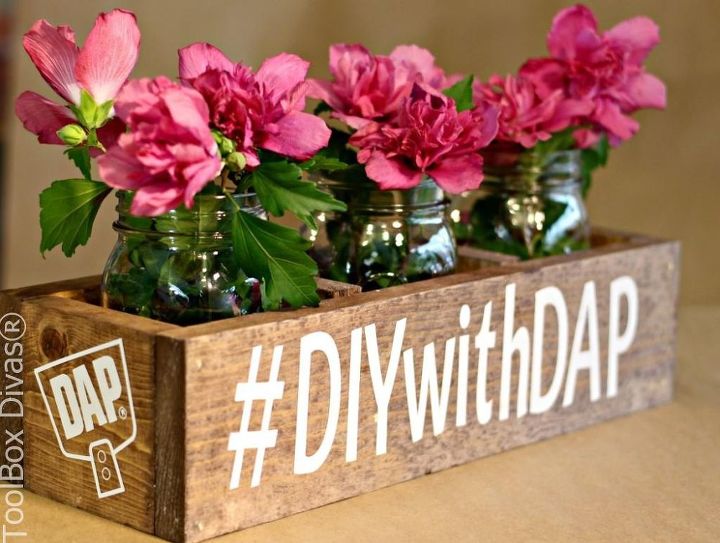
When its all done have fun with decorating it. In this case, I used my Cricut and vinyl decals. You can also take a chalkboard marker and draw or write anything.
We want to help you DIY, so some of the materials in this post are linked to sellers. Just so you know, Hometalk may collect a small share of sales from the links on this page.

Want more details about this and other DIY projects? Check out my blog post!
Comments
Join the conversation
8 of 38 comments
-
Love your project! Very nice looking! Going to go outside and see if I can find some wood to make this! Thanks for the idea!
-
I had fun making this box! Not as nice as yours but does the job. I used rustic wood from an old fence. A fun and nice looking way to display flowers from the garden!


Frequently asked questions
Have a question about this project?