


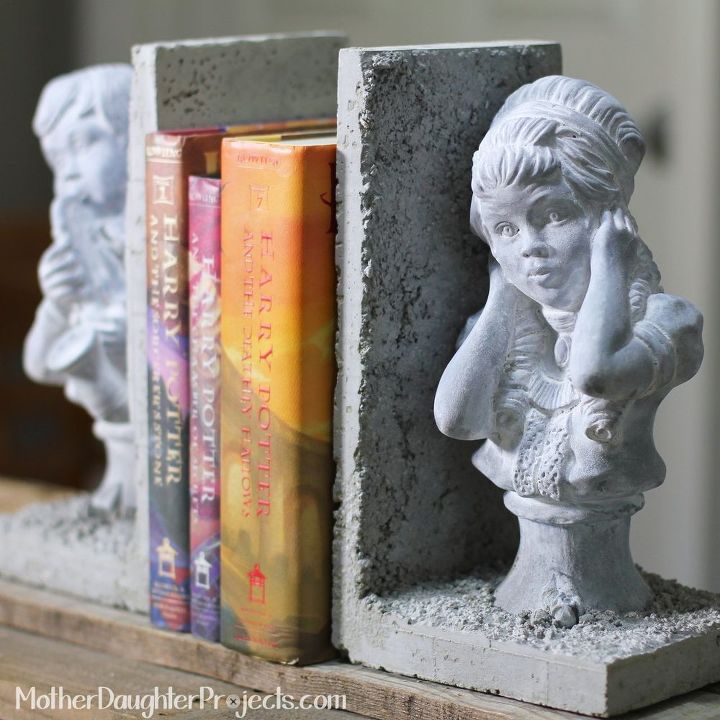
Concrete Bookends & Tealights
We were so pleased with our first concrete project that we decided to make more! Concrete really lends itself to creative expression.
The same weekend I (vicki) found the silicone bundt pan we used for our concrete lamp, I also found these vintage 1971 statues. At .50 cents for the pair, I knew they were coming home with me as I thought they might lend themselves to a concrete makeover of some sort.
The same weekend I (vicki) found the silicone bundt pan we used for our concrete lamp, I also found these vintage 1971 statues. At .50 cents for the pair, I knew they were coming home with me as I thought they might lend themselves to a concrete makeover of some sort.
{
"id": "3545490",
"alt": "",
"title": "",
"video_link": "https://www.youtube.com/embed/hZ1cHuDdO8U",
"youtube_video_id": "hZ1cHuDdO8U"
}
{
"width": 634,
"height": 357,
"showRelated": true
}
Watch our how-to video.
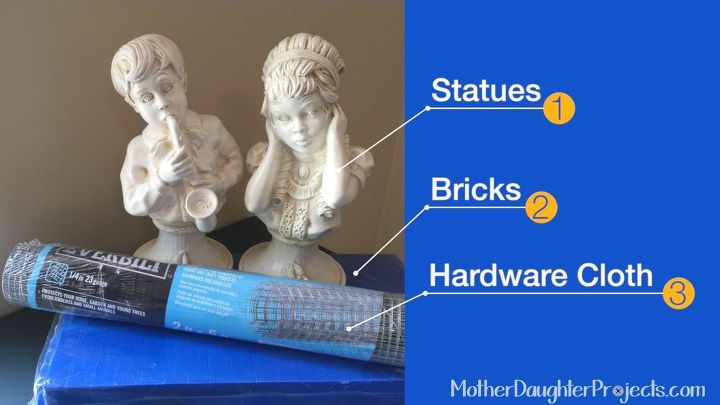
Materials/Tools:
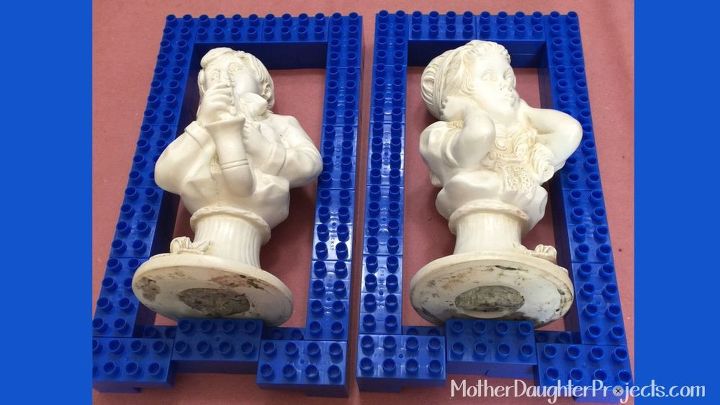
Create the concrete molds. Lay statues on side to determine height and width of mold.
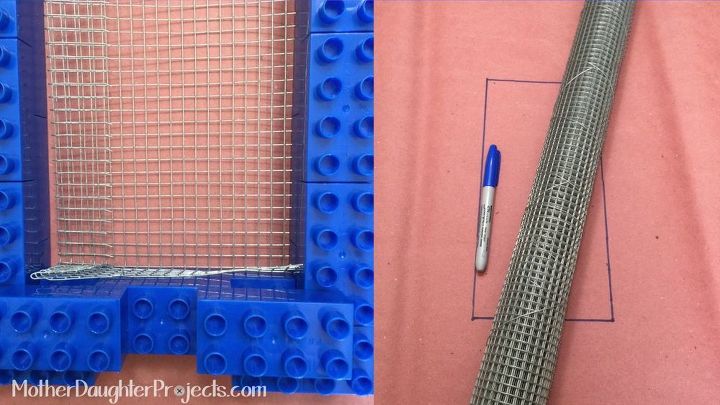
Cut the hardware cloth slightly smaller than the interior of the mold but about one inch taller. Bend the extra length into an “L” shape.
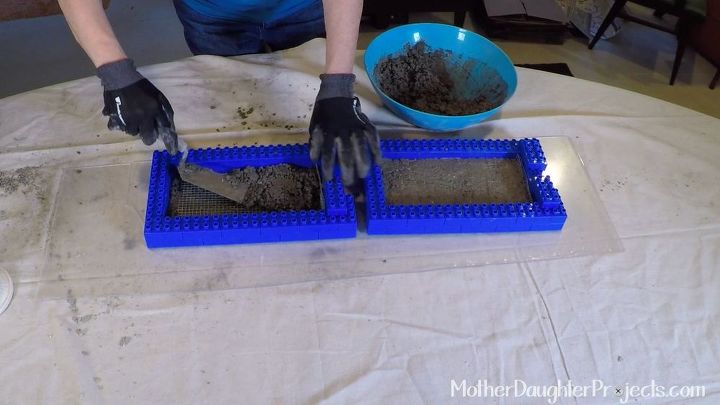
Mix up the concrete. Place the mold onto a scrap of plexiglass. Spread a thin layer of concrete into the mold and lay the hardware cloth into the mold with the short part of the “L” facing up and even with the side of the mold. Continue to add concrete evenly into the mold one brick high.
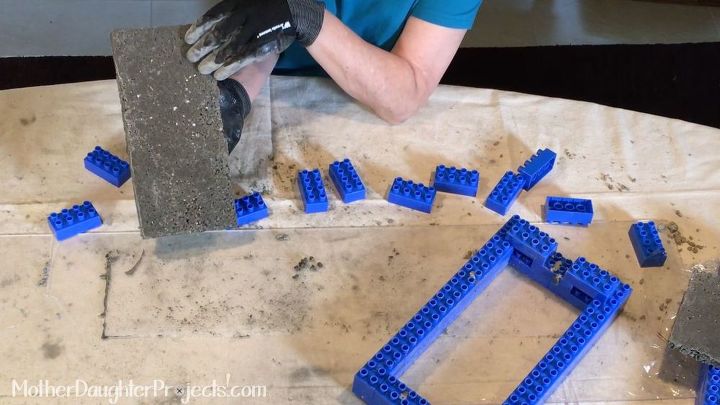
Remove from mold 20 hours later.
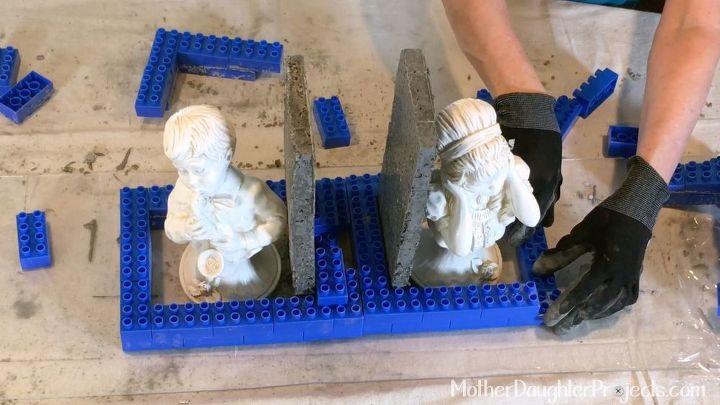
Place this piece vertically into the mold with the exposed edge of the hardware cloth at the bottom, add the statue and adjust the size of the mold.
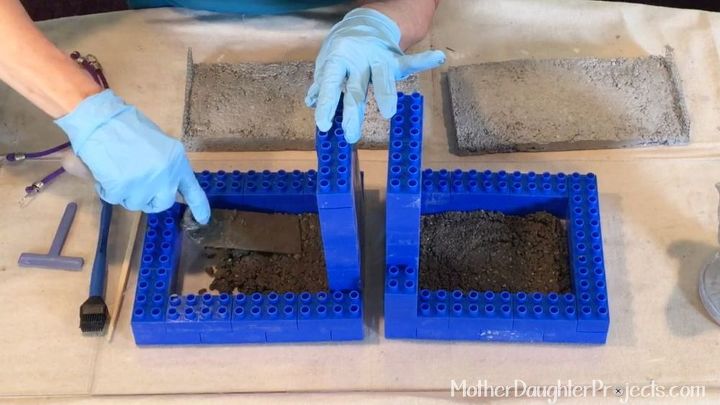
Add a thin layer of concrete to the molds.

Place vertical concrete and statues back. Add concrete to the base and smooth.
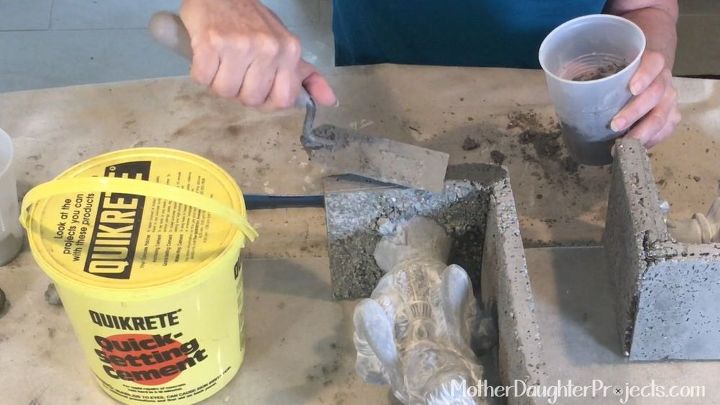
We removed the bookends from the molds and noticed they need a little extra concrete in some places. We used a quick-setting cement to fill in.
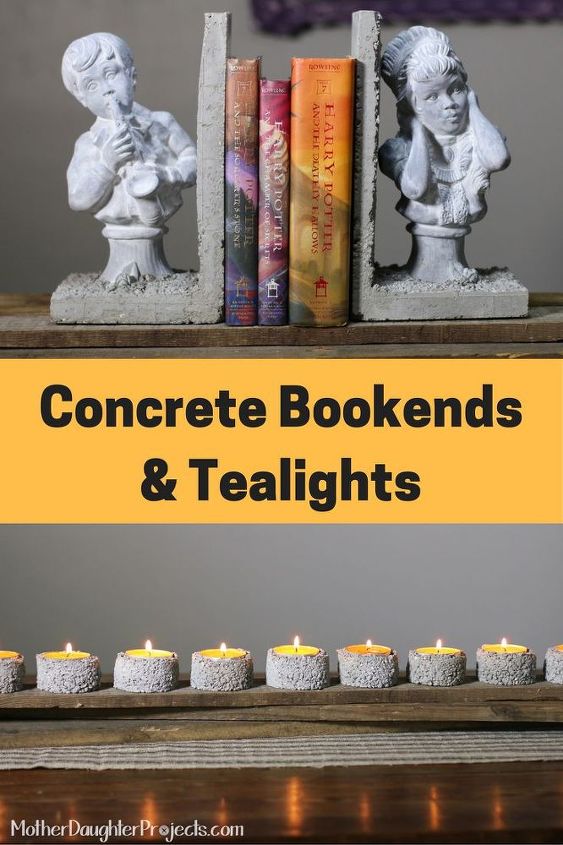
I fully intended for the bookends to live on top of my piano since they are music themed, but for some reason they ended up staying at Steph’s house! :)

To see how we made the tea lights and watch a how-to video- visit our website!

Want more details about this and other DIY projects? Check out my blog post!
Comments
Join the conversation
2 of 15 comments
-
Super clever idea. Thanks for sharing.
-
Wow, those bookends are so cute!!! Love them! You're very creative.


Frequently asked questions
Have a question about this project?