


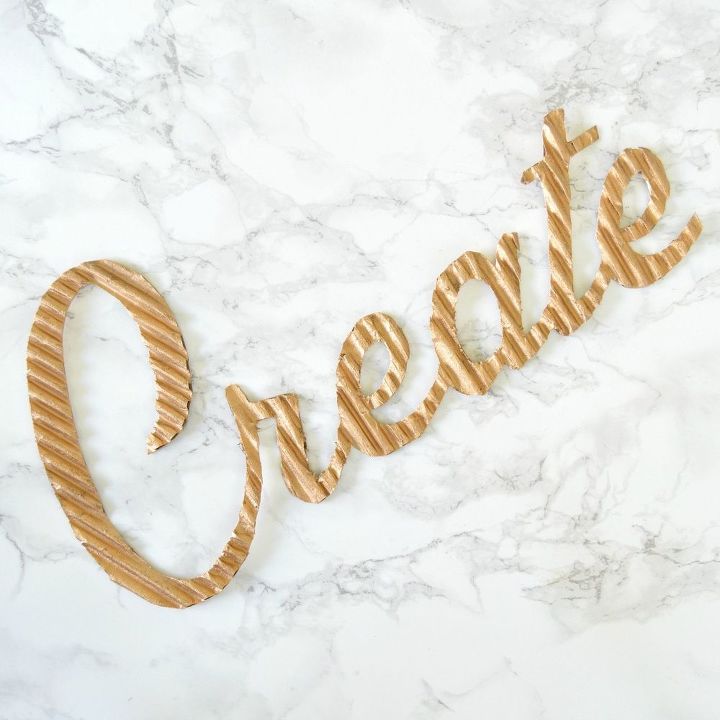
DIY Textured Cardboard Letters

by
Sahana
4 Materials
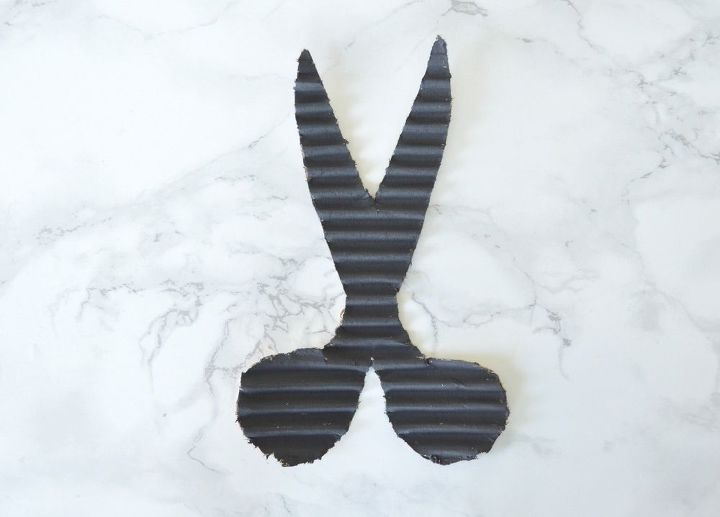
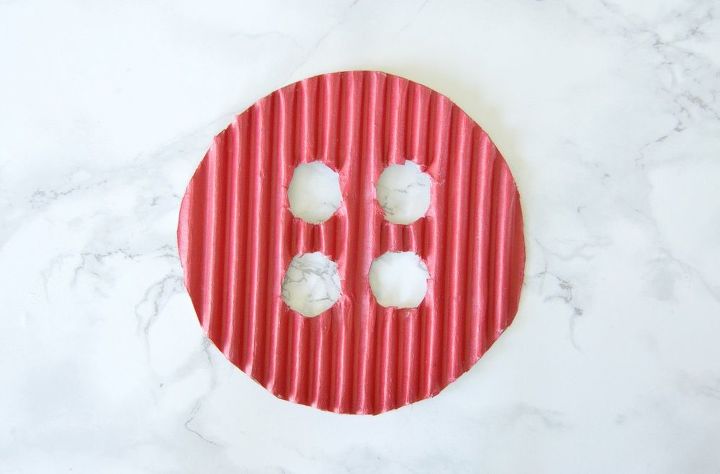
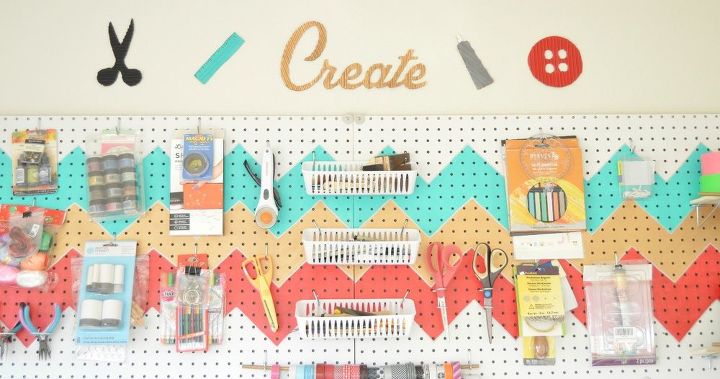
Last Thursday , when I was checking some beautiful ideas on Hometalk I came across a Pistachio Shell flower wreath by Kelli from Craftshack. She used a textured letter "S" in the middle on the wreath. I liked it so much that I clicked her blog link to check how she made it. She has explained that she used a textured copper backsplash and covered the cardboard letter. I was like, I need those letters, and suddenly remembered a post that I saw two years back where corrugated cardboard is used to make beautiful picture frames. So, I combined those two ideas and came up with these DIY textured cardboard letters to decorate the small space between the pegboard and the ceiling in my craft space. Let's see how.

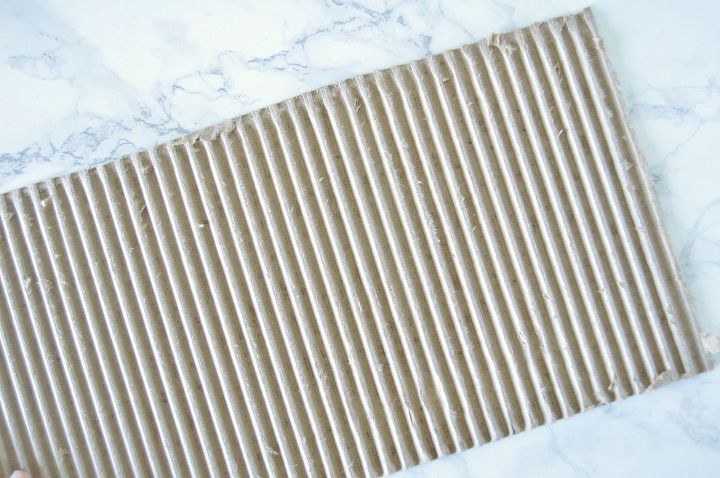
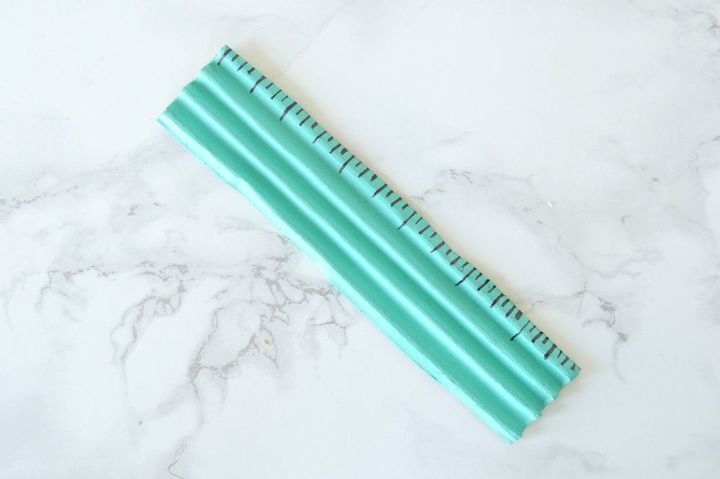
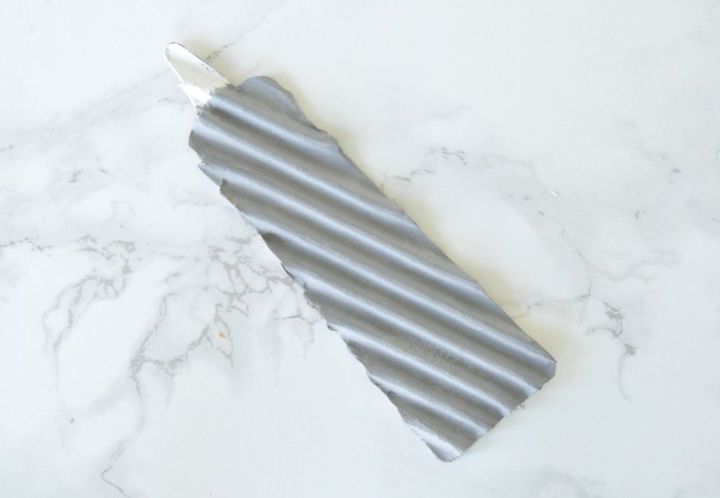
Take a piece of cardboard. You can cut a piece from the shipping boxes you already have at home. You want to remove the top part of the one side of the cardboard to get the textured/ Corrugated part of the cardboard.
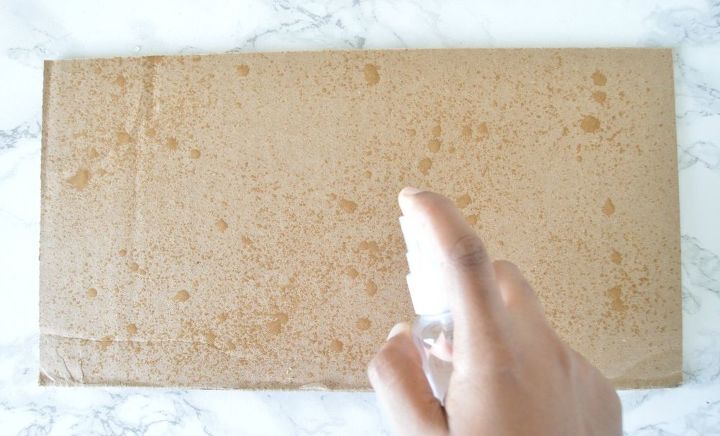
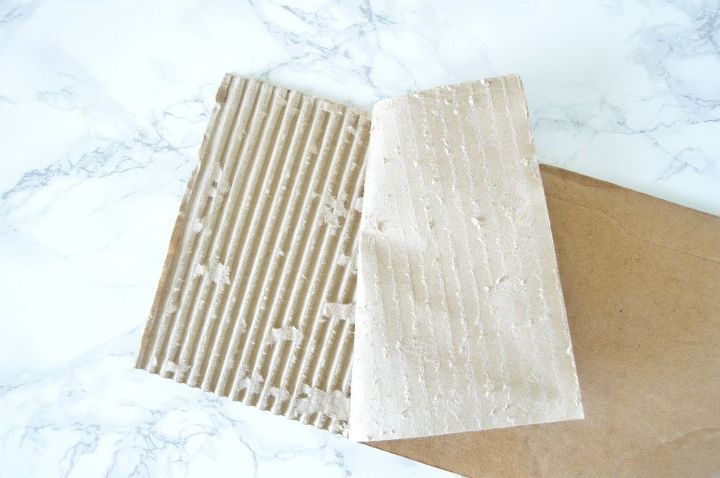
Use a sandpaper and sand the extra bits of cardboard so you have a clean surface to work with.
For a more detailed description of this DIY, click the blog link below.
Want more details about this and other DIY projects? Check out my blog post!
Comments
Join the conversation
2 of 16 comments
-
Thank you for the information so we all can make some beautiful decor pieces!
-
I love this!


Frequently asked questions
Have a question about this project?