


Fast Easy Plastic Pumpkin DIY!!!

by
Dell
$8
2 Hours
Easy
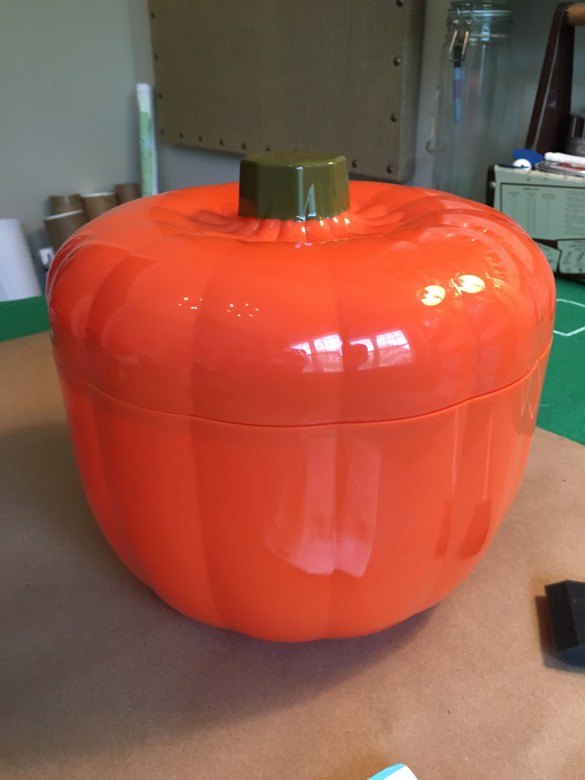
I can't believe Wednesday was the first day of Autumn! I've already noticed some pretty great Fall decorations thus far! Tons of mums, gourds, corn stalks and pumpkins. All sorts of pumpkins! Velvet pumpkins, harlequin pumpkins, painted pumpkins… I decided to try my hand at painting a plastic pumpkin I bought from the grocery store yesterday. How did it turn out? Well….
So here’s my tip: Don’t use chalk paint on shiny plastic. Use a paint made especially for plastic. Or use Martha Stewart’s gilding and add a little duct tape and jewels for fun! Hope you have a wonderful and successful day! Happy Autumn, Friends!
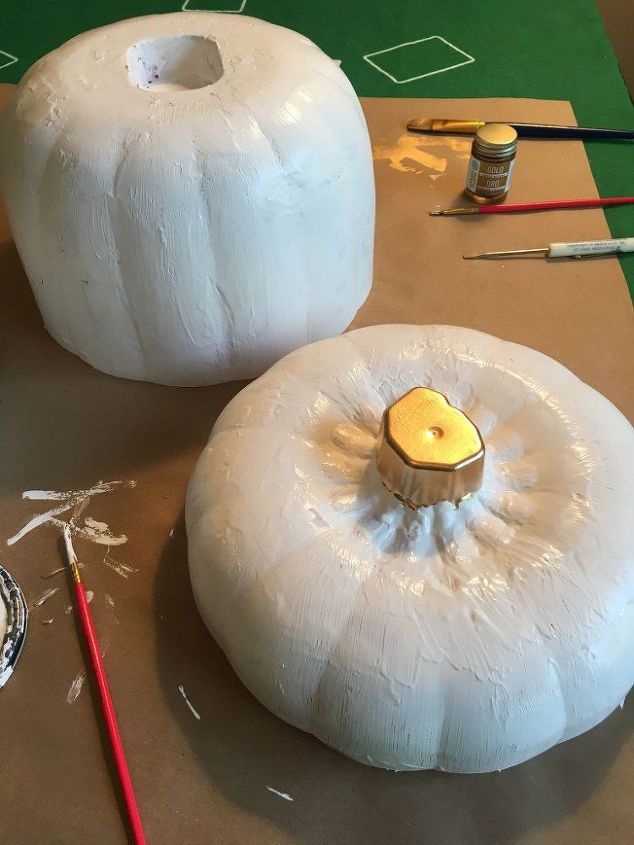
I painted the shiny plastic orange pumpkin with white chalk paint. My idea was to paint the stem gold and the pumpkin white then add some dark wax to age it. The paint was very thick so I painted it and left it to dry.
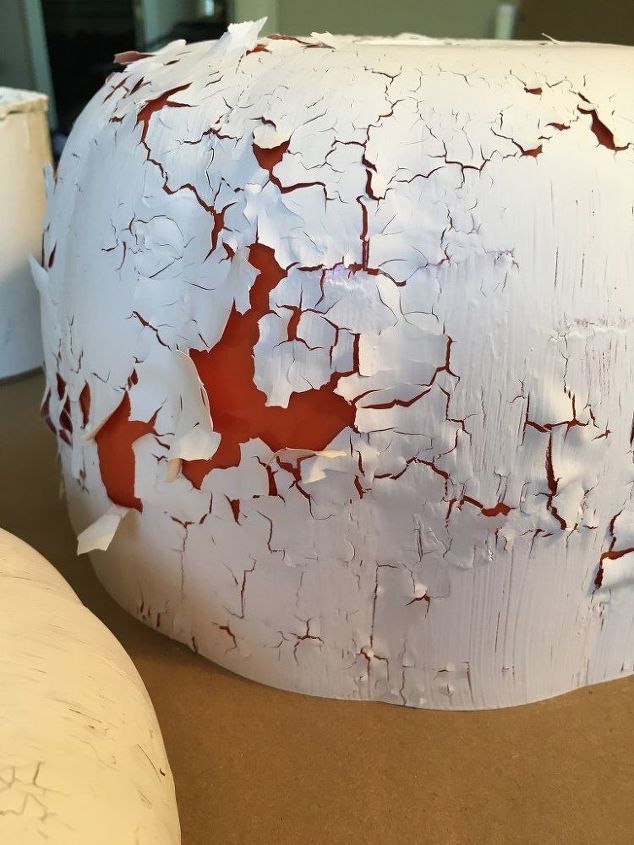
Upon my return, much to my dismay, the paint had a crackle effect. Not what I was hoping for at all! As a matter of fact, the paint was peeling off in chunks. So, I peeled off the rest and started from scratch. So much for my manicure. =D
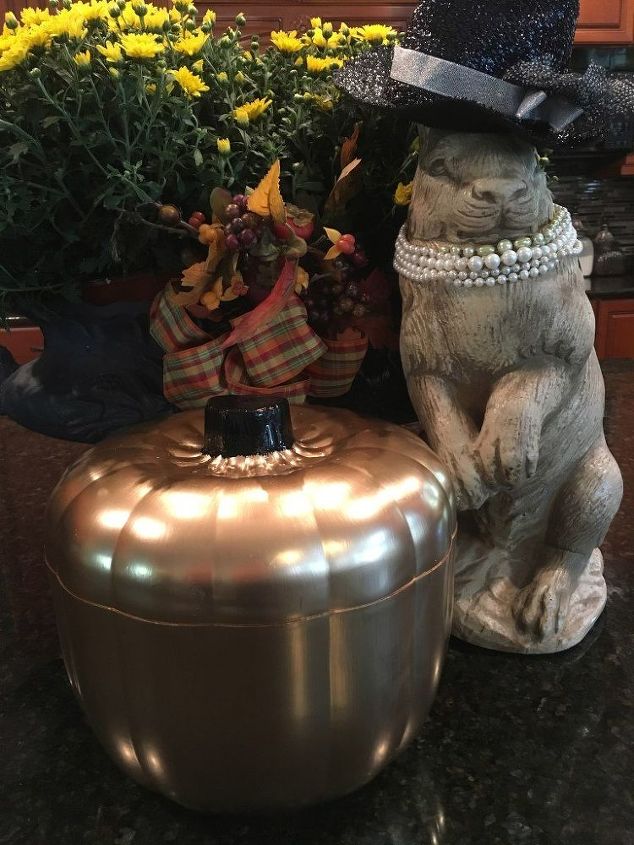
The chalk paint says on the can it “is a water based paint that adheres to most any surface and no stripping, sanding or priming necessary.” I suppose the key word here is “most”. Lesson learned. Chalk paint does not adhere to shiny plastic pumpkins. However, the Martha Stewart gold liquid gilding worked like a charm! (I bought the gilding at Michael’s but you can also find it on Amazon for $4.63) Once I peeled off the chalk paint, I washed it and painted the entire pumpkin with the gold gilding. (I bet that is what Martha would do anyway.)
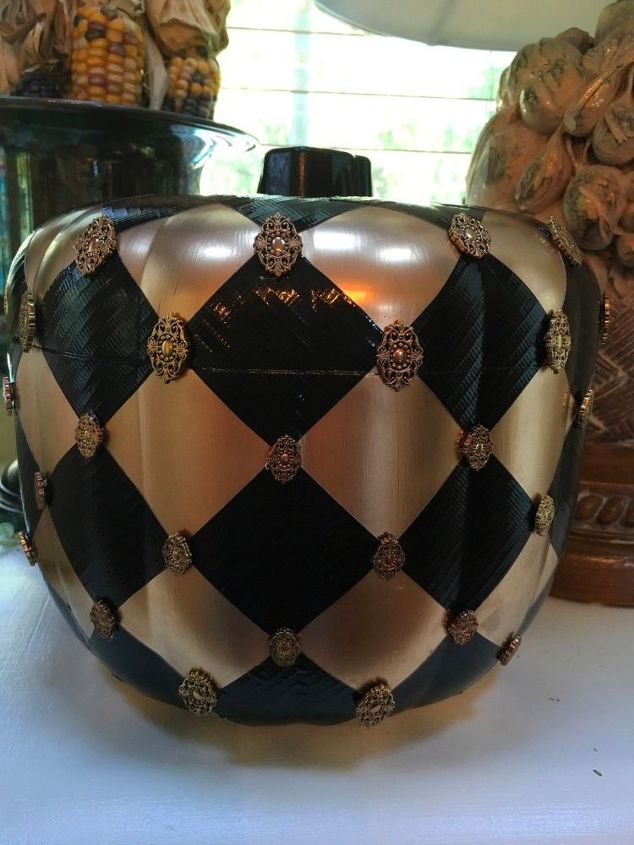
Since my gold pumpkin still looked a bit plain, I added squares of shiny black duct tape in a harlequin pattern. The tape is re-positionable if you do it carefully. (The duct tape was about $4.99 also from Amazon.) I love how it turned out! But I still wasn’t done.
Want more details about this and other DIY projects? Check out my blog post!
Comments
Join the conversation
4 of 9 comments
-
brilliant!
-
really beautiful


Frequently asked questions
Have a question about this project?