


Making a Bench From Head & Foot Boards
$20
2 Weeks
Advanced
If you're like me, you may think that making a bench from a head and foot board would be an easy task. Then, you'd be as wrong as I was! It was challenging, but do-able!
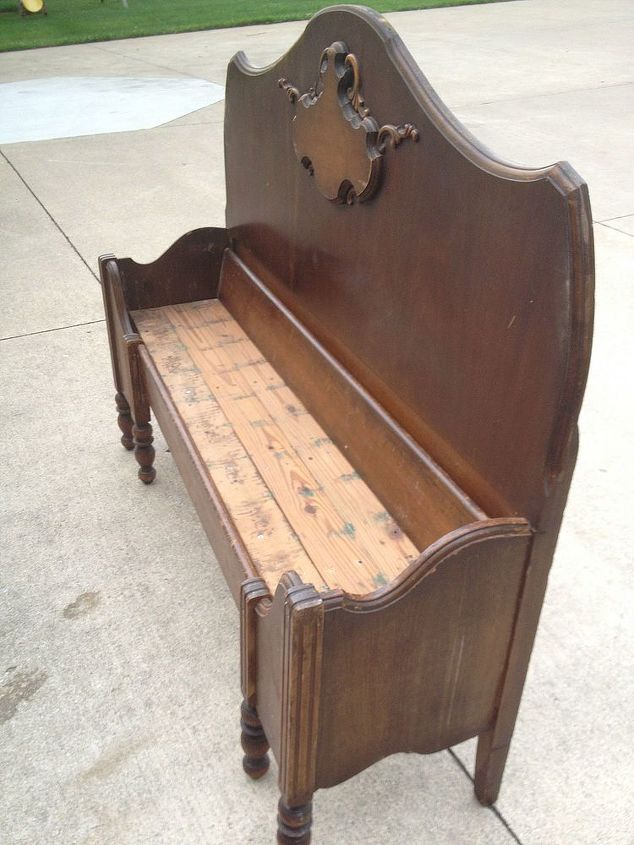
I found this great head and foot board at a garage sale for $20. I would have asked her to take less, but I was a bumbling idiot because I was so giddy over the idea of being able to do this!!! And, I knew it was a great price!
It took us 2 loads to get all of it home (and the other table we bought from her) in our mini-van (the back seat lays down, so I like to call it my pick-up truck).
Off to work. There had been some damage and that got glued back together. I knew that since there had been damage, it wasn't going to be worth as much as a bed. I didn't want to have to buy any extra for this piece. Any wood that I used had been part of the original bed.
Steps:
1. Cut the foot board. I really wanted to keep the embellishment, but that wasn't going to happen. My husband cut it with a circular saw. That's out of my ability range!
2. I took the rails to make the bench. Nothing was screwed together yet because I wanted to make sure I was going to have everything set first.
3. I made sure everything was level and used clamps to help keep the bench part with the even with the back (headboard). I didn't have a large enough clamp, so I just hooked two together. It actually worked really well!
4. We made sure there was enough support for the bench by using one of the side rails for the front of the bench (where the backs of a person's knees and shins would be while sitting).
5. Then we put the bed's support boards in for the seat. There was a gap at the back. Of course.
6. I used the other side board for the gap in the back. It makes the bench's back have a little more support, which I really like.
7. I filled in all the holes from the screws with wood filler.
8. I painted it with Annie Sloan's Old White in a mix-matched pattern.
9. I distressed the lines.
10. I clear waxed with Annie Sloan's wax and wiped it off.
11. I dark waxed it and wiped it all off.
This says 11 steps, but believe me, it was WAY more! Hopefully you get the idea! I love how she turned out!
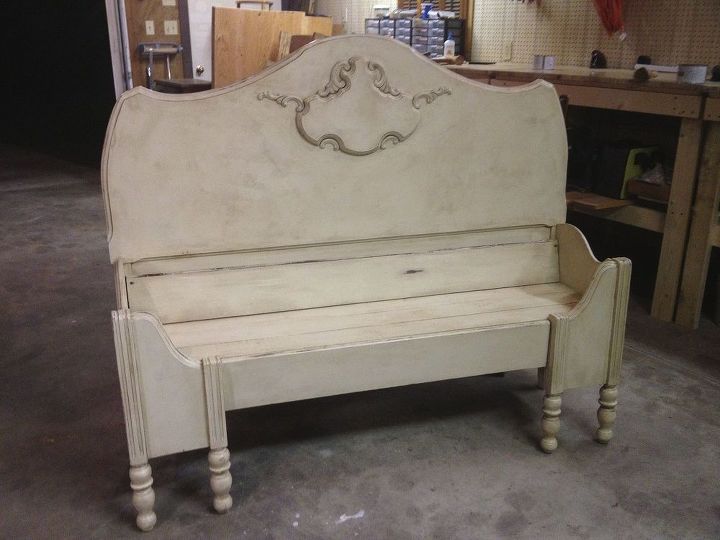
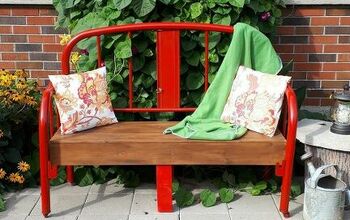
Ta-Da! I love her!
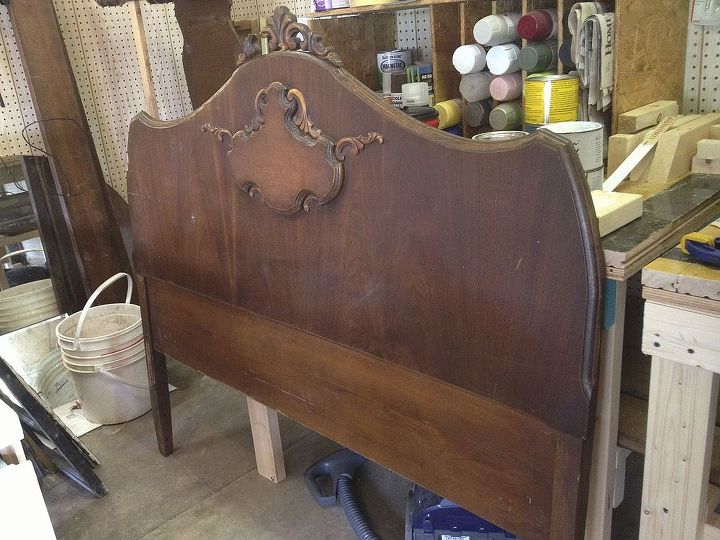
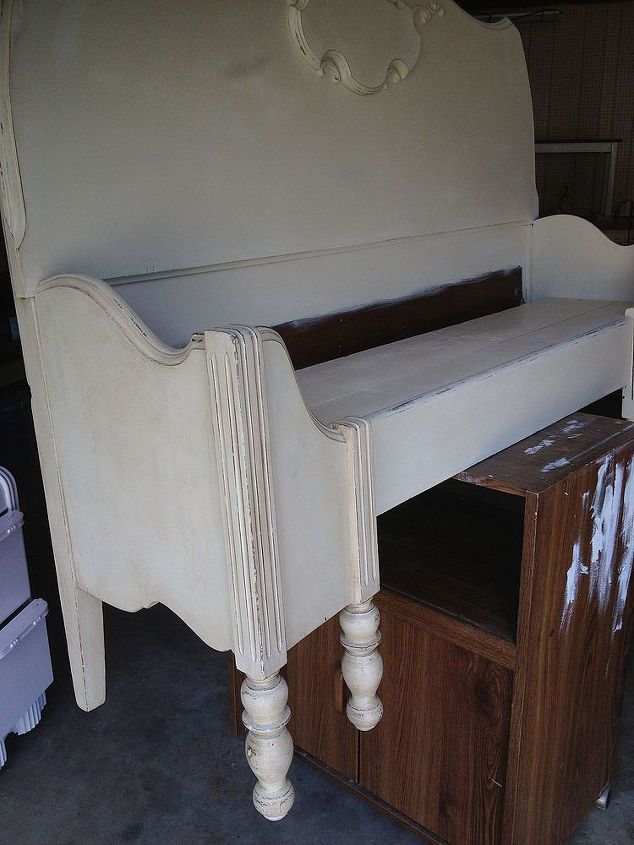
This was the original headboard. There were some cosmetic issues.
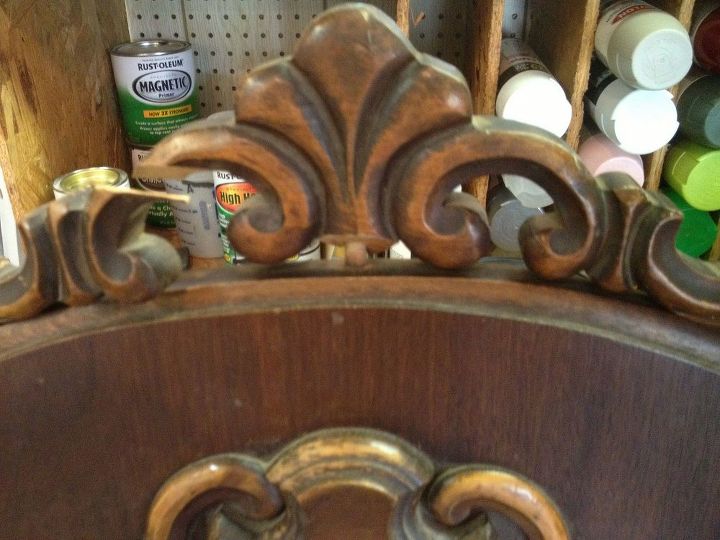
I had originally planned on saving this topper, but later decided that it made the bench look too much like a bed so I decided to leave it off.
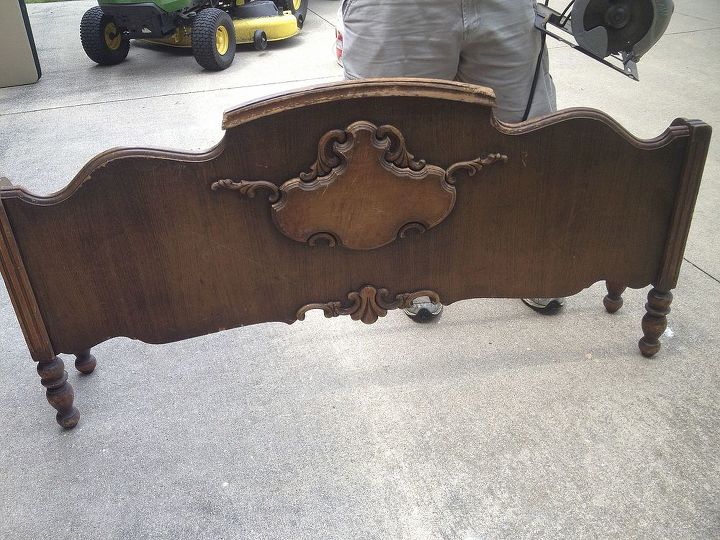
Here's the footboard.
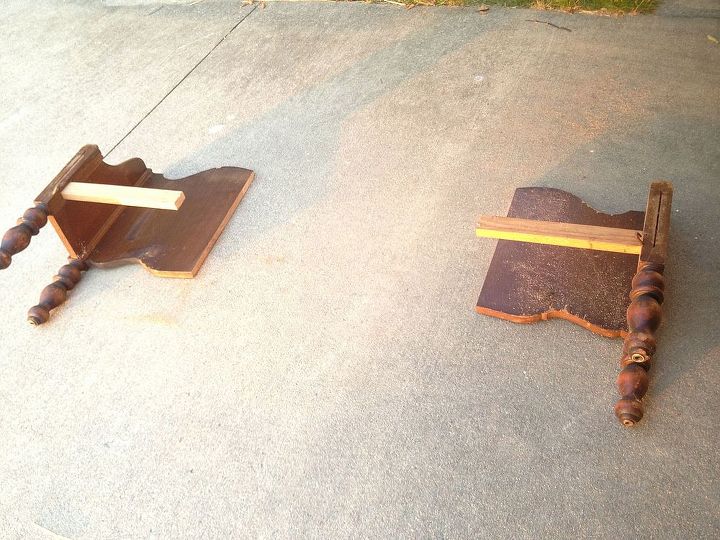
We cut the footboard in two with a circular saw.
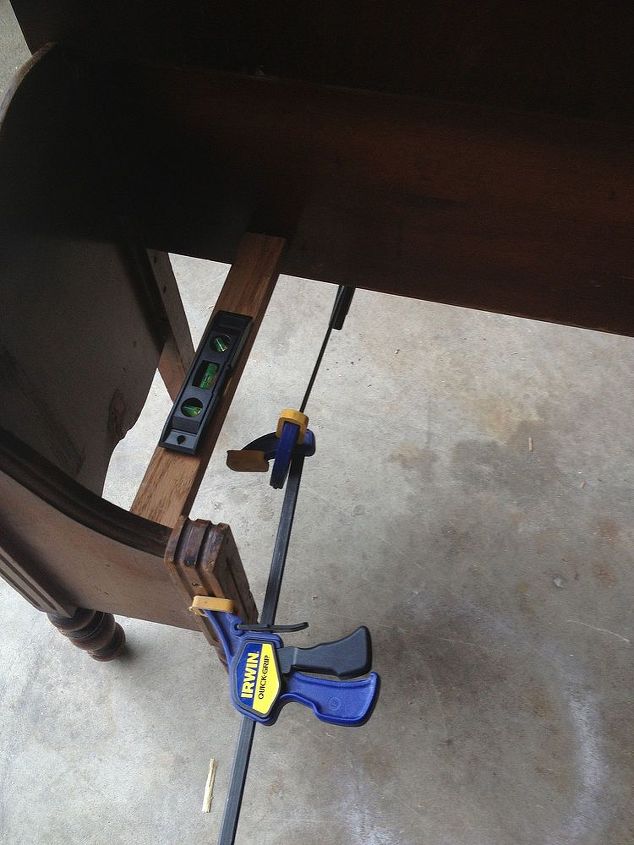
Using two clamps, I was able to steady and level the seat.
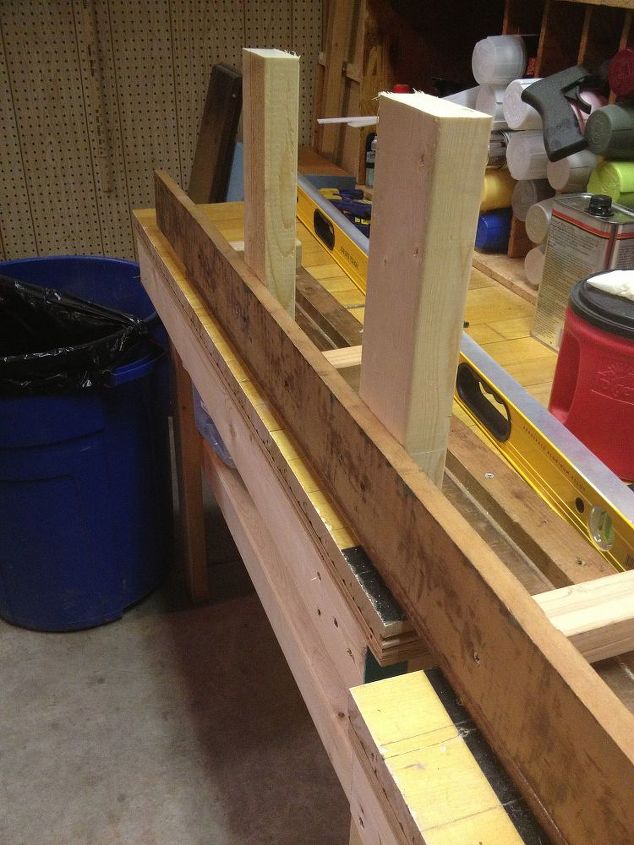
We used one of the sideboards of the bed frame to connect the two sides of the foot board.
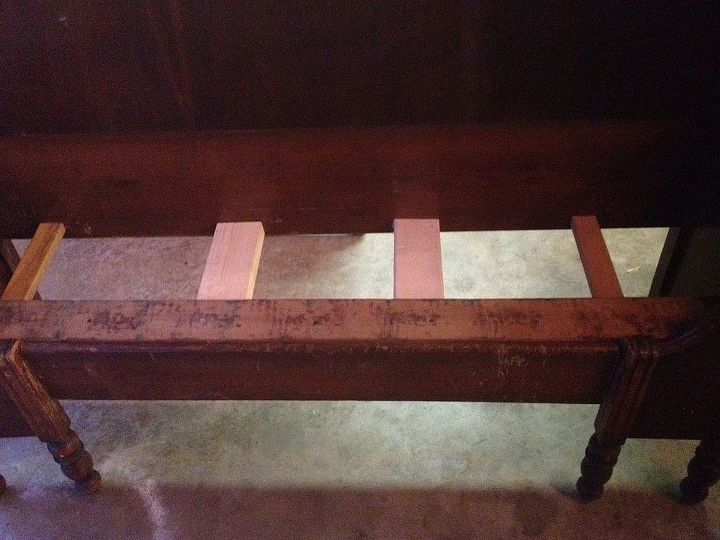
Here's the previous picture on the seat area.
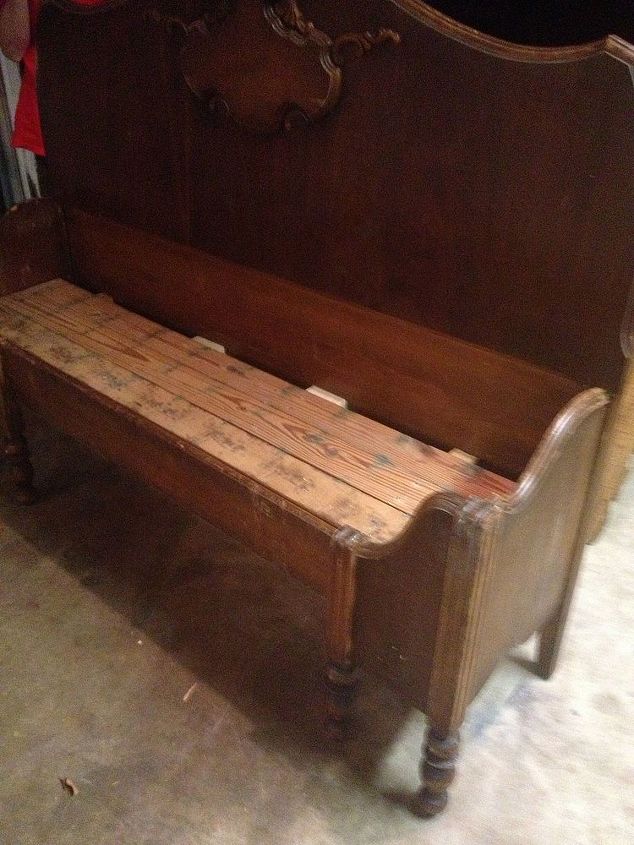
The support boards act as the seat.
There had been a gap between those support boards and the back of the bench. I put the other side rail at the back.
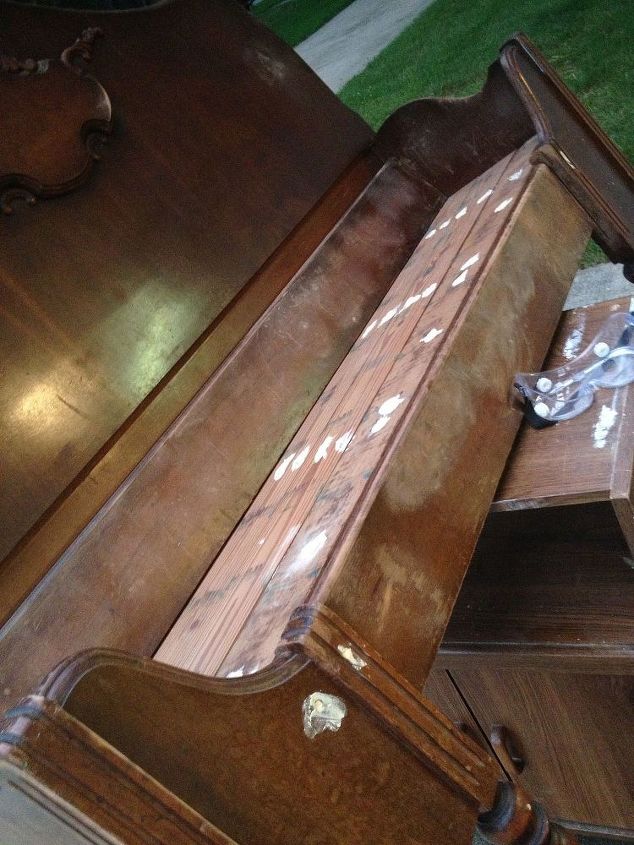
I filled in all the screw holes after screwing the boards together.
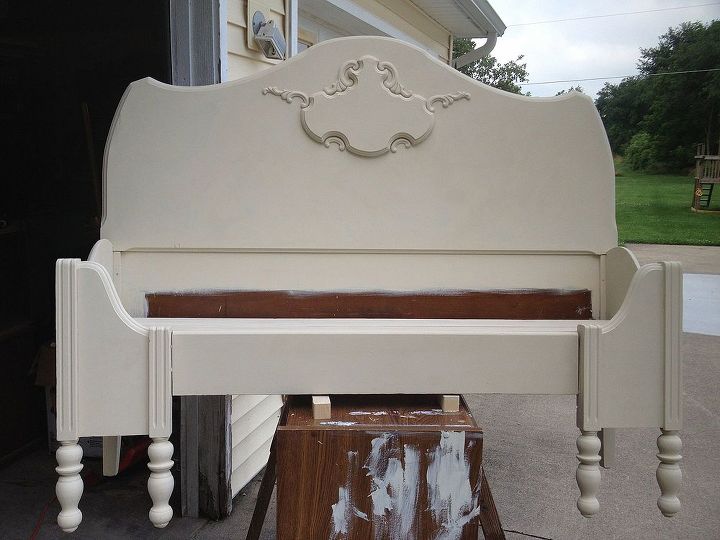
I painted her in Annie Sloan in Old White.
Then, I clear and dark waxed her.

Want more details about this and other DIY projects? Check out my blog post!
Comments
Join the conversation
3 of 38 comments
-
I love re-purposing projects. Thanks for sharing. I have a 75 year old double bed that I may make into a bench once I find a replacment bed I like. This was a great idea.
-
This is gorgeous If I live near you I be there in a heart beat :(


Frequently asked questions
Have a question about this project?