


DIY SILICONE MOLD - Step-by-step (3D Halloween Scars)

4 Materials
The easy way to make your own silicone mold any shape and texture!

I Love Halloween, so I want to show you how to make "Creepy scar" silicone mold. But you can use this method for any shape and textures you want. Coin texture, leaf texture, molds of any shapes and sizes - easy-peasy!
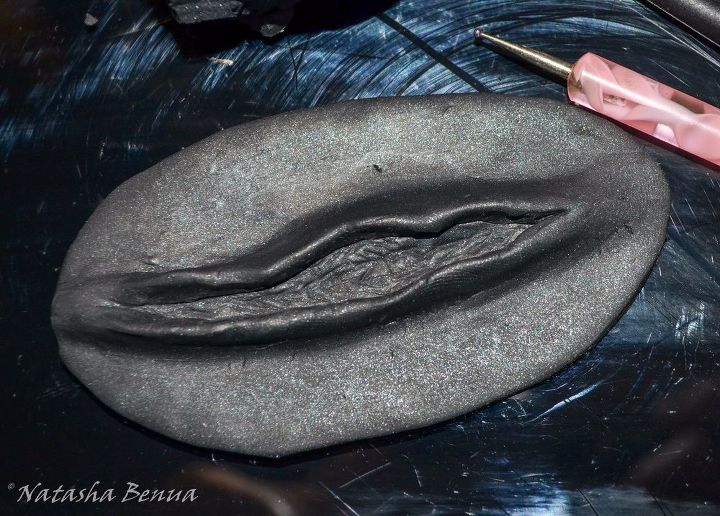
1. Create polymer clay model and bake it. Let it cool down properly
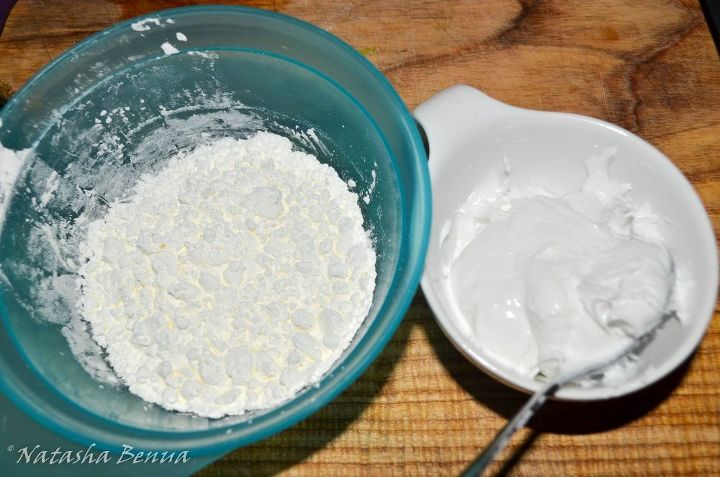
2. Mix together 1.5 part of corn flour and 1 part of silicone ( silicone smells awful!)
The silicone- corn flour mix will look like this.
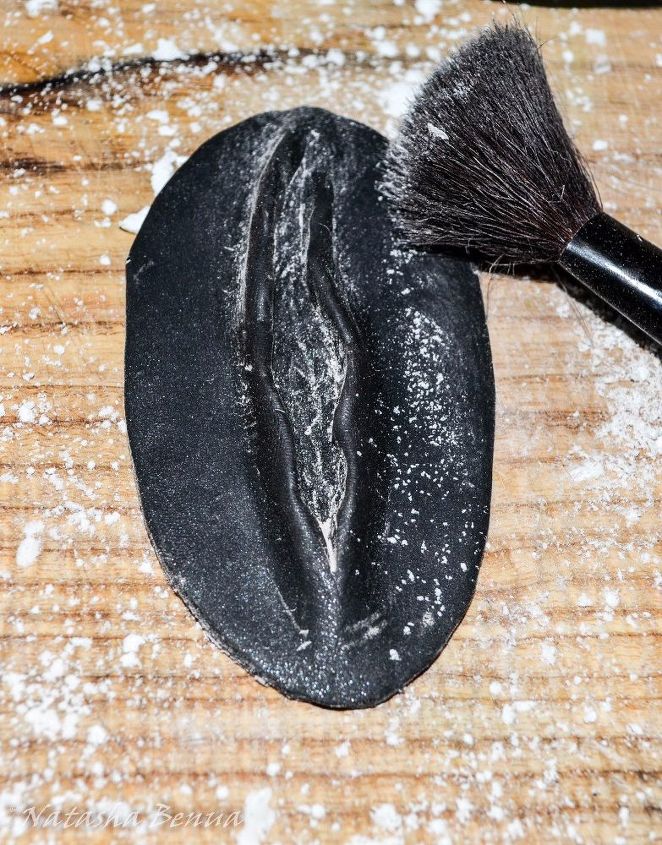
3. Dust the polymer clay model with corn flour
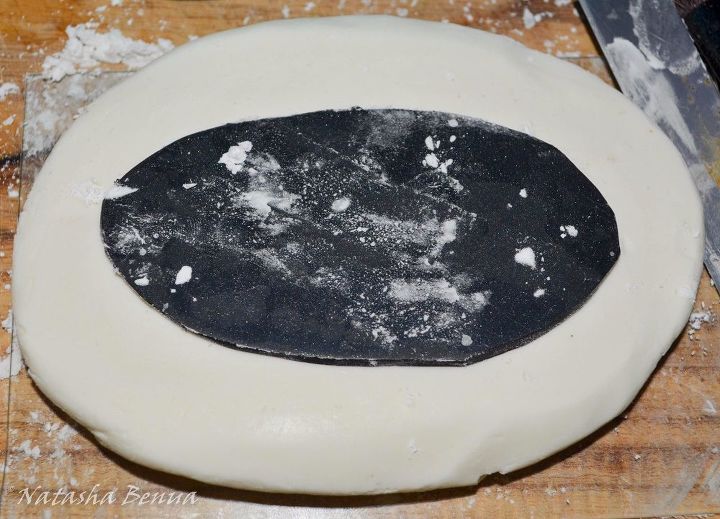
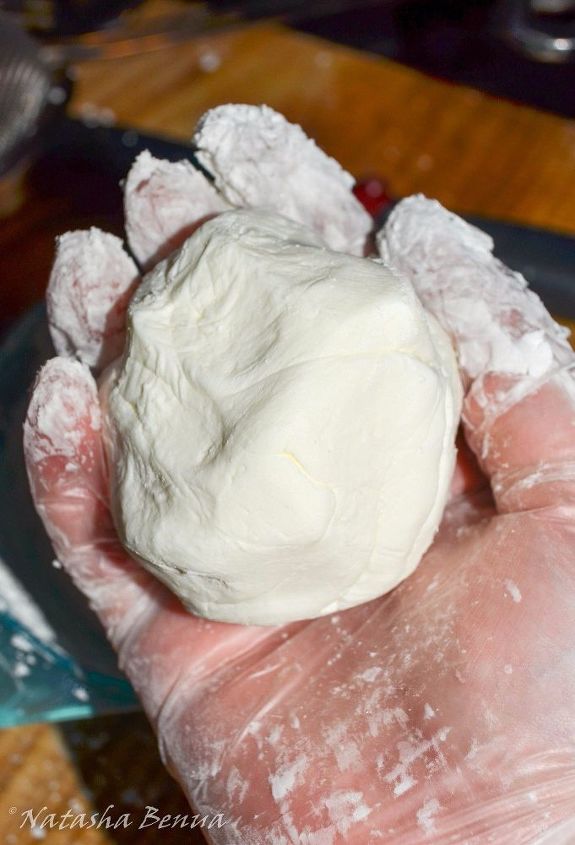
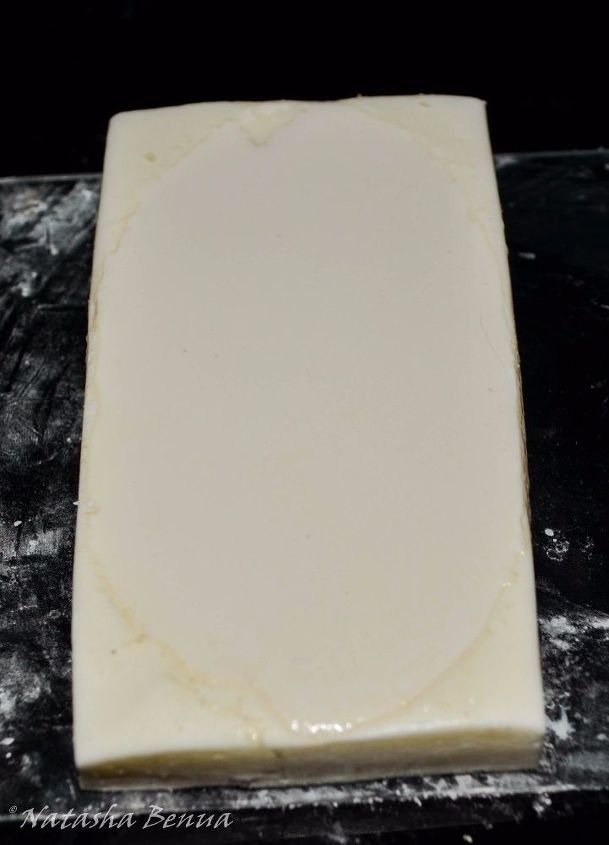
4. Flatten the silicon mix and press your dusted model into it equally
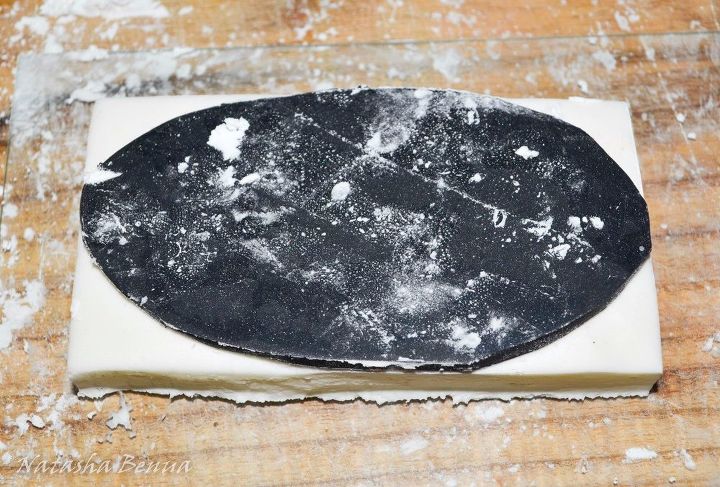
5. Trim the edjes if needed
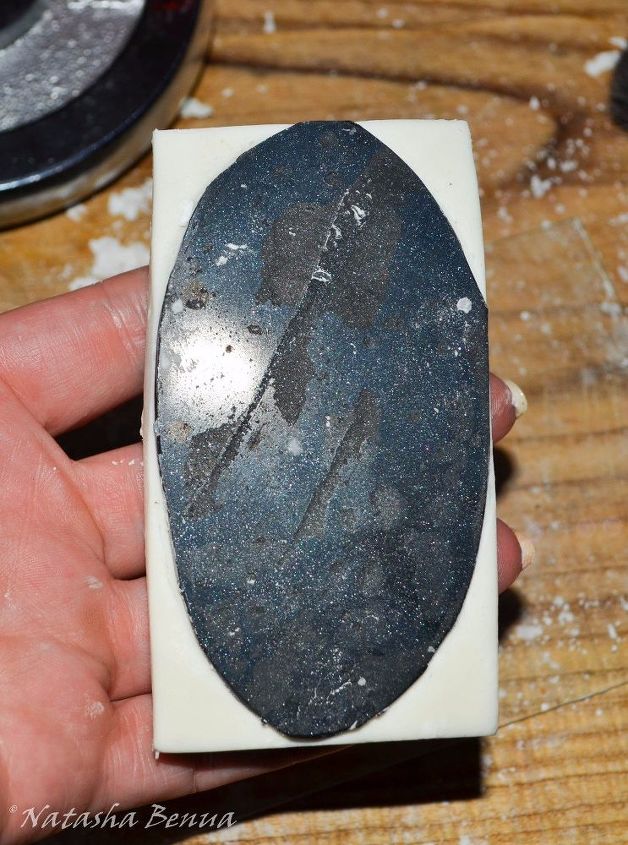
6. Let it set for 30-40 minutes
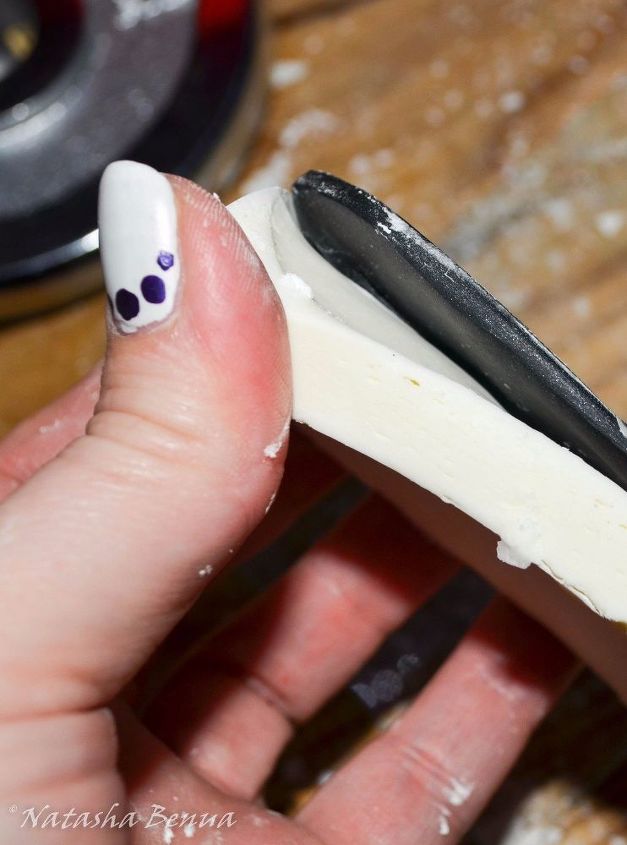
7. Carefully separate mold and model
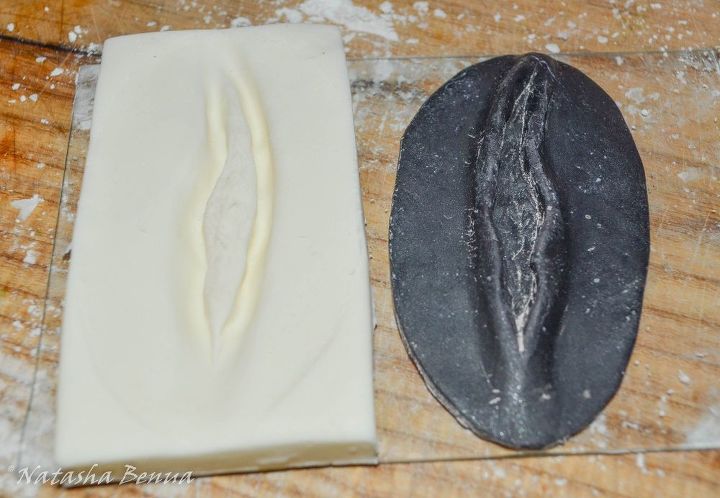
8. Ta-dah! Your silicone mold is ready!
9. Grease your mold (vaseline o cooking oil), place it on a leveled surface and carefully fill it with liquid latex (NB!! - liquid latex smells even more awful than silicone, but smell will gone after 15-20 minutes)
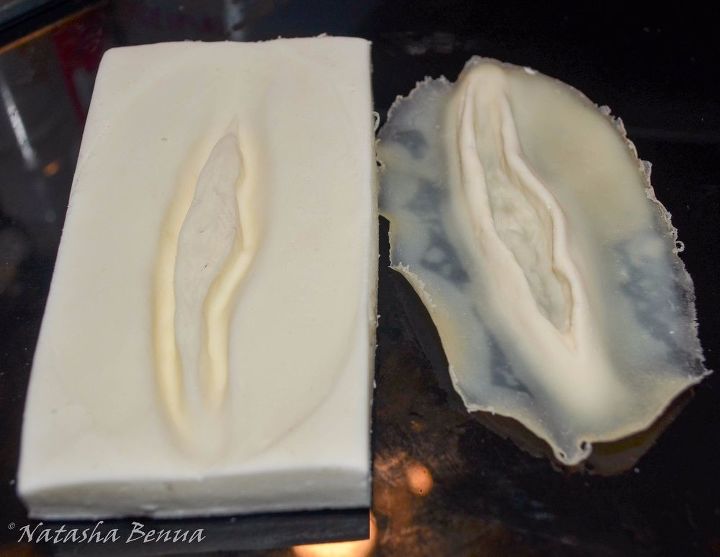
10. Let it dry for 12-18 hours :)
Comments
Join the conversation
4 of 8 comments
-
Woa!!! So realistic and creative!!
-
LOVE it when I was first glancing through, I thought OMG who would put their injury out on this site....good to know it was fake and I learned how to do it to scare otheres.


Frequently asked questions
Have a question about this project?