


A Sewing Desk and Milk Paint

by
Natalie
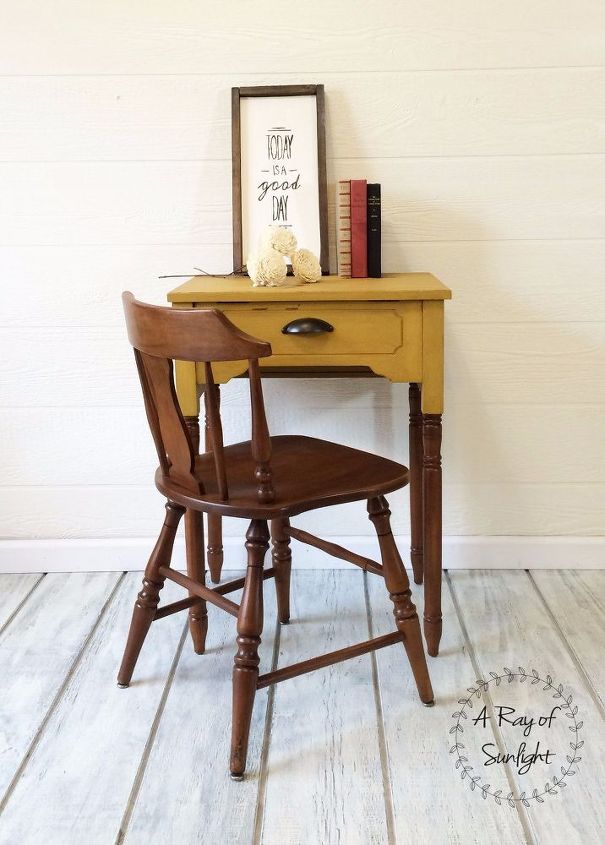
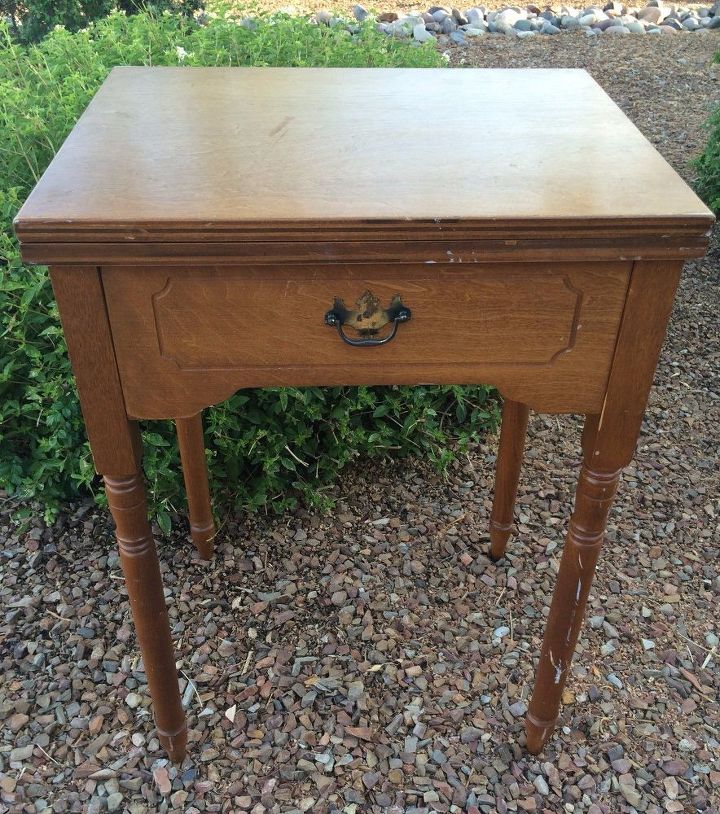
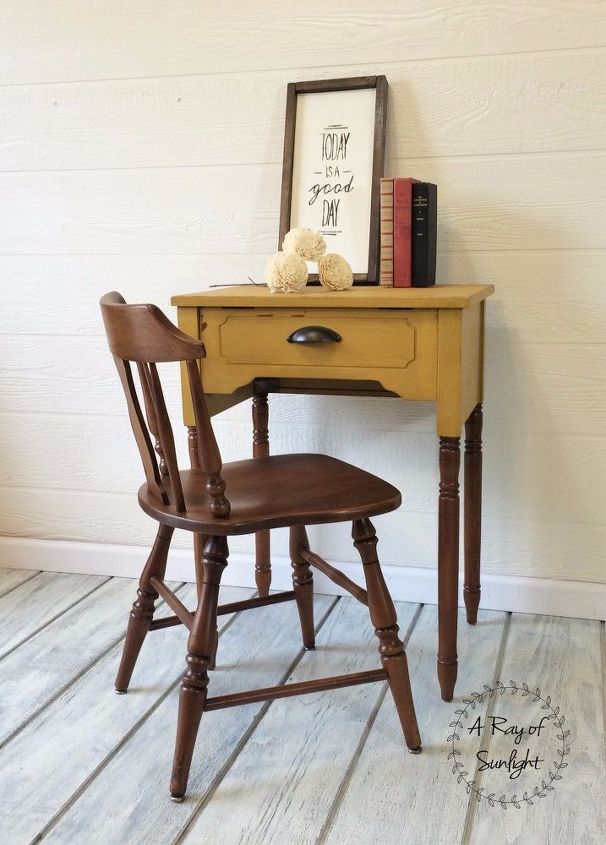
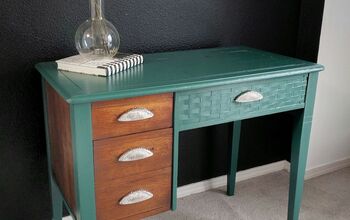
Have you ever seen a sewing desk waiting for a new life, but you didn't know what to do with it? Even though I love to sew, these old desks aren't able to hold our new sewing machines without a lot of changes made to the desk. If you are lucky enough to find a sewing desk, with a working sewing machine AND you love to sew but don't have a working machine, this would be a gold mine! But there are few that fit into that description.
Open up the hinged top of the desk and unscrew the hinges until it is detached from the desk. Once it is detached, you will easily be able to flip the whole desk over onto it's top without worrying about the hinged top opening up on you.
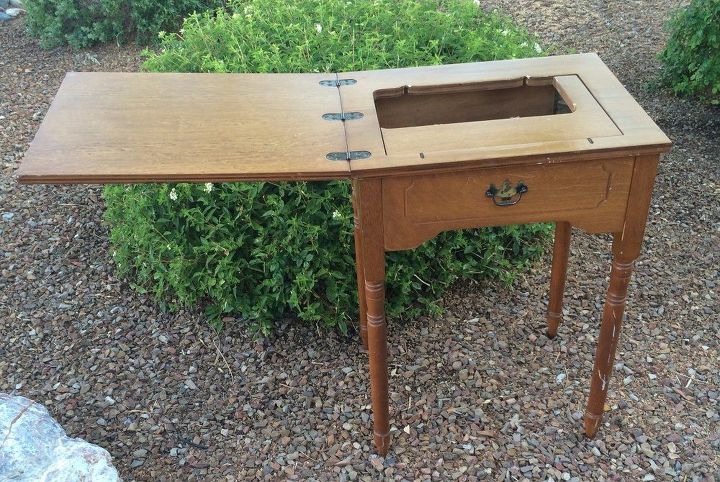
Open up the hinged top of the desk and unscrew the hinges until it is detached from the desk. Once it is detached, you will easily be able to flip the whole desk over onto it's top without worrying about the hinged top opening up on you.
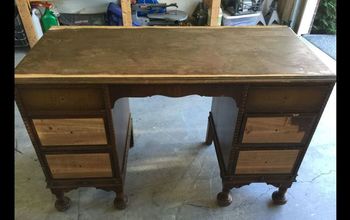
Next remove the screws that are holding the top onto the base and legs. I have seen one where the base had pocket holes with screws holding on the top, and another where the corner braces holding on the legs also had screws holding on the top. Either way, find the screws that are holding your top piece on and unscrew those.

Because there used to be hinges on the top swinging piece, (if you haven't removed them, do so now) there are some holes that need to be filled in. Mix up a bit of Bondo and fill in the holes with your putty knife. I use the multi-purpose Bondo. It comes with a can and a little tube of hardener. Follow the ratio and directions on the can, but don't make it until you are ready to slather it into your holes. Making sure to keep it as smooth as possible so you don't have to sand extra once it is dry. Bondo stinks, so make sure you are outside in a well ventilated area, but this stuff sure works wonders where wood filler can't.
Once the Bondo is dry, (give it at least a couple of hours, depending on your climate and how much hardener you mixed in) get out your electric sander (hand sanding would take AGES!!) and go to work making it all level and smooth.
Want more details about this and other DIY projects? Check out my blog post!
Comments
Join the conversation
2 of 56 comments
-
I used one for years for my sons fish tank. It was perfect, added a little hook below to hang the net and we stored the fish food in the front door.
-
I certainly like the paint job. Thank you.


Frequently asked questions
Have a question about this project?