


Wicker Storage Hutch Drab to FAB!
4 Materials
$80
5 Hours
Medium
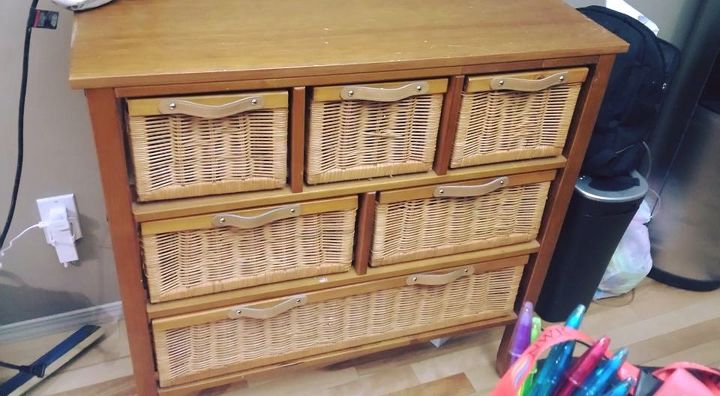
Once Upon a time there was a couple who had no children and their items stayed in pristine condition.... until one day they had kids and that all changed. You don't even realize how much wear and tear a toddler can make in a day or on the most mundane items. This was a hutch my husband and I had bought at our local big box store and sadly we paid too much for it I think around 240? We had it for a year before we had children and it was great in our dining room. Once our daughter arrived it seen more use as she grew storing her arts and craft supplies and her playdooh and whatever else little things that children seem to accumulate.
With her using daily mostly multiple times in a day it started to get scratched and scuffed, dinged and dented. It was looking like my little storage unit had seen the end of its days. With the few years that we had the unit we had also upgraded the décor piece by piece and the little unit just wasn't matching anymore.
SO I decided to refinish it instead of scrap it...
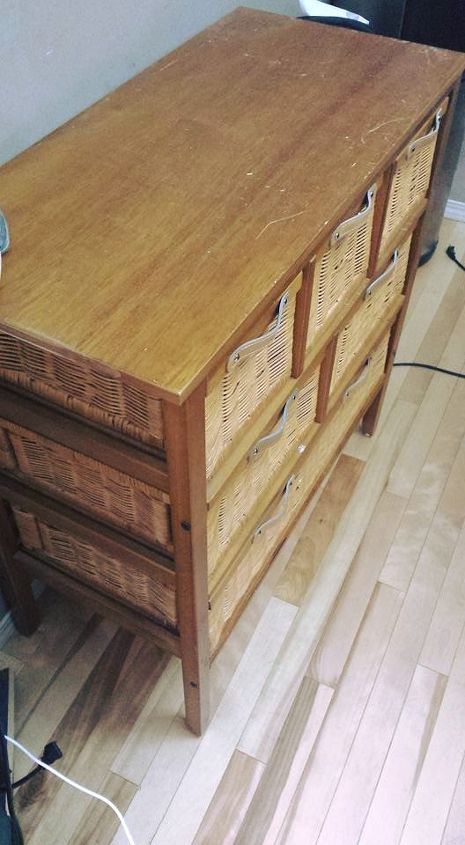
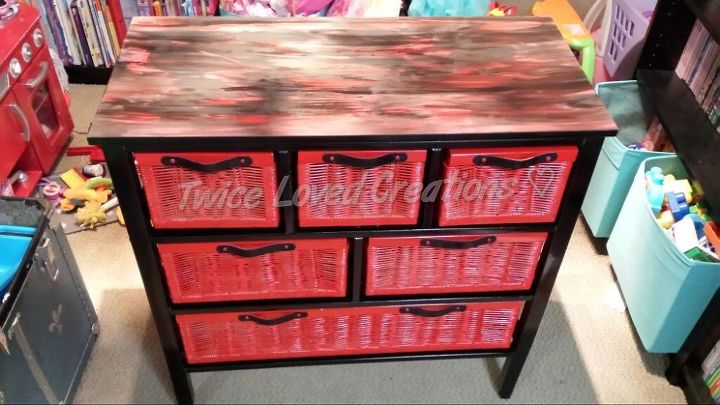
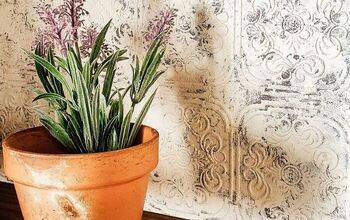
The Storage unit in all its glory!
To start this project I decided to sand the top to bare wood, removed all the drawers and took it outside to paint it.
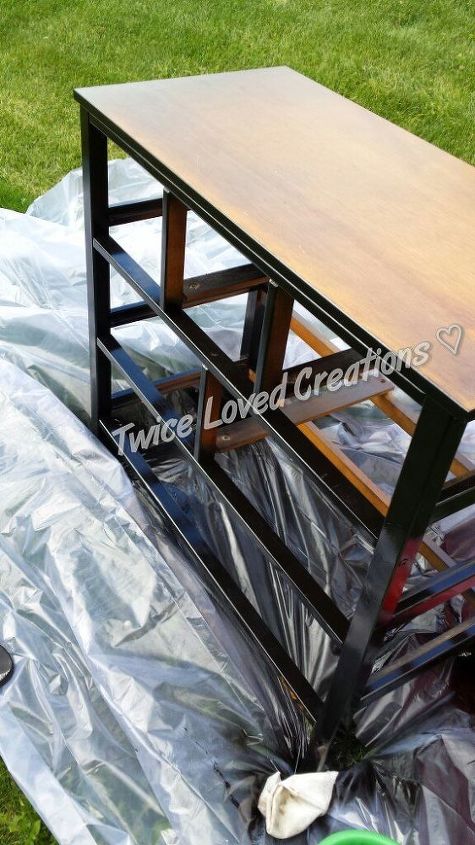
Once the hutch was wiped down of any dust oils and debris I painted it glossy black ( Rust-olium Glossy Black) making sure to go in even strokes as to get full coverage and no dripping. This I did in 2 coats.

The drawers were also spray painted in (Rust-olium glossy red) (I usually hate working with spray paint as I don't usually like applying it to furniture) This also was done in 2 coats.
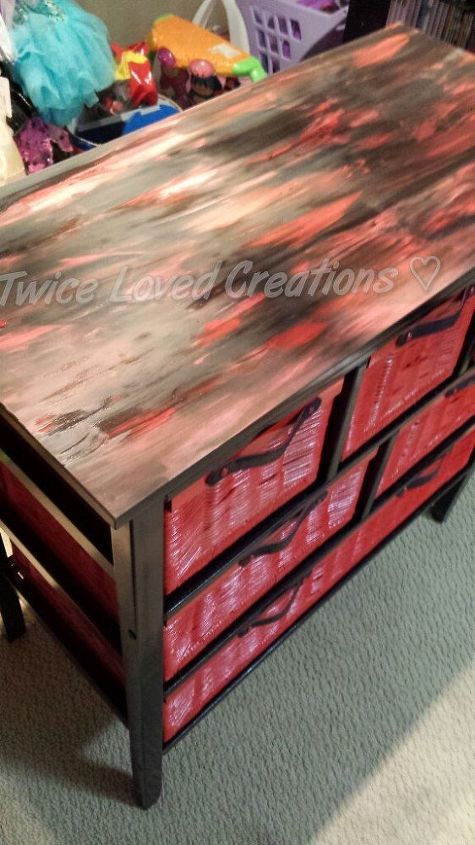
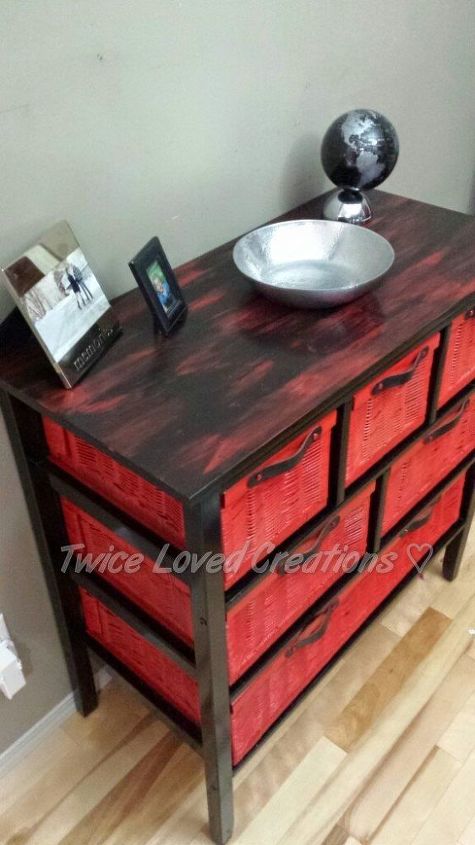
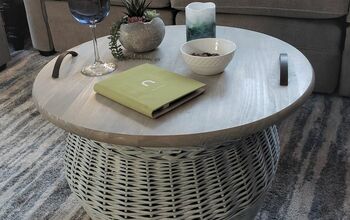
Now time for the top! This was all hand painted (literally I used my hands lol kind of like finger painting for adults)
Once the US (unicorn spit) dried (which is like 20 min) I then applied 4 coats of Minwax fast drying polyurethane with a brush being careful to do even strokes. This will ensure even coverage and durability of your paint.
I forgot to mention that I hand painted each handle in a regular black acrylic paint and also sealed it with the Minwax Polyurethane.
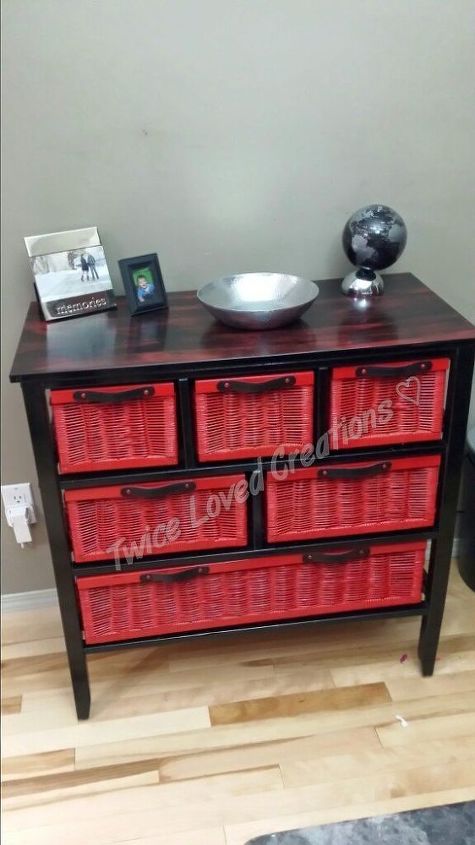
ALL Done.

Want more details about this and other DIY projects? Check out my blog post!
Comments
Join the conversation
3 of 65 comments
-
I have an identical dresser, it made me realize it was time for a change! Thanks for your sharing photos and method.
-
Thanks!


Frequently asked questions
Have a question about this project?