


A Black & White Halloween Mantel
GHOSTLY GREETINGS!
Now that it’s officially fall, I feel I can finally talk about one of my favorite fall subjects – Halloween! I absolutely love Halloween and get really into it every year thanks to my neighbor whose love of the holiday is truly contagious!
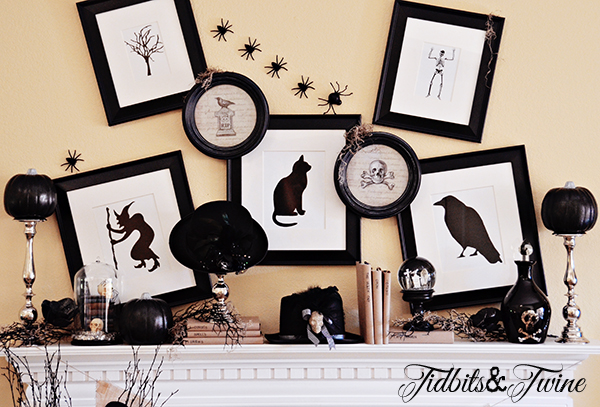
While I normally only decorate the outside of my home for Halloween, I wanted to put together a Halloween mantel display on a budget. I reused items from around the house, made the spooky book covers, and purchased a few items from a discount store. I am all about affordable decorating! If you click through to the full post, I’ll give you some ideas as to how you create a similar Halloween mantel using less expensive items or objects you might already own, plus tips for recreating the look.
I started by taking the picture frames that were in my son’s room and replacing the art with free Halloween-themed clipart that I found online. I sized each image to fit the frame and ta-da! Instant Halloween art! The perfectionist part of my personality was a little hesitant to hang the frames crooked, but once I got into it, it was fun! I ended up needing to put a small finishing nail at the bottom corner of each frame to help hold it crooked. Luckily, I was okay with putting the extra holes in my wall since the artwork that I normally have hanging above my fireplace is large and will cover the nail holes.
I added two round framed images and some black glittery spiders to complete the wall decor.
On top of the mantel, I used kraft paper stamped books as filler and as bases to add height to other objects. To learn how to make these books, you can visit my post here. The great thing about these books is that the covers aren’t permanent and don’t damage the books underneath, so you can use hardcover books you already own as themed displays.
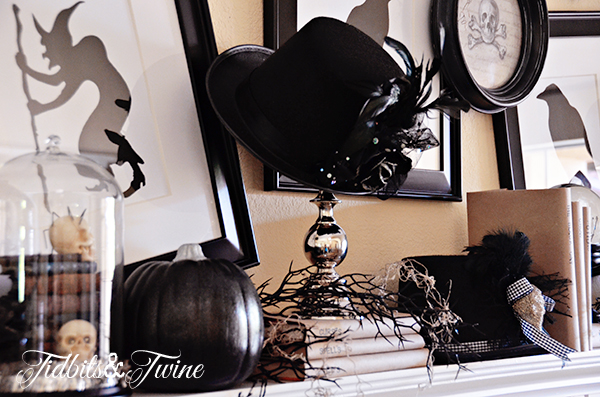
Alongside the books, I used a combination of craft pumpkins, black hats, silver candlesticks, black twigs that I draped with Spanish moss and a few pieces of Halloween decor. I placed everything at varying heights to add interest to the overall display. I’m in love with those hats!
I made the burlap banner for my son’s campout birthday party and reused it for the mantel. Since I used paper letters attached with glue dots for the birthday, I was able to remove the letters and replace them with the word “SPOOKY.” I then placed one of the urns that I chalk painted at the base of the mantel with more black branches.
Please visit my site to get ideas for how to recreate this look using items you probably have around your home, plus get tips for recreating the look.
http://tidbitsandtwine.com/decorating-a-halloween-mantel/
Now that it’s officially fall, I feel I can finally talk about one of my favorite fall subjects – Halloween! I absolutely love Halloween and get really into it every year thanks to my neighbor whose love of the holiday is truly contagious!
While I normally only decorate the outside of my home for Halloween, I wanted to put together a Halloween mantel display on a budget. I reused items from around the house, made the spooky book covers, and purchased a few items from a discount store. I am all about affordable decorating! If you click through to the full post, I’ll give you some ideas as to how you create a similar Halloween mantel using less expensive items or objects you might already own, plus tips for recreating the look.
I started by taking the picture frames that were in my son’s room and replacing the art with free Halloween-themed clipart that I found online. I sized each image to fit the frame and ta-da! Instant Halloween art! The perfectionist part of my personality was a little hesitant to hang the frames crooked, but once I got into it, it was fun! I ended up needing to put a small finishing nail at the bottom corner of each frame to help hold it crooked. Luckily, I was okay with putting the extra holes in my wall since the artwork that I normally have hanging above my fireplace is large and will cover the nail holes.
I added two round framed images and some black glittery spiders to complete the wall decor.
On top of the mantel, I used kraft paper stamped books as filler and as bases to add height to other objects. To learn how to make these books, you can visit my post here. The great thing about these books is that the covers aren’t permanent and don’t damage the books underneath, so you can use hardcover books you already own as themed displays.
Alongside the books, I used a combination of craft pumpkins, black hats, silver candlesticks, black twigs that I draped with Spanish moss and a few pieces of Halloween decor. I placed everything at varying heights to add interest to the overall display. I’m in love with those hats!
I made the burlap banner for my son’s campout birthday party and reused it for the mantel. Since I used paper letters attached with glue dots for the birthday, I was able to remove the letters and replace them with the word “SPOOKY.” I then placed one of the urns that I chalk painted at the base of the mantel with more black branches.
Please visit my site to get ideas for how to recreate this look using items you probably have around your home, plus get tips for recreating the look.
http://tidbitsandtwine.com/decorating-a-halloween-mantel/
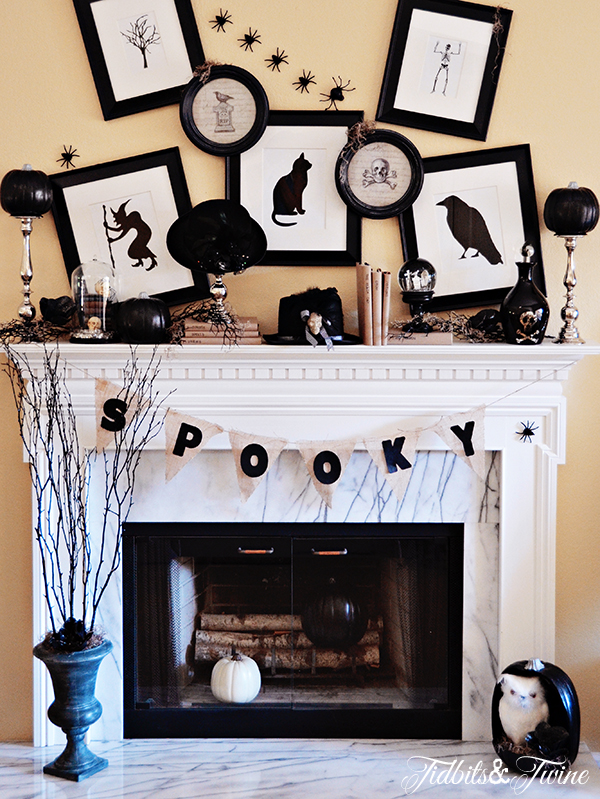
A black, white and silver Halloween mantel.
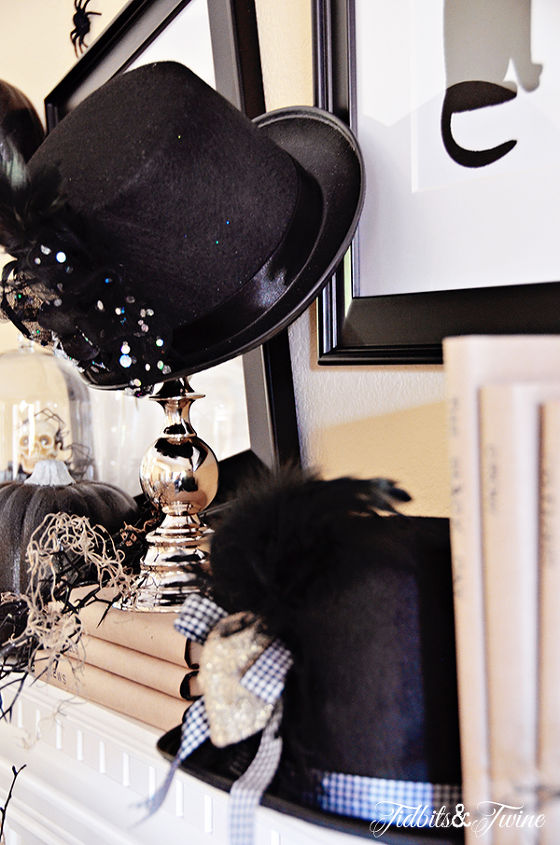
I am in love with these Halloween hats!
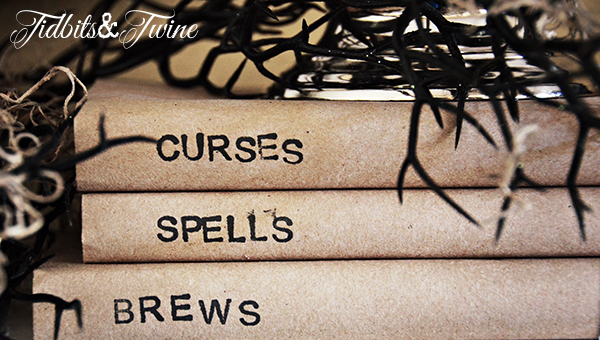
Learn how to make these kraft paper stamped books here: http://tidbitsandtwine.com/diy-stamped-kraft-covered-books/
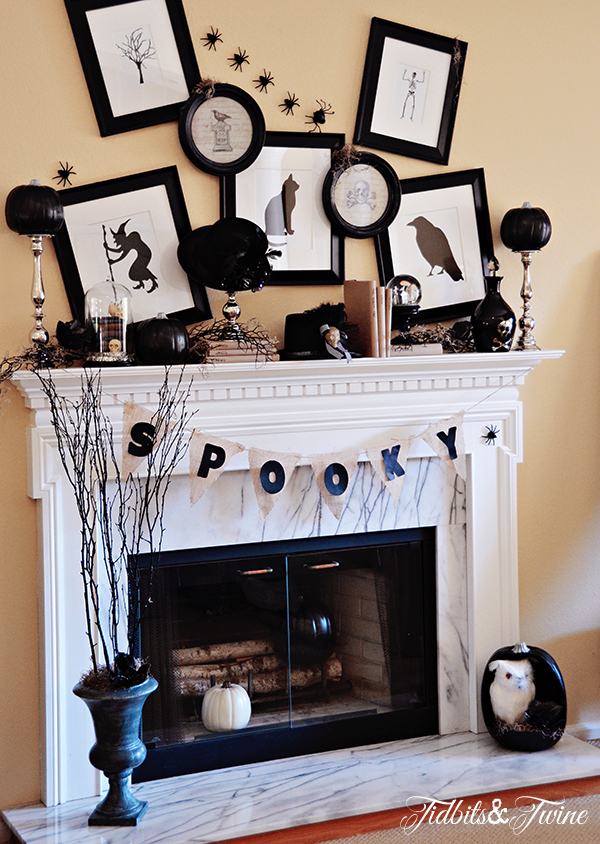
I reused the burlap banner I made for my son's birthday, replacing the letters so that it says, "Spooky."
I downloaded free clipart and sized the images to fit the picture frames.
Black branches with Spanish moss cover the mantel.
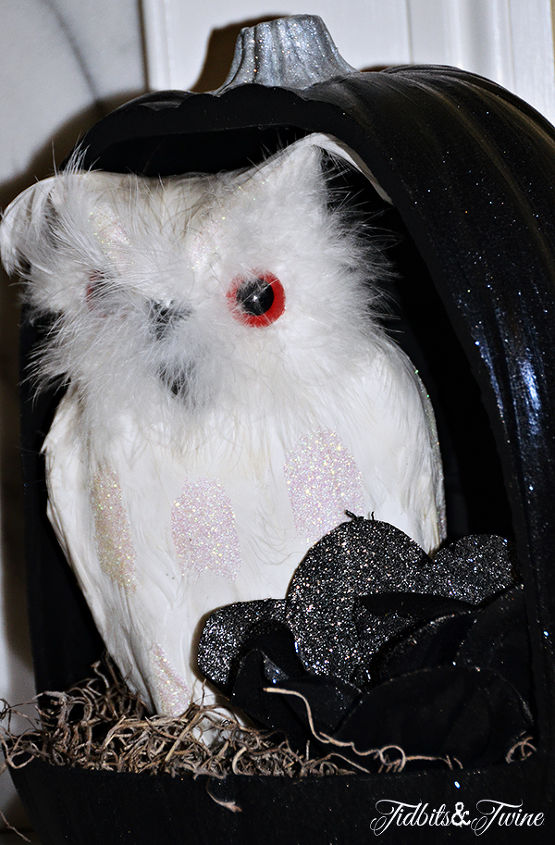
A watchful owl peeking out from a pumpkin. #pumpkinideas

Want more details about this and other DIY projects? Check out my blog post!
Comments
Join the conversation
2 of 4 comments
-
I love it! The books really coughs my eye for some reason. So simple, but effective! Great job!
-
What a great way to use clip art. Great idea for Halloween, but I could see this done with the rest of the holidays and seasons, too.


Frequently asked questions
Have a question about this project?