


DIY Tin Can Christmas Advent Calendar
6 Materials
$5
2 Hours
Easy
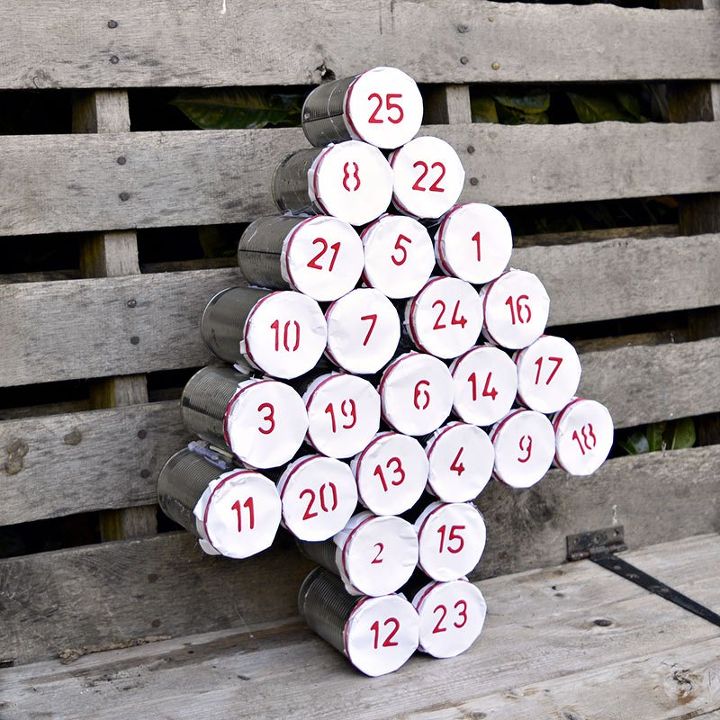
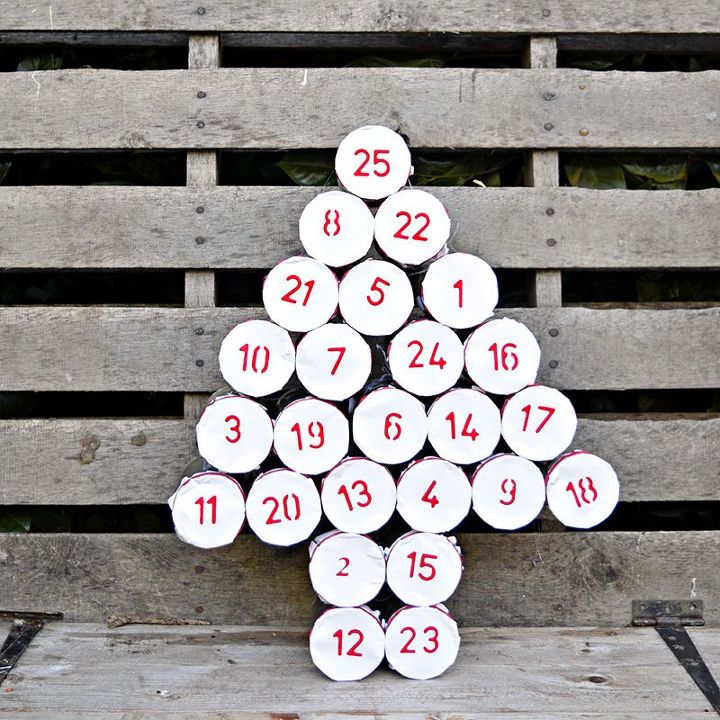
To me the best bit about Christmas is the run up to the big day itself. An advent calendar just adds to the anticipation and excitement. I love to make our families advent calendar, that way I can decide what the daily treat will be. This year I made our Advent Calendar out of tin cans in the shape of a Christmas tree. One can for each day, with a chocolate treat in each a Christmas picture cut from old cards and a cheesy Christmas joke to make the everyone smile.
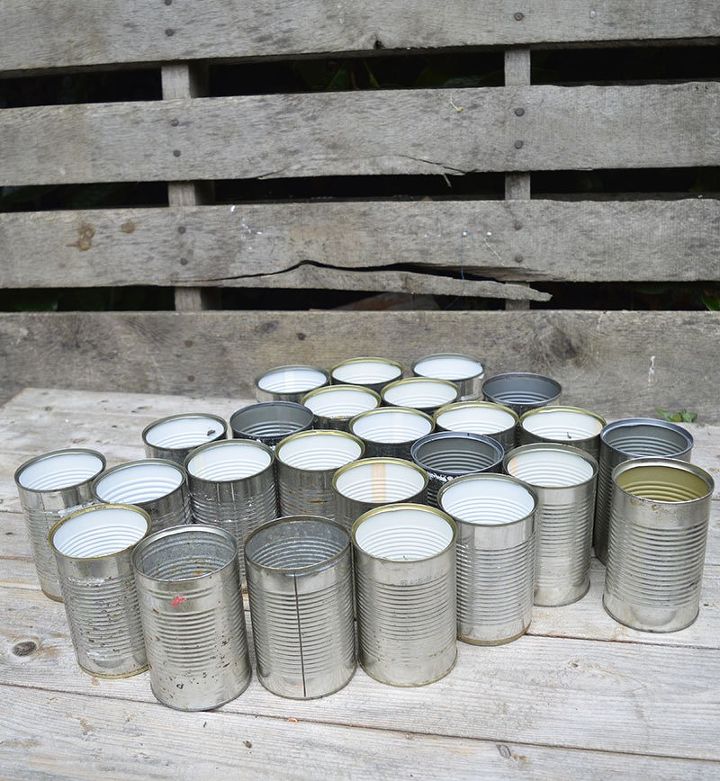
You need 25 tin cans for this calendar. I have a big stack of cans that I keep for all sorts of upcycling projects like my very popular colourful tin can planters.
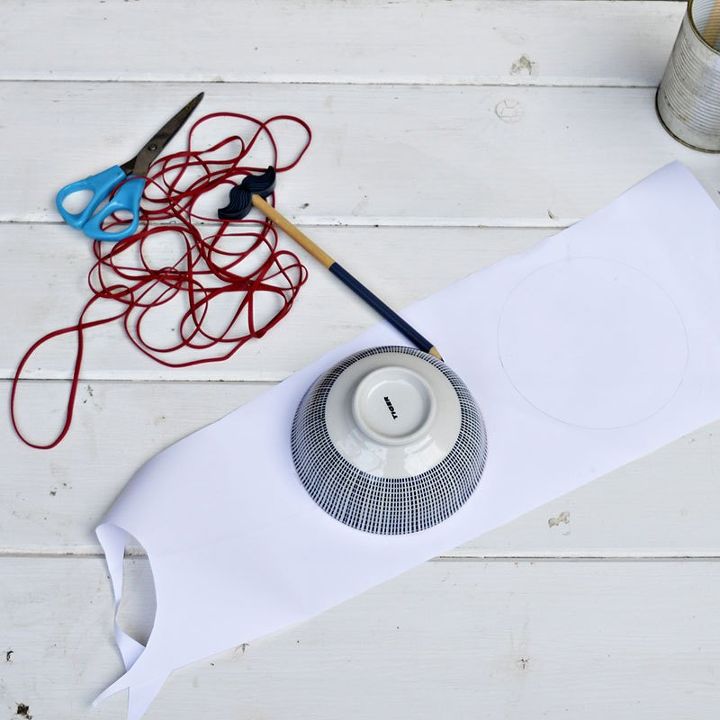
You also need 25 red rubber bands white paper (I used white wrapping paper from IKEA). Hot glue gun like this one or double-sided sticky foam pads Red sharpie Old Christmas cards for pictures Treats Collection of cheesy Christmas jokes (link on the blog)
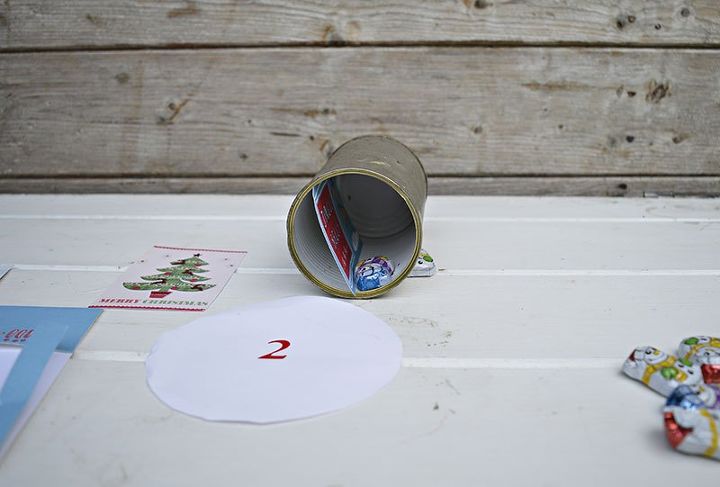
On the white paper draw round a bowl slightly larger than your can. Cut out this disc and repeat until you have 25. Using the sharpie stencil or write the numbers 1-25 on each disc. Cut out 25 Christmas pictures from old Christmas cards and write a different cheesy Christmas joke on the back of each picture.

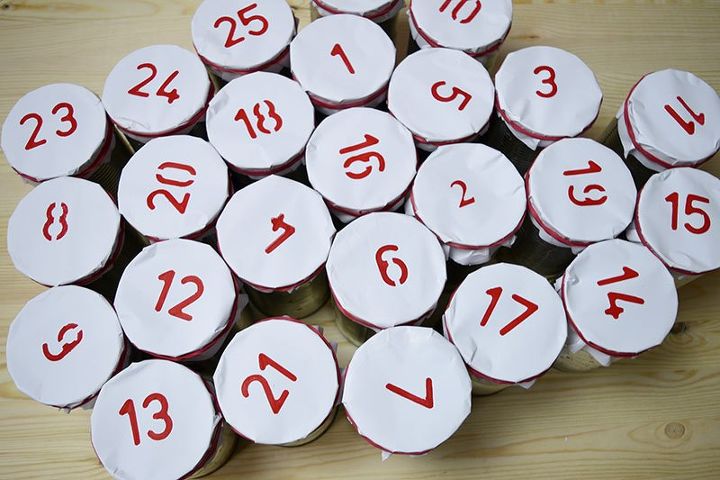
Put a picture and a treat in each can. Then cover with your white paper disc and secure with a red rubber band.
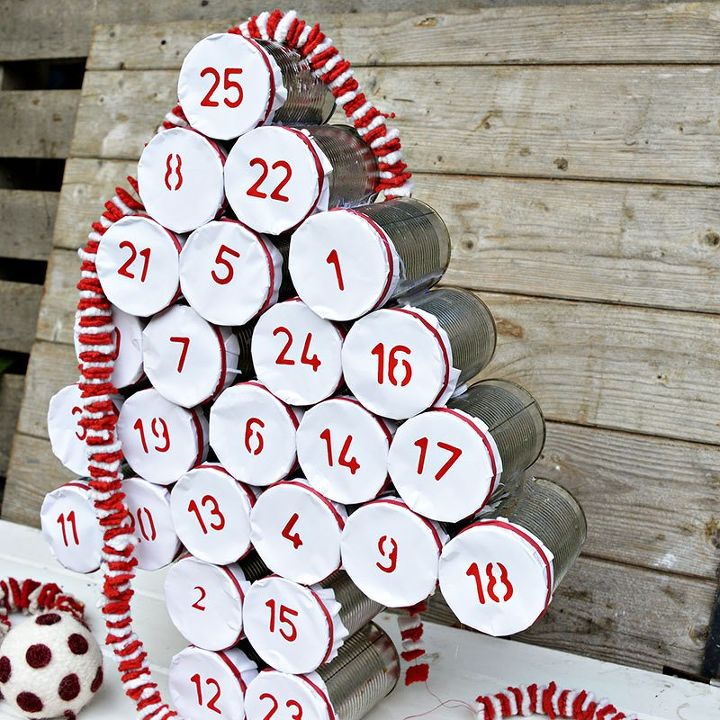
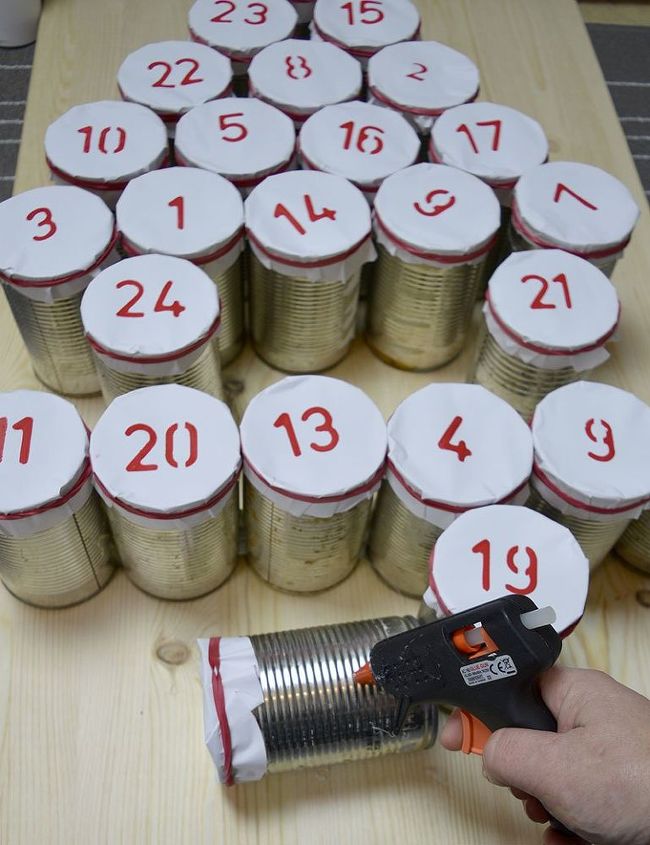
When all are done. Arrange your cans in a triangle tree shape with a trunk. Then using a combination of hot glue gun and foam sticky pads glue your tins together. (see blog).
To me half the fun of an advent calendar is finding the right day so I put my numbered cans in a random order. However I know some people like to have their calendars in date order. It doesn't really matter, just do it your way.
You might want to check out the DIY advent calendar I made last year, by making my own Christmas paper envelopes click here to see. If you have any good Christmas jokes I would love to hear them, please put them in the comments below so everyone can see them too.
Resources for this project:
See all materials


Any price and availability information displayed on [relevant Amazon Site(s), as applicable] at the time of purchase will apply to the purchase of this product.
Hometalk may collect a small share of sales from the links on this page.More info

Want more details about this and other DIY projects? Check out my blog post!
Comments
Join the conversation
4 of 82 comments
-
thanks
-
I'm wondering how you reinforce the bottom corner cans from falling off? Is it just hot glue? #18 #11 to be more specific.. and is their space enough to recover the cans to reuse more then one year?


Frequently asked questions
Have a question about this project?
This is great idea. My only concern is... how did you deal with the sharp edges of tin cans after they were opened?