


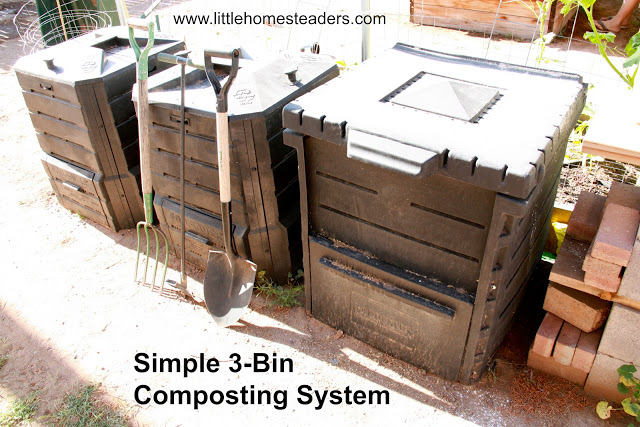
Using a 3-Bin Composting System for Maximum Efficiency
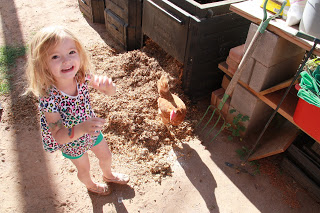
In my mind our composting process begins in the kitchen. The countertop compost bin, a ceramic bucket marked “simplify”, hosts all our organic kitchen waste, including vegetable and fruit discards, coffee grinds and spent filters, peanut butter and jelly sandwich remnants, anything besides dairy or meat waste. When full we dump it into one of three outdoor bins, where it is joined by garden and chicken coop waste.
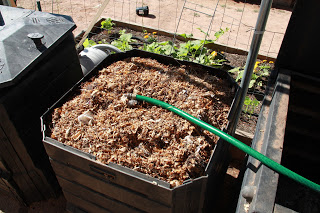
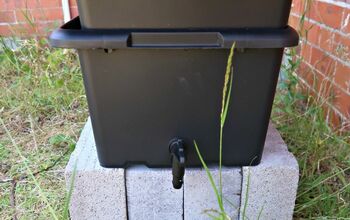
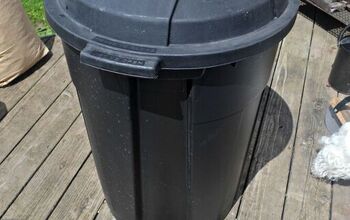
There are a handful of factors that go into a good compost mix: nitrogen, carbon, oxygen, water, and heat. Nitrogen sources are green, like food waste and garden clippings. Also, chicken manure or urine (we’ve composted our kids’ gDiapersover the years). Carbon sources are brown things like dried leaves, pine shavings from the coop, or shredded paper. The ratio is high on the carbon side - I’ve seen as much as 25:1 - so before we had the chickens’ shavings to add to the mix we used our shredded documents. The mix is ideally well-oxygenated, which can be done by turning the bin frequently or mixing in coarser material so the layers can breathe. Moisture can come either by rainfall through holes in the bin’s top or by occasional watering. The other important factor in breaking down organic waste is heat. Compost bins are usually black or a dark material to capture the sun’s heat. Here in the Arizona desert there’s no shortage of heat and sunlight.
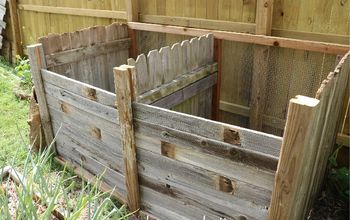
Our 3-bin setup allows us to rotate the material when one of the bins fills up....
Read the rest of the post by clicking below.
There are a handful of factors that go into a good compost mix: nitrogen, carbon, oxygen, water, and heat. Nitrogen sources are green, like food waste and garden clippings. Also, chicken manure or urine (we’ve composted our kids’ gDiapersover the years). Carbon sources are brown things like dried leaves, pine shavings from the coop, or shredded paper. The ratio is high on the carbon side - I’ve seen as much as 25:1 - so before we had the chickens’ shavings to add to the mix we used our shredded documents. The mix is ideally well-oxygenated, which can be done by turning the bin frequently or mixing in coarser material so the layers can breathe. Moisture can come either by rainfall through holes in the bin’s top or by occasional watering. The other important factor in breaking down organic waste is heat. Compost bins are usually black or a dark material to capture the sun’s heat. Here in the Arizona desert there’s no shortage of heat and sunlight.
Our 3-bin setup allows us to rotate the material when one of the bins fills up....
Read the rest of the post by clicking below.

Want more details about this and other DIY projects? Check out my blog post!
Comments
Join the conversation
2 comments
-
It sounds like you have composting down to a science.


Frequently asked questions
Have a question about this project?