


DIY Up-cycled Table Lamp

7 Materials
$15
Easy
Lamps are just not cheap these days. Especially the ones that I like, that look, well you know, expensive. So, instead of buying something new and paying a fortune, I'm going to show you how to take a Plain Jane table lamp and transform it into a beautiful masterpiece. Something that looks like it was purchased out of a fancy store.
Take a look at the the video below to get the complete list of supplies needed for this project and if you are like me... and just need to see it as opposed to reading it.
Take a look at the the video below to get the complete list of supplies needed for this project and if you are like me... and just need to see it as opposed to reading it.
{
"id": "3605633",
"alt": "",
"title": "",
"video_link": "https://www.youtube.com/embed/V5v5aXD_eZY",
"youtube_video_id": "V5v5aXD_eZY"
}
{
"width": 634,
"height": 357,
"showRelated": true
}
Now that you have all of your project items, it's time to get started.
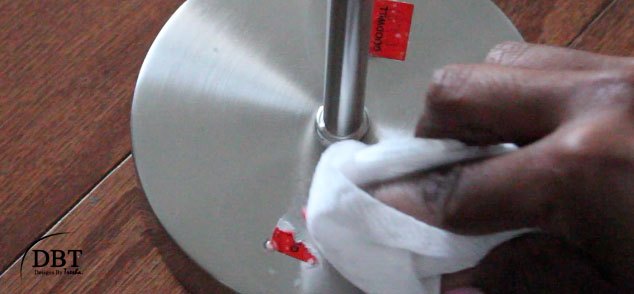
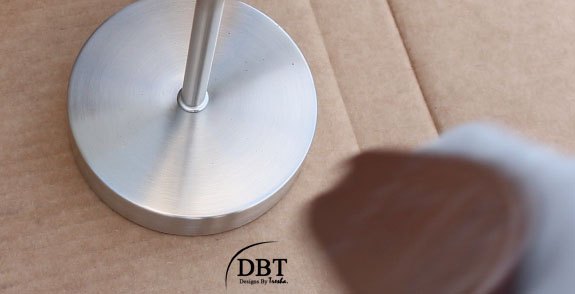
Second, clean the lamp to ensure there are no stickers or dirt on it. You want to have a clean surface.
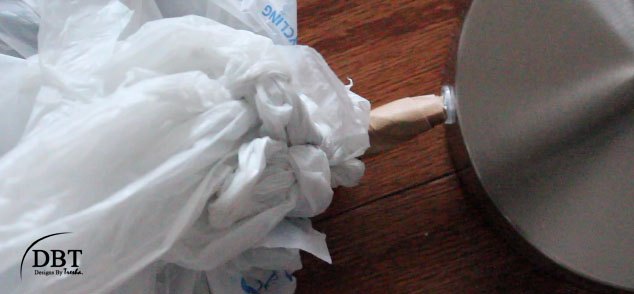
Third, protect the areas of the table lamp that you do not want paint to get on. I wrapped packaging tape around the beginning of the cord and covered the remaining part of the cord with a plastic bag.
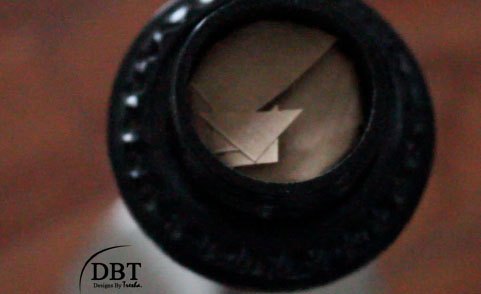
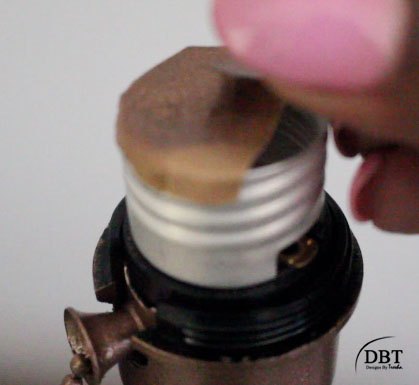
Make sure to cover the socket as well...
Next, take the lamp outside to a well ventilated area. Shake the spray paint can for at least 1 minute. Then, lightly spray the paint onto the lamp, going left to right. 1 to 2 coats should suffice. Be sure to spray at least 8 to 12 inches away from the lamp. Let the paint dry for an hour.
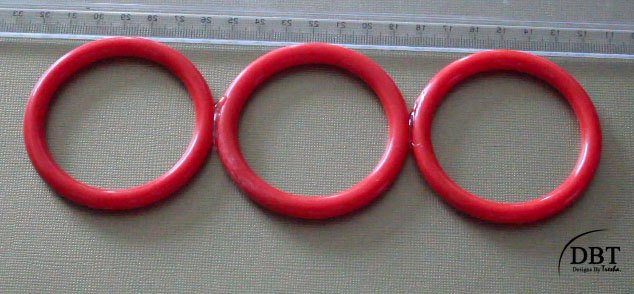
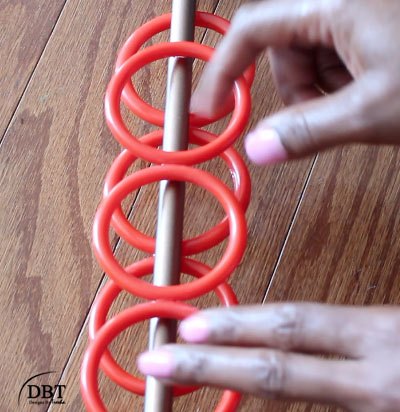
Now, heat up your hot glue gun on the "Hi" setting and place hot glue on the back of the 1st set of rings.
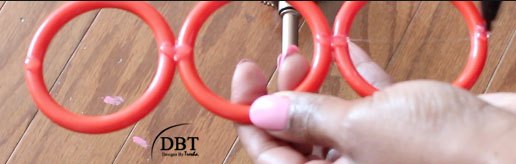
Next, while the glue is hot, place the 1st set of rings in the middle of the table lamp.
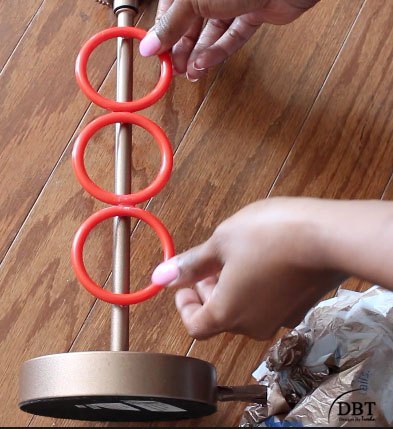
Now that the glue has dried, flip the table lamp over.
Next, put hot glue on the 2nd set of rings and place the rings on the table lamp so that the rings look like they are spaced in between the rings on the opposite side.
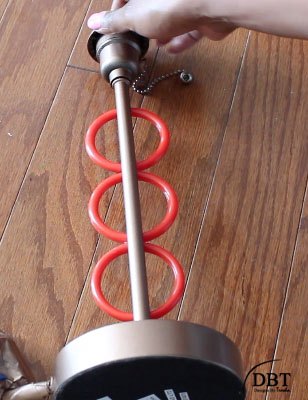
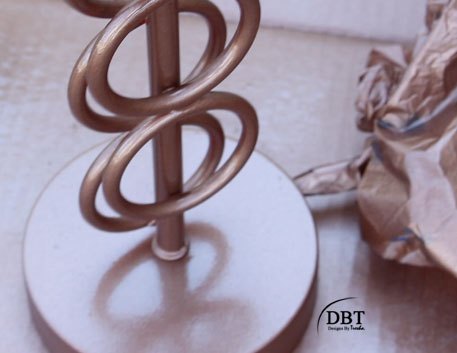
Now, we are ready to spray paint again. Yay!! 3 to 4 coats of spray paint should do the trick but please use your own discretion. Try to avoid spraying heavy streaks of paint. It will make the paint run. Take your time. Light coats are the best way to get amazing results. It should dry in 1 to 2 hours.
We're almost done! Be sure to remove the tape from the top of the socket and cord.
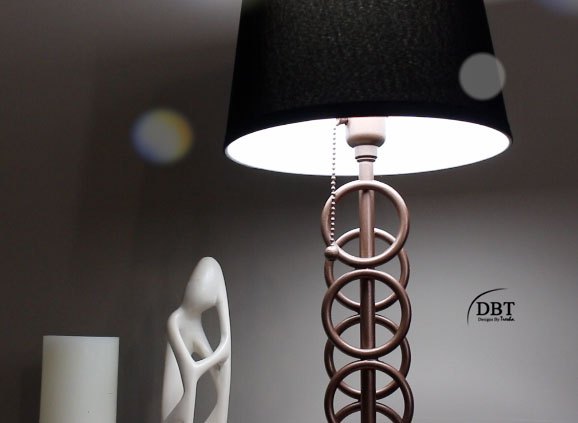
Screw on a light bulb and add your lampshade. I chose a black lampshade. It makes the lamp look sophisticated and expensive.

You’re finished!! What an amazing transformation. This table lamp looks so expensive and chic. It was done for a fraction of the cost you would have normally paid at the store.
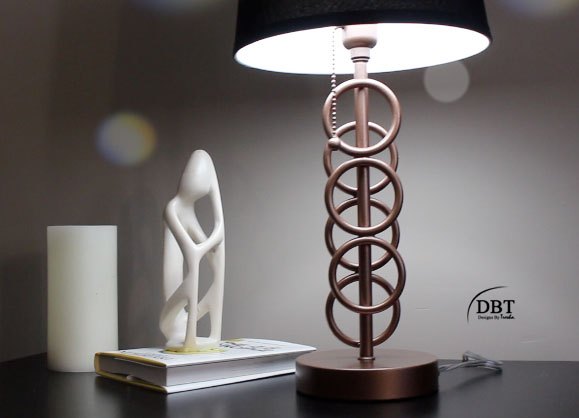
I hope this tutorial inspires you to think a little differently about purchasing new verses transforming an existing item. This is simple to do. Give it a try.
Comments
Join the conversation
2 of 268 comments
-
I would paint the rings first
-
I did this and love my new lamp. I use some curtain rings I had left over.


Frequently asked questions
Have a question about this project?
What did she spray paint black (step 2)?
Why did u use hot glue instead of e6000 to put the rings on? Hot glue doesn’t stay as well if it gets bumped.
Where did you get the rings???