


DIY Concrete Planters
I'm not a trend snob, but...I love stalking things that pop up everywhere and deciding if they suite my style or budget. Could I live with a faux elks head staring at me for 5 years, would a fiddle leaf fig make me smile for 2 weeks before I killed it, could I ignore how rough kilim cushions are on my delicate facial skin? You know, all the big stuff.
When I kept spotting concrete pots and planters I mentally grilled the trend. After 10 minutes of rigorous questioning, I jumped on the chance to make my own.
I'm not particularly crafty or DIY minded but these cement planters are super easy.
A quick DIY breakdown:
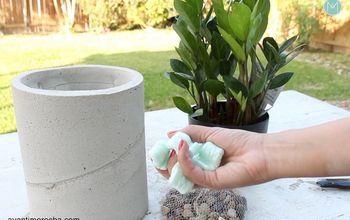
-I spent $20 on pre-mixed dry concrete and found the rest of the supplies at home
-gloves, bucket, mixing spoon, mixed sizes of recycled flexible containers, spray cooking oil
-mix the dry concrete with water to form a cake like consistency, should drop from the spoon, not slop. If it's too wet add more dry concrete
-lightly spray two flexible containers, one larger to form the outer base and one to form your inner 'holder'
-spoon concrete into the larger container and tap on a flat surface until bubbles appear then insert the smaller container
-allow to dry. the dryer the climate the quicker it will dry
-remove the inner container (you may need to cut or crush it), remove the outer container
-DO NOT allow wet concrete to touch your skin. It could chemically burn and dry out your skin like nobody's business.
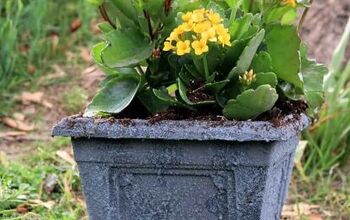
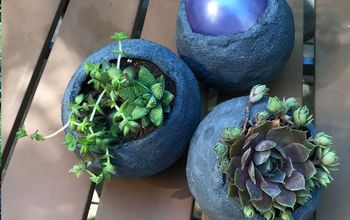
I added succulents to my planters so didn't add drain holes because I knew I would just lightly mist them every few days.
When I kept spotting concrete pots and planters I mentally grilled the trend. After 10 minutes of rigorous questioning, I jumped on the chance to make my own.
I'm not particularly crafty or DIY minded but these cement planters are super easy.
A quick DIY breakdown:
-I spent $20 on pre-mixed dry concrete and found the rest of the supplies at home
-gloves, bucket, mixing spoon, mixed sizes of recycled flexible containers, spray cooking oil
-mix the dry concrete with water to form a cake like consistency, should drop from the spoon, not slop. If it's too wet add more dry concrete
-lightly spray two flexible containers, one larger to form the outer base and one to form your inner 'holder'
-spoon concrete into the larger container and tap on a flat surface until bubbles appear then insert the smaller container
-allow to dry. the dryer the climate the quicker it will dry
-remove the inner container (you may need to cut or crush it), remove the outer container
-DO NOT allow wet concrete to touch your skin. It could chemically burn and dry out your skin like nobody's business.
I added succulents to my planters so didn't add drain holes because I knew I would just lightly mist them every few days.
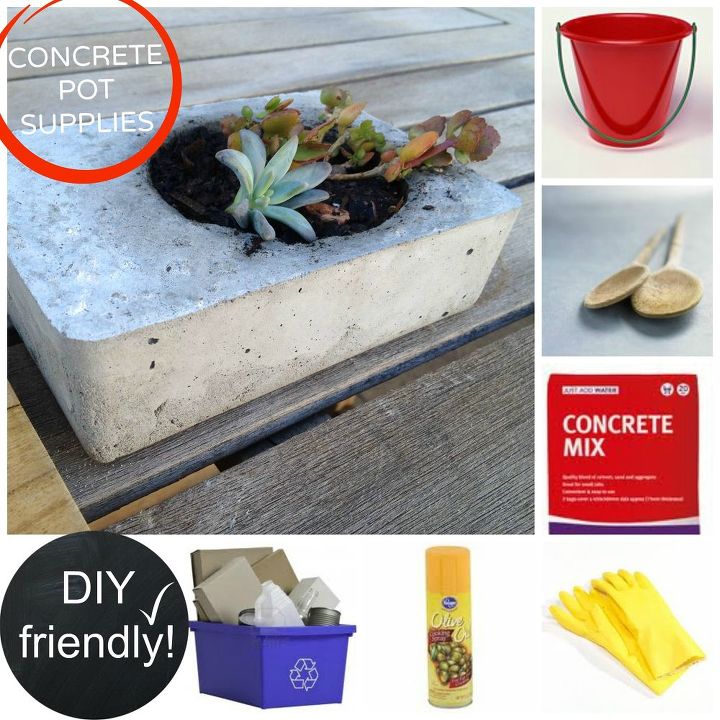
DIY concrete planter supplies
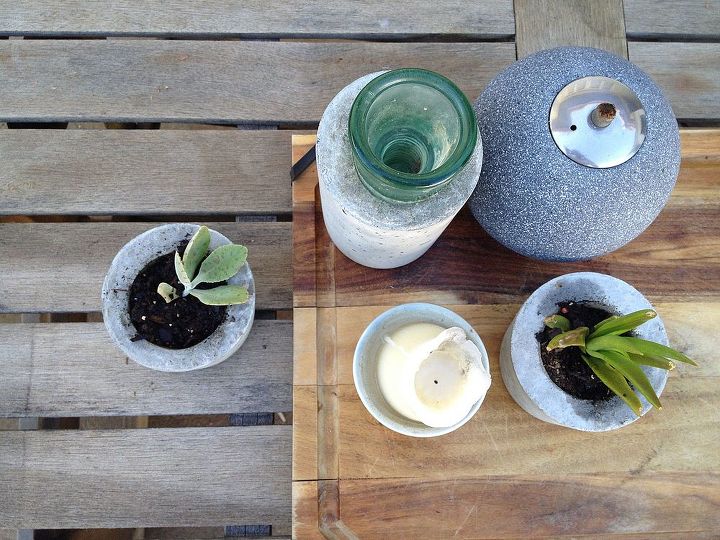
DIY concrete succulent planters
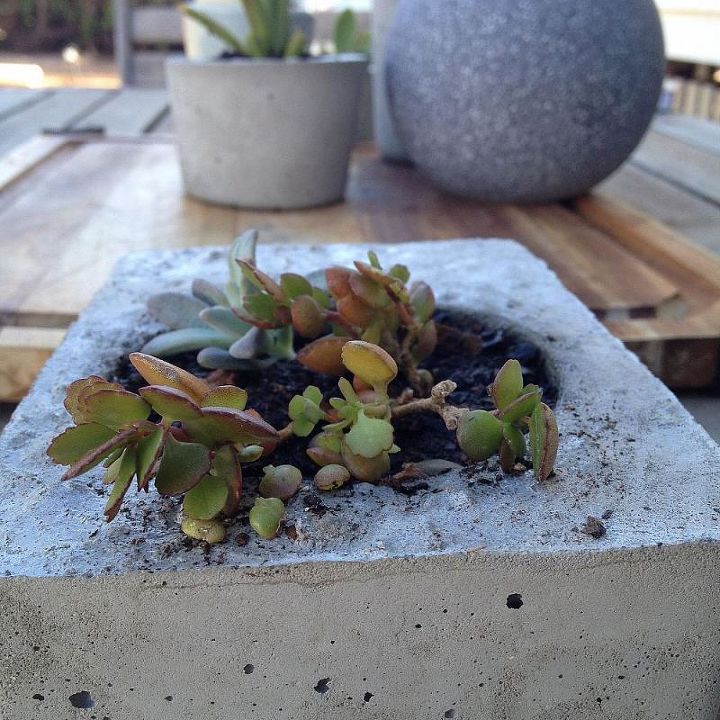
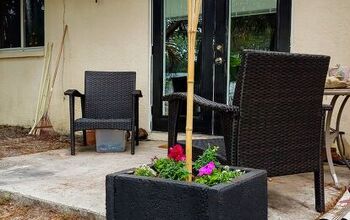
square concrete planter
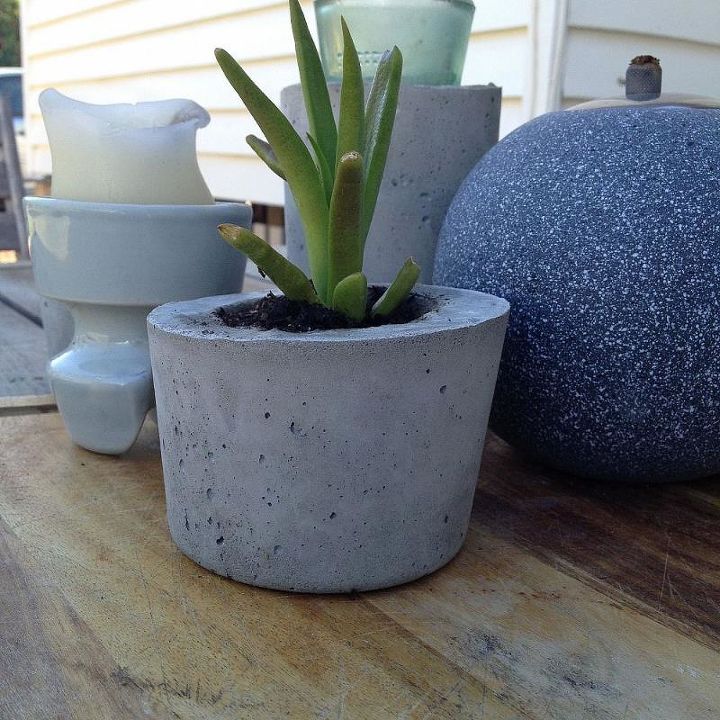
round concrete planter

Want more details about this and other DIY projects? Check out my blog post!
Comments
Join the conversation
3 of 27 comments
-
These are really nice. Thanks for the ideas.
-
I found liquid cement color at Home Depot, but I haven't used it yet. Charcoal, terra cotta and red were all that were available so I don't know how many colors they have, but Quikrite probably lists them because they certainly promote it on their site. It was only five dollars and some change.


Frequently asked questions
Have a question about this project?