Removing old tile

by
Ann Smith
+7
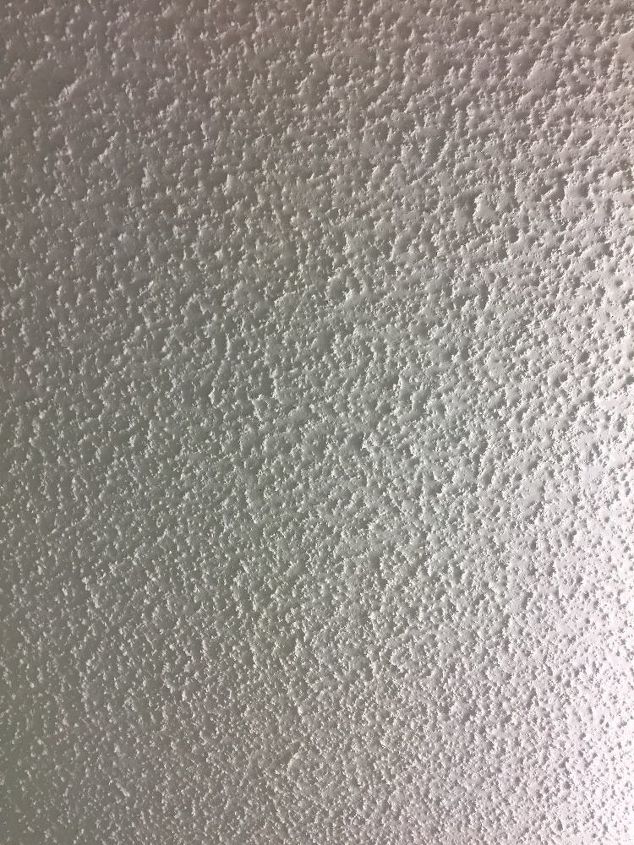
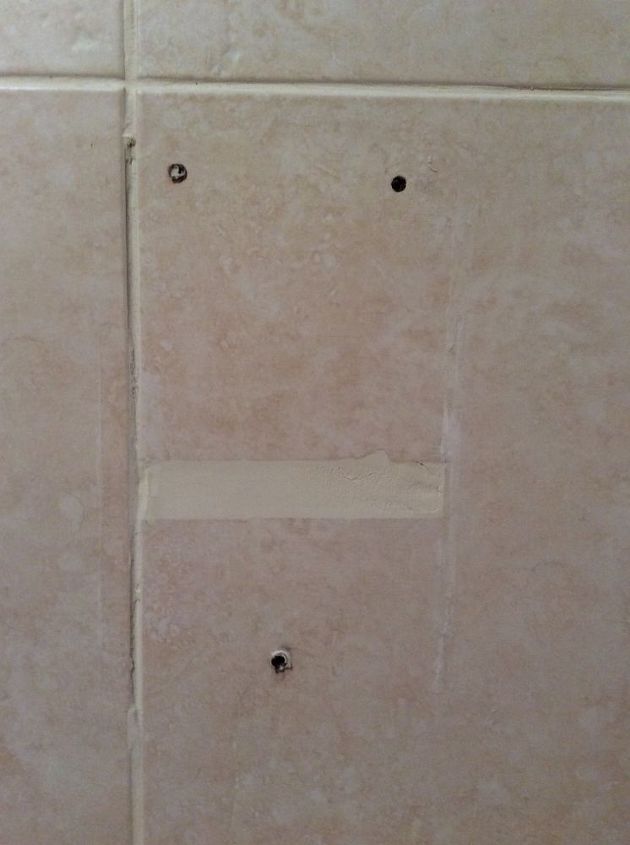
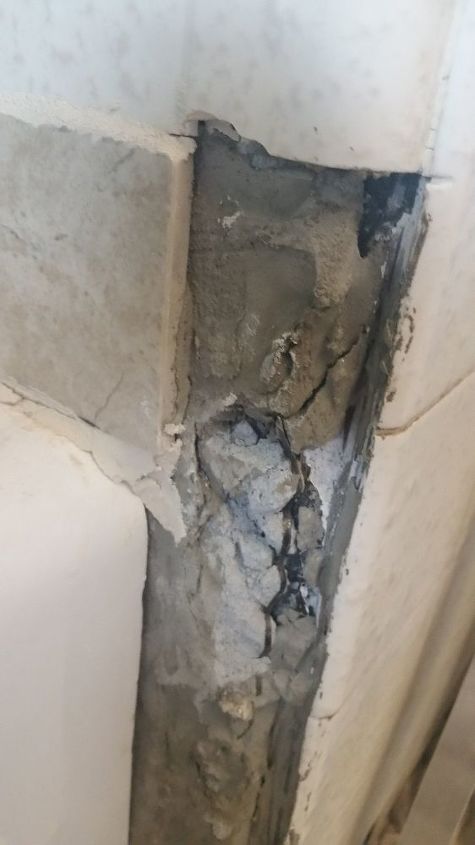
Here is where I tried to remove a small area of some tile from mortar and wire mesh that needs to be replaced. It damaged the wallboard beneath. The house was built in 1951 and there are more damaged tiles in the field. It is a full tub surround, which is in good enough shape overall to keep. Any advice is appreciated.
9 answers
-
Don't take any more mortar out, just get some pieces of tile & make sure they fit. Then get some thinset, squeeze into the broken part of cement in wall. The thinset should be the consistency of toothpaste. Put more thinset on the back of each tile; enough that it squeezes out when pressed into place Wipe out & with something sharp/pointed & scrape out enough around each tile piece so that the next day you can grout it.
 Jud10293239
on Nov 13, 2016
Jud10293239
on Nov 13, 2016
-
That is the way tile was installed back then, until the advent of blue board, then green board, and now cement board. The best way to remove the tile is wear eye protection, gloves, and slowly chip away at the tile. There will be some damage that will need to be repaired. No easy solution short of a complete demo and upgrading with modern products.
 William
on Nov 13, 2016
William
on Nov 13, 2016
-
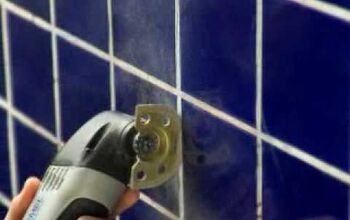
You could try a multi-tool with a grout cutter attachment. Harbor freight has a decent one a lot less expensive than the big name brands. If you do decide to try one, pay the extra for a variable speed unit, so you can tailor the speed. They are noisy, but they do work. Check out these links.... http://www.harborfreight.com/variable-speed-o... .... http://www.homedepot.com/p/Dremel-Multi-Max-1... http://www.youtube.com/watch?v=ieAum2Xm35E ... Phil
 Phil a
on Nov 13, 2016
Phil a
on Nov 13, 2016
-
I'm assuming you are trying to replace tile? You could demo the whole thing and replace with cement board and waterproof membrane..then new tile. It might be messier but a whole lot faster especially if it's crumbling and you will need to do a bunch of patching. Hope this helps
 3cookies
on Nov 14, 2016
3cookies
on Nov 14, 2016
-
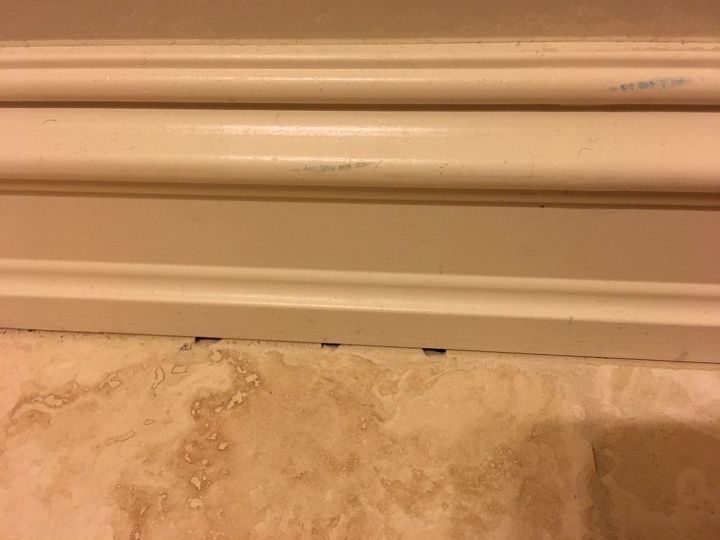
Thanks, but a complete teardown is not necessary, as there are only a few random tiles in the field which should be replaced. I have already R&R'd the bottom course of perimeter tile, due to having a new tub shell installed.
 Ann Smith
on Nov 14, 2016
Ann Smith
on Nov 14, 2016
-
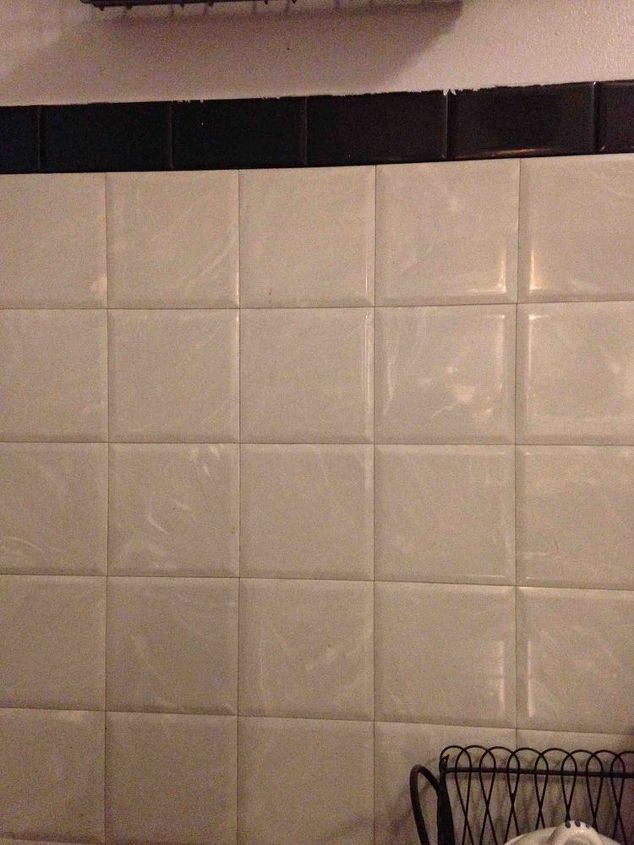
The ones in the photo are part of the lower tub surround - I can deal with that, but the clean removal a a few cracked tiles is what I'm seeking. Thanks for replying!
Ann Smith
on Nov 14, 2016
-
If you use the grout cutter Phil suggested you could limit the damage area. See if you can rent one. Once you get rid of the connection see if you can cut a little deeper into the material behind it. Then use a chisel to break up the bad tile. Once removed fill in the hole to create a smoother area to lay in the new tile and put in new grout. I suggest some Flexshot to seal between wall and tub. Comes in some colors, available in spray and some you used like paint.
 Deanna Nassar
on Nov 15, 2016
Deanna Nassar
on Nov 15, 2016
-
fine hombuilding has a tip on using a drill, as holes are drilled with a tapered ceramic bit the tile easily breaks away. tape off tiles around it to prevent damage.
 Steve Woodward
on Nov 16, 2016
Steve Woodward
on Nov 16, 2016
-
My home was built in 1925, and I haven't a clue when the bathroom was put in. The shower leaked between the tile wall, and the kitchen pantry. It was best I gut the pantry, & replace all the plumbing and half the tile wall in the shower. It's a mess, maybe you don't need to do as much demo,... My point is, if you can find the same tile, bust it out as high as needed. A piece of cement Backer board is piece of mind!! MEASURE the distance from the tile, to the studs, subtract the thickness of the cement board, 1/4 inch for the mastic, or, thin set, & the tile. Putting back the tile is not hard, make sure to space them apart, give it a day to set. Come back & grout over the "patch", and it's good as new! Be sure to SEAL the grout. Any questions? I can send pictures. .. demoura.raul28@gmail.com put TILE in the subject line please.
 Raul DeMoura
on Nov 16, 2016
Raul DeMoura
on Nov 16, 2016
Sign Up to Answer