


Build a Rustic Coffee Shelf

by
Rick
I don’t get a lot of time. But when my daughters nap times sync up I can usually get some THINGS done. Today I wanted to build a rustic coffee shelf. But here’s the thing…if I used my power tools the girls would have woken up! So this was made ENTIRELY using hand tools. Oh and by the way...I’m TERRIBLE with hand tools…
{
"id": "3612153",
"alt": "",
"title": "",
"video_link": "https://www.youtube.com/embed/9iWiqN3Q3D0",
"youtube_video_id": "9iWiqN3Q3D0"
}
{
"width": 634,
"height": 357,
"showRelated": true
}
Check out the video above to learn how to build your own! OR you could always just read the step by step guide below. You're an adult. You do you!
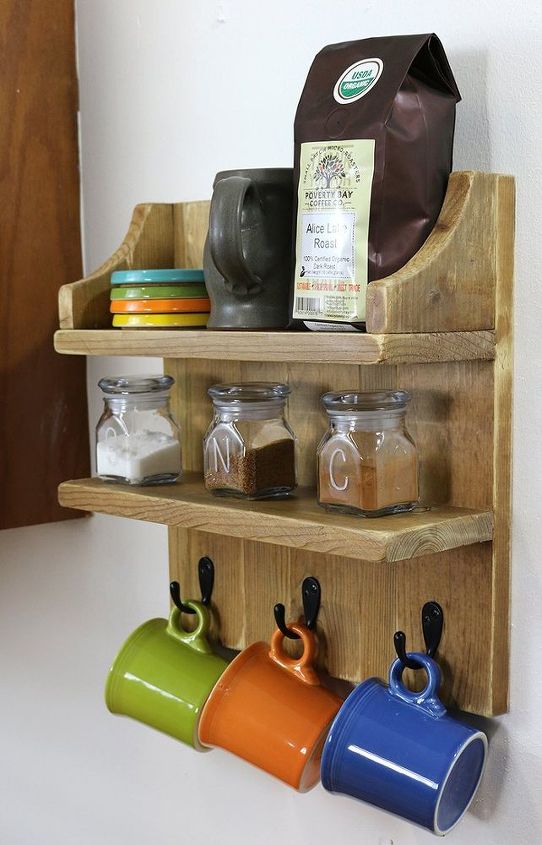
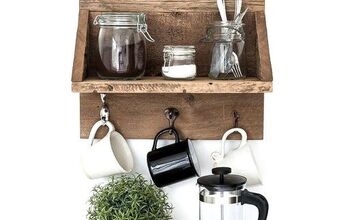
The coffee shelf is 14″ wide and 14-1/4″ high. It has (2) 14" long shelves to hold coasters, coffee, sugar and mugs. The shelf also has (3) hooks mounted on the bottom for another set of mugs.
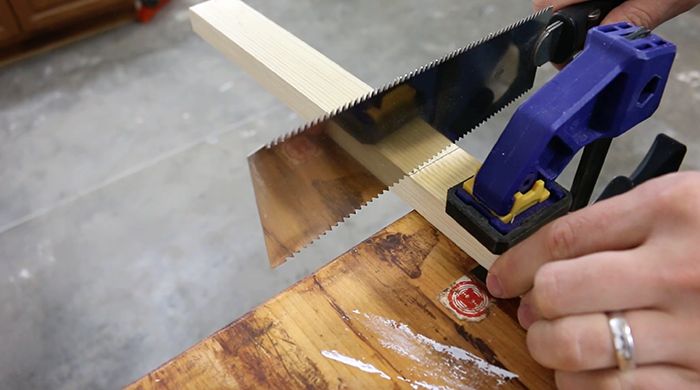
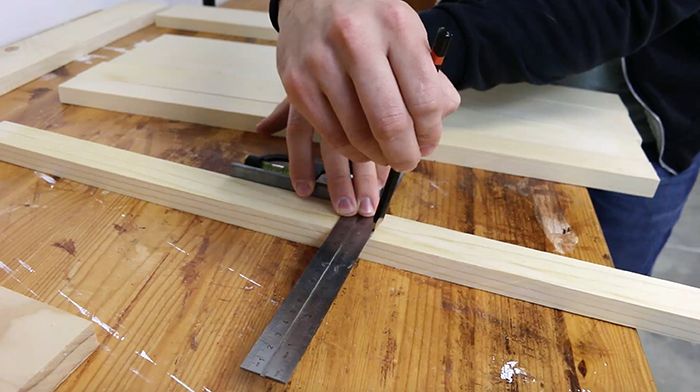
Using an $18 Ryoba hand saw and a clamp, I made all of the necessary cuts.

I grabbed some homemade steel wool & vinegar stain and generously brushed the mixture all over the newly cut wood.
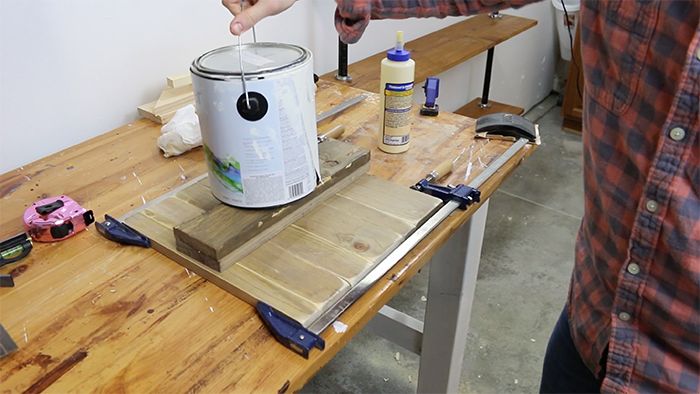
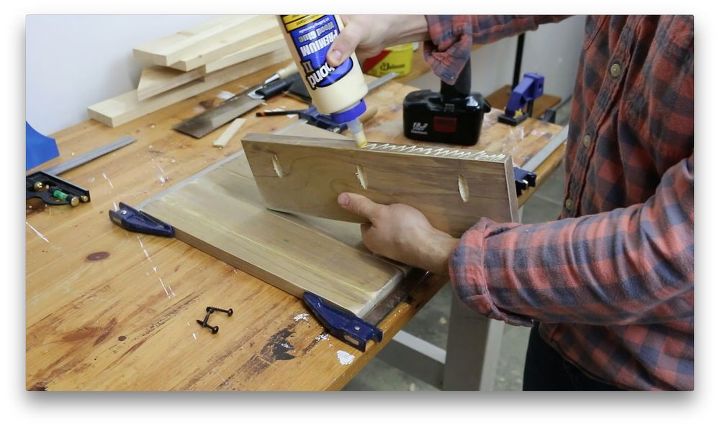
Liberally apply glue to the inside of each board and join them together. Because I only have a couple clamps, I'm employing the ever professional "two clamp and a paint bucket method". But the more clamps you have the better! Use what you have!
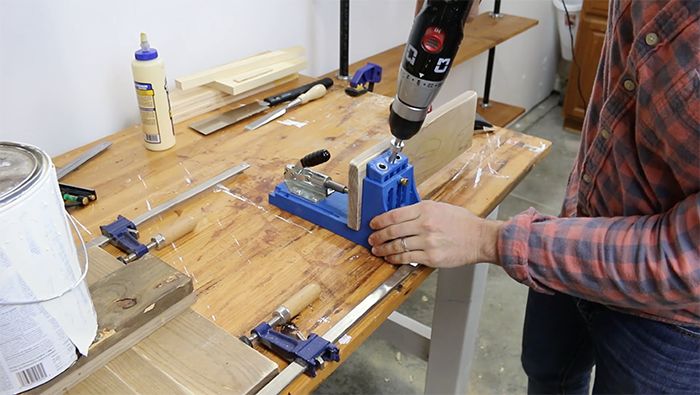
Set your Kreg Jig to accommodate 3/4" material and pre-drill (3) holes on the underside of both 14" boards.
Before gluing, let's measure where the two shelves will be positioned. Put a mark at 4″ down, 3/4″, 4″ from there and another 3/4″. (3/4″ because the wood is 3/4″ thick).
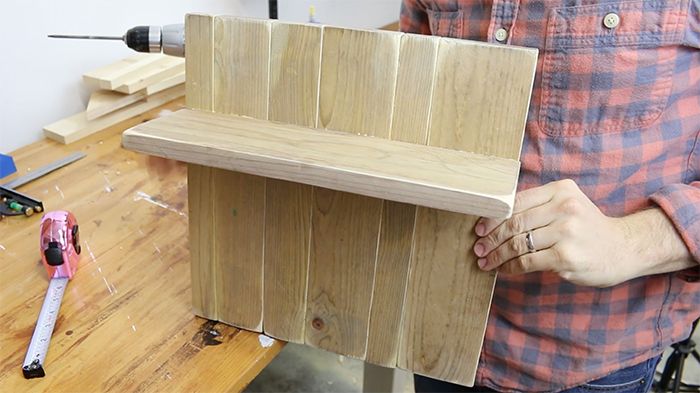
One down, one to go!

Once the second shelf is attached, wipe any excess glue that may have squeezed out with a damp paper towel. Fill in the holes with wood filler. Let that dry for a bit.

Here are the hooks I'll be using for my super cool mugs.
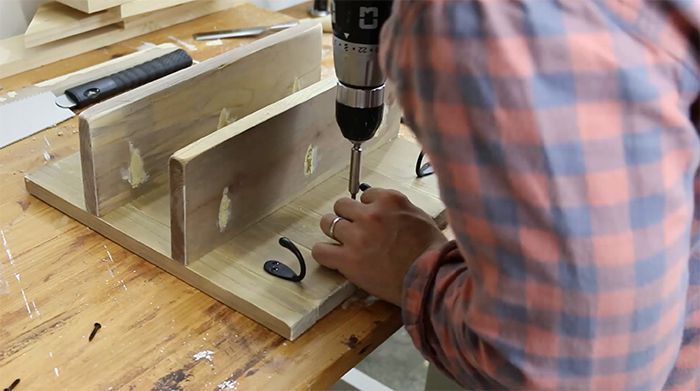
Attach the hooks 2″ from the bottom shelf, 2″ from each side and center the middle hook.
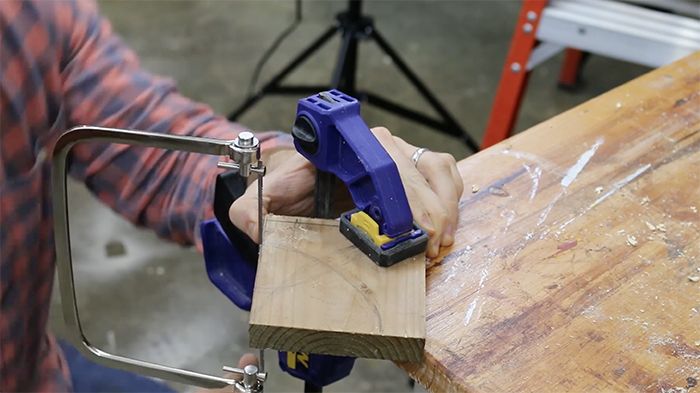
I freehand drew an arc on a scrap board to make two corner pieces. Using a coping saw and a clamp I made the cut.
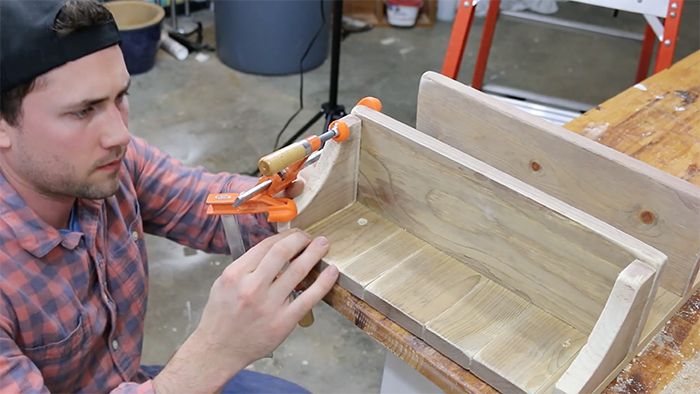
Finally I attached the two end pieces with wood glue and clamps.
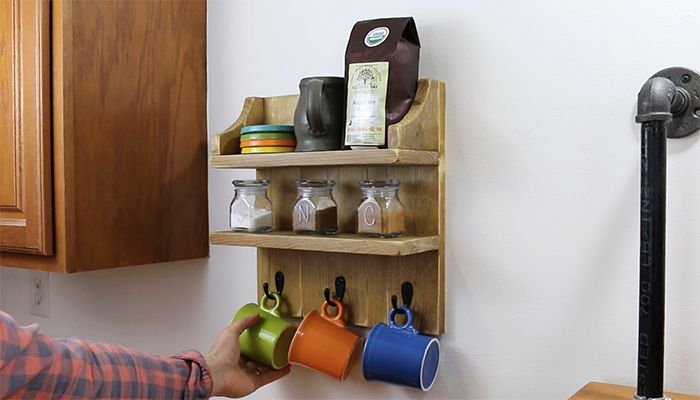
Loading the coffee shelf up with supplies is the SECOND best part. What's the best part?? COFFEE!!
And there’s our DIY rustic coffee shelf! I say “our” because we’re pretty much best friends now after all this time we've spent together. Plus you bought me a coffee.
Comments
Join the conversation
2 of 48 comments
-
I like this very much.
-
That is way to cool ! Good Job!


Frequently asked questions
Have a question about this project?