


DIY Holiday Sign
2 Materials
I recently saw a cute sign for the holidays in a gift shop and knew that not only would it be cute in my own home, but I knew it would be an easy, fast, and inexpensive to make myself.
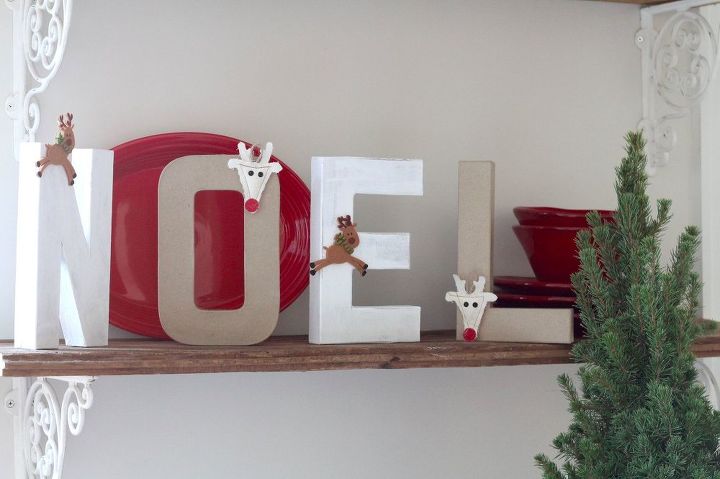
The sign in the store said Xmas, but I decided to make the word NOEL instead. The first thing I did was buy some paper mache letters at the craft store. The ones I chose are eight inches tall, but any size would work for this craft project. We have rustic shelves in our kitchen, and I wanted the sign to fit on the shelves and to also fit in with the shelves.
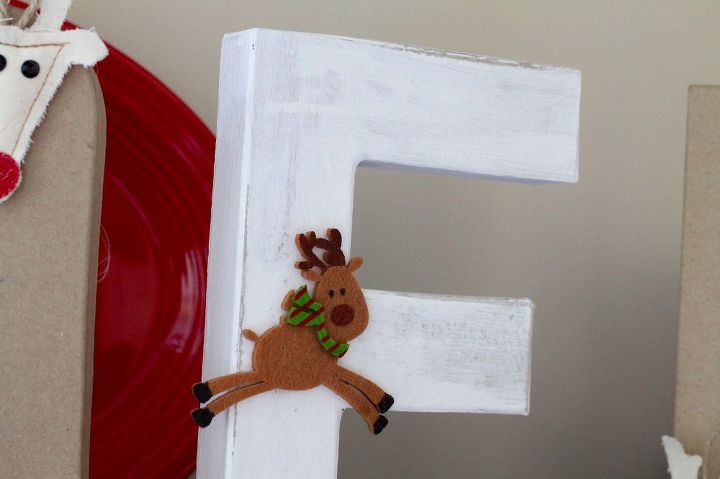
I used chalk paint, but any paint would do. Only two of the four letters got paint, and the other two remained untouched. If the word were larger, than I would have painted more letters. After the paint dried, I used a sanding block to rough up the paint and to remove some from the edges of he letters.
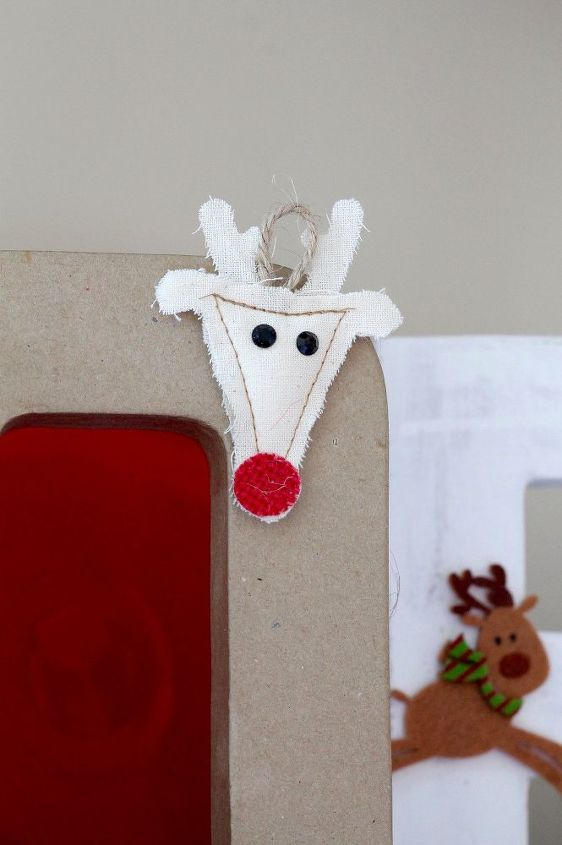
Then I glued some an applique to each letter, just like the ones I saw in the store.
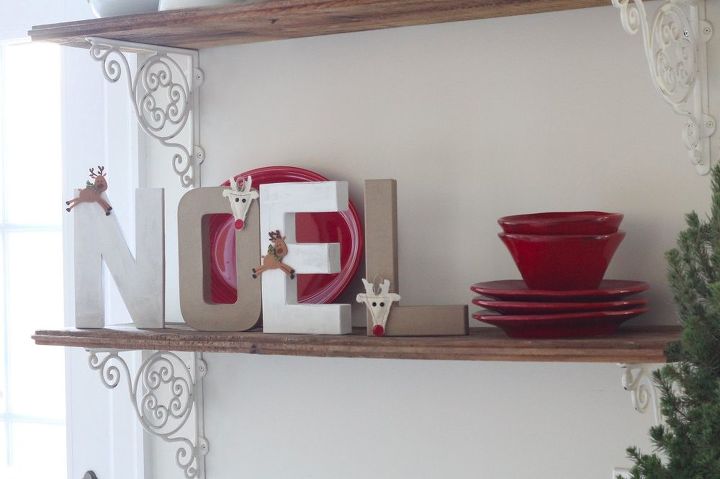
Although the lighting wasn't too good when I took the photos, this picture shows that they will work perfectly on these kitchen shelves when I do my decorating for real starting next week. To see more, please visit our blog: http://the2seasons.com/2016/11/20/diy-noel-sign/

Want more details about this and other DIY projects? Check out my blog post!
Comments
Join the conversation
2 comments
-
Yes i love it but i have a question ... Alot of home stores sale the big letters now days why not just buy those and maybe paint a different color just wondering is all but i do love ur idea beautiful the way u have the little reindeers peeping over the letters very cute i may be doing this project soon thanks for sharing sweetie have a bless day😊
-
Hi Nancy, I just wanted inexpensive letters that weren't too big. That's the reason I bought these.


Frequently asked questions
Have a question about this project?