


To Welcome Baby

by
Rose
6 Materials
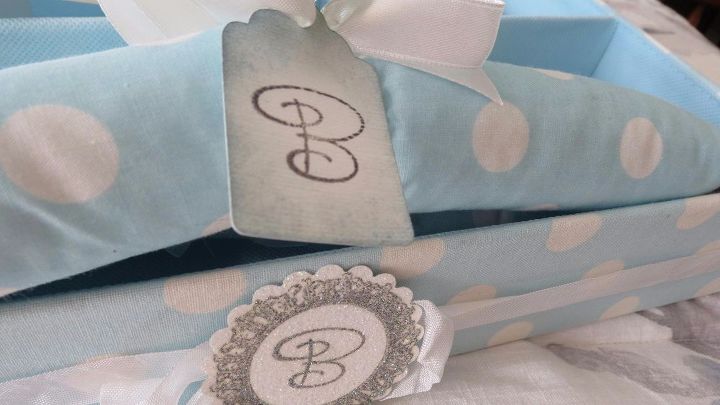
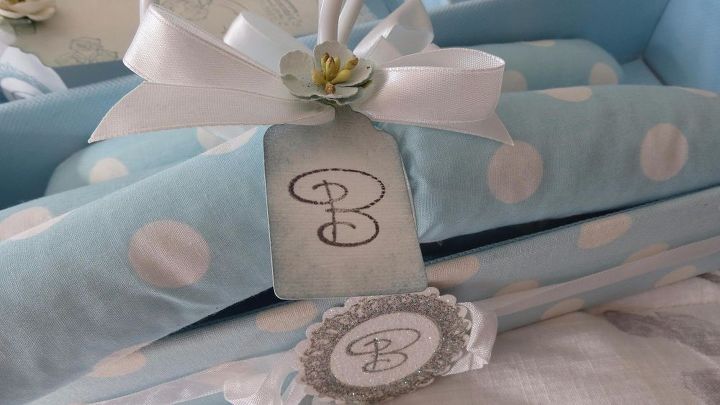
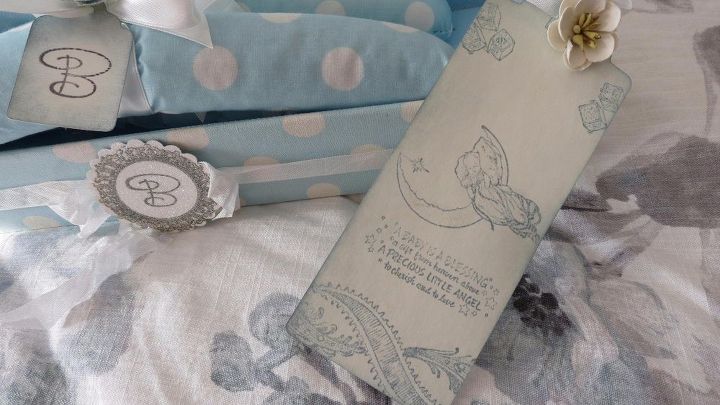
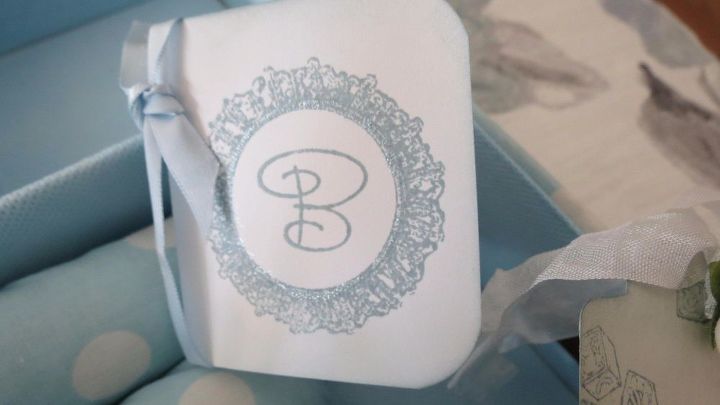
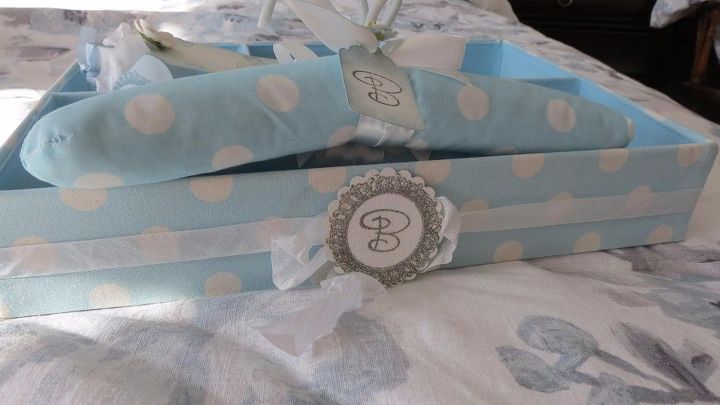
I found an adorable tray with some baby hangers inside. My daughter is expecting a baby boy in January and I immediately knew I wanted to embellish it to make it a sweet organizer for this new precious life. It already had a great design with the baby blue color and white pocodots.
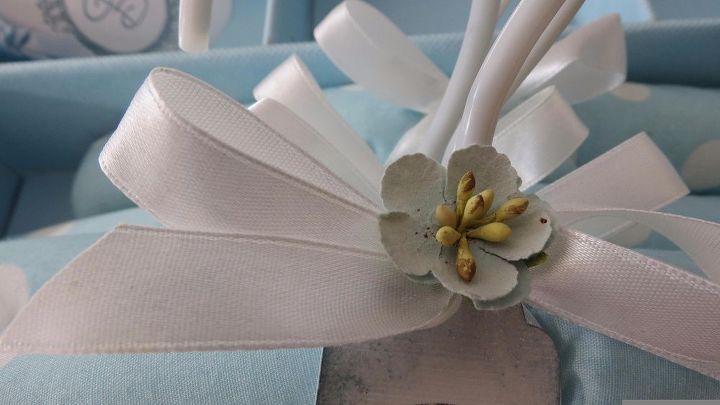
I used some flower embellishments and my stash of rubber stamps and paper to create tags and a bookmark. Beautiful white silk ribbon holds the "B" for Boy. I used a cricuit cutter to cut out my tags. I used Tim Holtz ink and lightly sponged around the edges of the tags and bookmark. Add a little sparkle with Stickles. I used an alphabet set to stamp the letter "B".
I just love the way it turned out. Don't be afraid or turn away from an initially plain item, think outside the box; almost anything can be embellished!
Want more details about this and other DIY projects? Check out my blog post!
Comments
Join the conversation
1 comment
-
Congrats! Such a lovely gift and thought!


Frequently asked questions
Have a question about this project?