


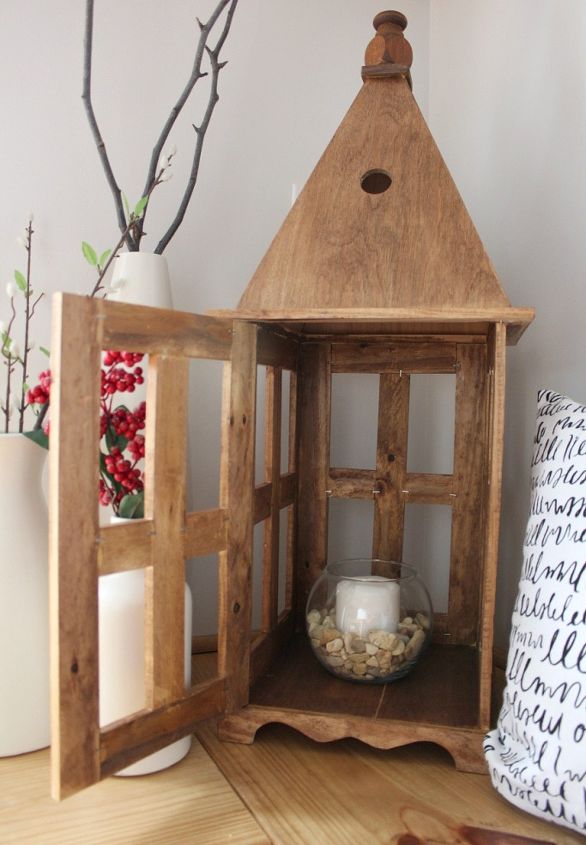
DIY Wooden Lantern
3 Materials
I had the hardest time this year deciding on Christmas gifts to give my grandparents and my boss this last year. They all like when I make them something, but I didn’t know what in the world they would like me to make and didn’t want to fill their homes with useless junk they feel obligated to keep because I made it for them. Been there, done that before. You guys do not want to see what I gave people a few years ago for Christmas. SO embarrassing. It was in my early DIY years….
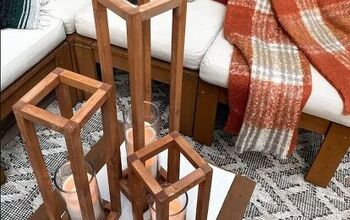
So, anyway, last minute (like seriously three days before Christmas), I decided to make them wooden lanterns.
I spent almost my entire Christmas break (every spare moment I had) in the shop whipping these up. It was a fun (yet time consuming) project (because you have to let all the wood glue dry after every step).
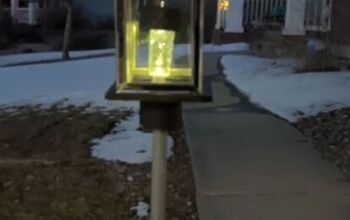
But, nonetheless, I got them done and they turned out great!
So, without further blabbering from me, let’s just jump in to the how to, shall we? For full tutorial (it's picture heavy), click the link below, but here is the general overview:
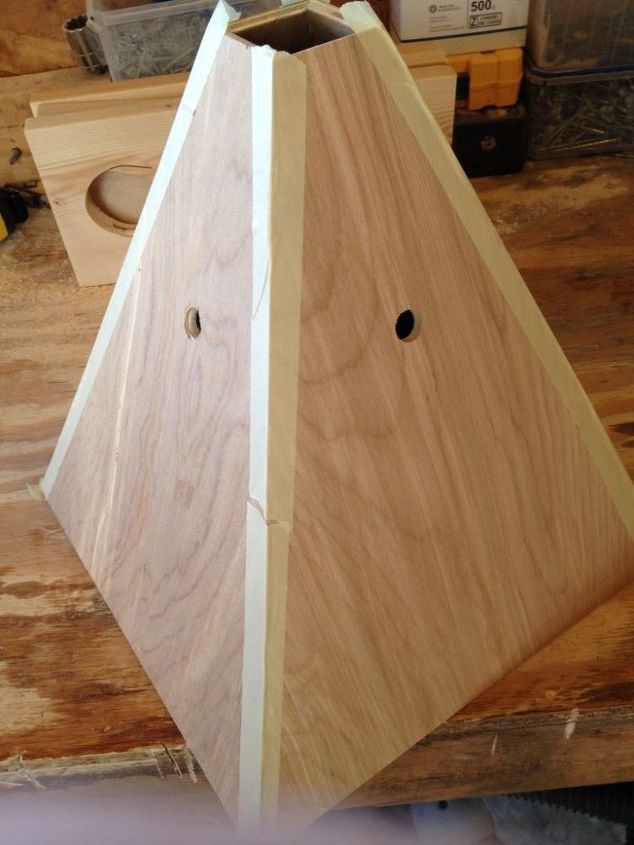
First, I made the tops by cutting four identical sides on the table saw and gluing them together. The tutorial is picture heavy, so I can't share all the pictures, but here it is gluing up
So, anyway, last minute (like seriously three days before Christmas), I decided to make them wooden lanterns.
I spent almost my entire Christmas break (every spare moment I had) in the shop whipping these up. It was a fun (yet time consuming) project (because you have to let all the wood glue dry after every step).
But, nonetheless, I got them done and they turned out great!
So, without further blabbering from me, let’s just jump in to the how to, shall we? For full tutorial (it's picture heavy), click the link below, but here is the general overview:
First, I made the tops by cutting four identical sides on the table saw and gluing them together. The tutorial is picture heavy, so I can't share all the pictures, but here it is gluing up
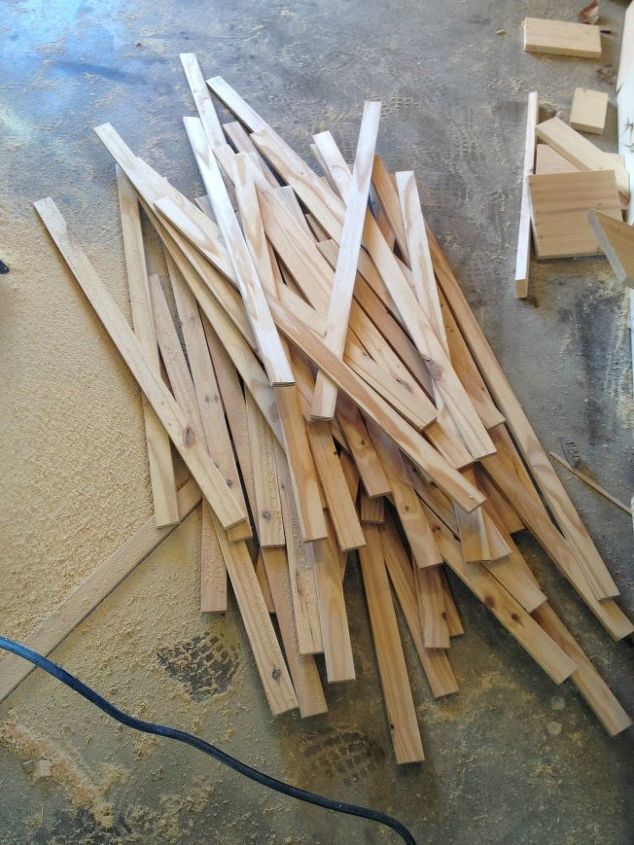
While the glue was drying, I cut 3/8" strips of wood for the rest of the lantern.
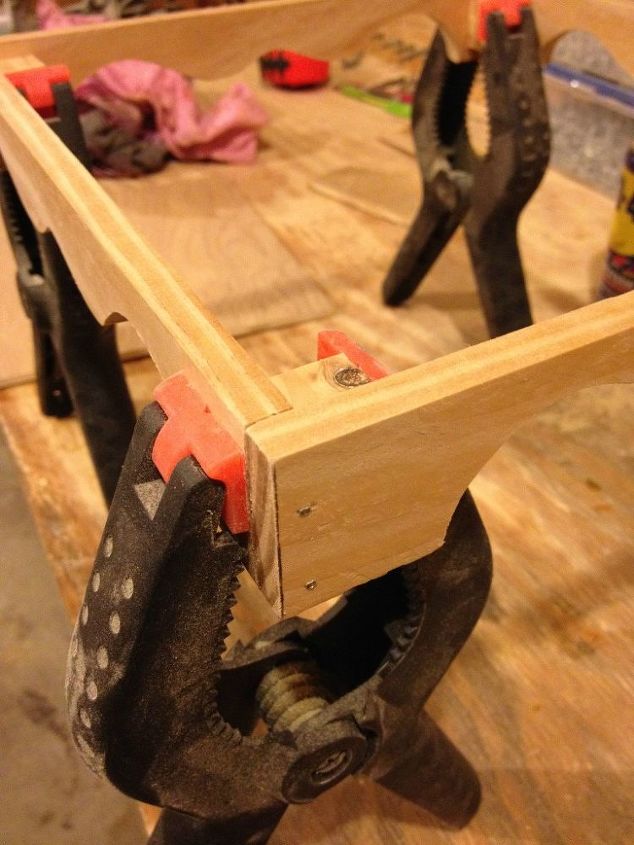
I assembled the base of the lantern, next. I framed a piece of plywood with decorative strips and glued and nailed everything together.
While that was drying, I assembled the side panels.
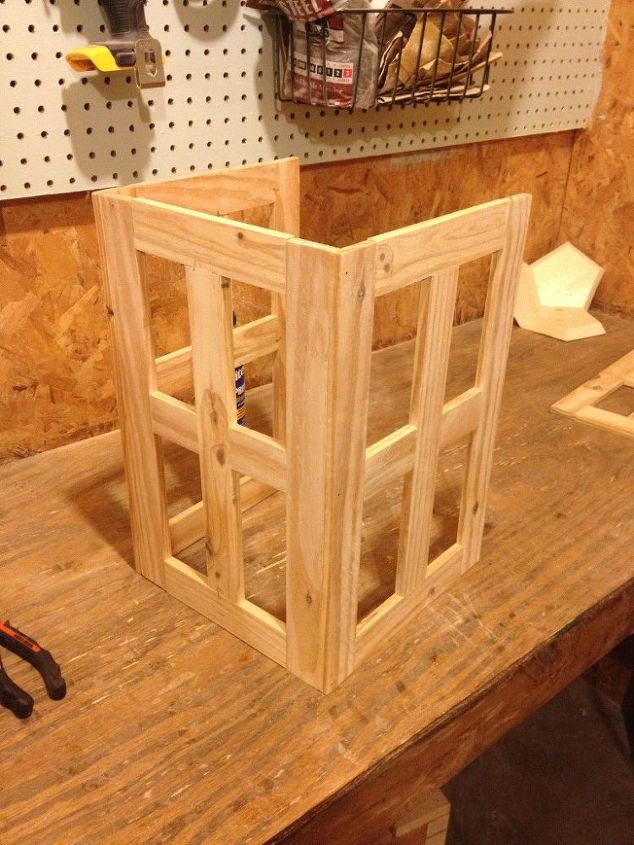
Then I added a few more decorative elements for the top and waited for the glue to dry.

Once the glue was dry, I nailed the top, sides, and bottom together and puttied all the corners.
For the full tutorial and plenty more pictures, check out the link below. And let me know what you think!

Want more details about this and other DIY projects? Check out my blog post!
Comments
Join the conversation
2 of 50 comments
-
Absolutely wonderful! Great gifts from the heart that will loved for sure.


Frequently asked questions
Have a question about this project?
How did u put the door on?