


IKEA Hack: Magnetic Shelf
Before reading further, please take a minute to connect by subscribing to the Mother Daughter Projects once-a-week newsletter.
As always, further details on this project can be found on our website along with links to the exact materials we used.
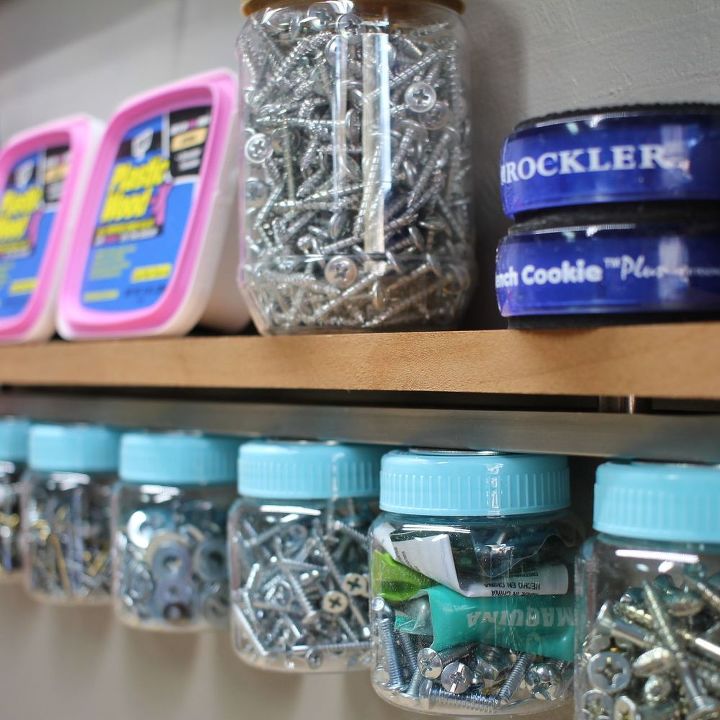
As my (Steph) collection of nails, screws, and extra parts expand, I realized it was time for some new organization. I've been storing these items in a plastic compartment storage container, but it’s getting cumbersome to use and I want to be able to see everything clearly and easily. I found a few different ideas online and decided to combine a few. My goal was to use what I have and not have to buy a lot of extra materials. Check out the video before to see how I added a shelf with some magnetic storage to my garage!
Watch the video!
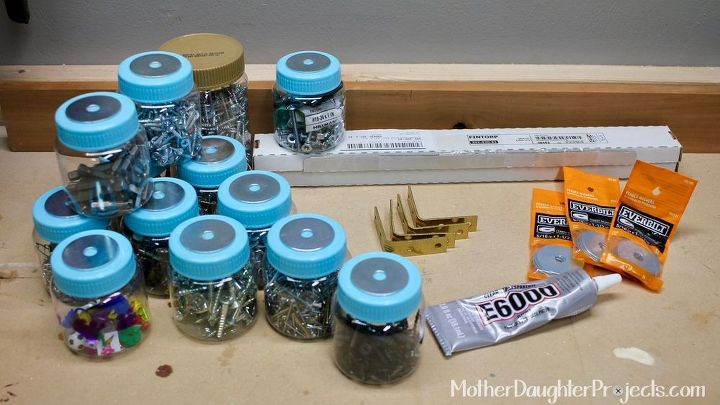
Materials:
- Plastic containers (there were bought onsale at Target- the taller is a almond butter container)
- IKEA magnetic knife rack (Ikea)
- Scrap wood board
- Brackets (we had spare in our stash)
- Large metal, steel, washers (Home Depot)
- E6000 (Amazon)
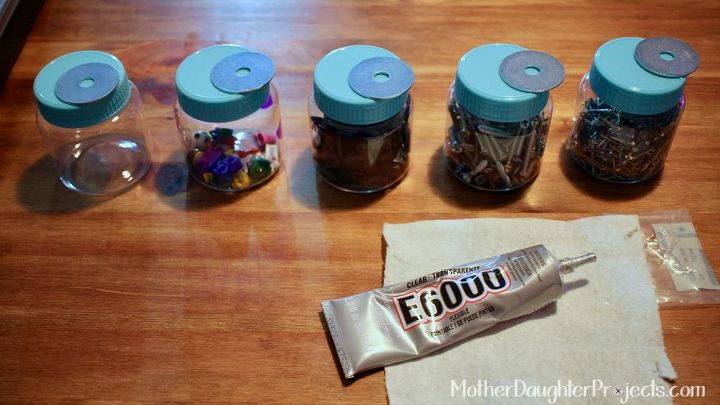
We bought some plastic containers on sale at Target a few months ago. My nephew, Tyler, decorated one and added some Legos to it. I decided the jars would be great for screws and nails. I glued washers to top of each of them with E6000.
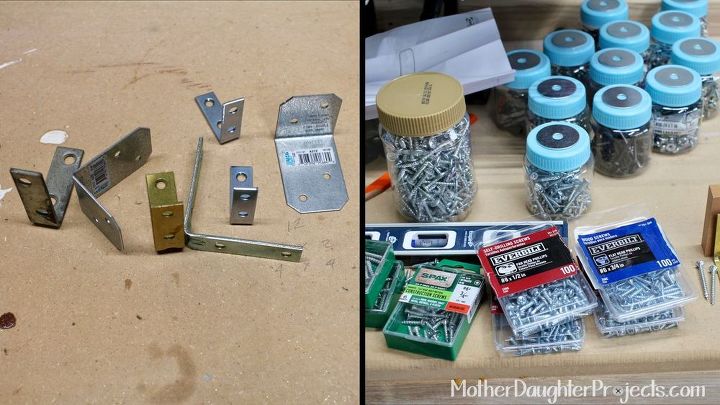
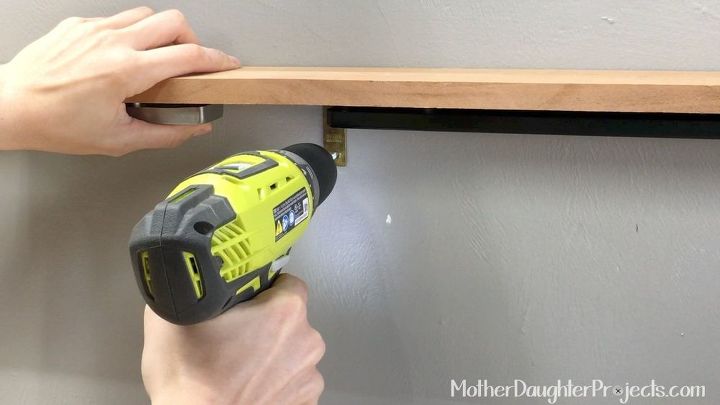
We found some metal brackets in our stash to attach the board to the wall. Then we found screws to attach the brackets to the shelf and to the wall.

We cut the scrap board to the size we needed then attached the brackets so that they would be placed on a stud when on the wall.
We attached the IKEA racks to the wood then we attached the brackets to studs in the wall and put the containers in place.
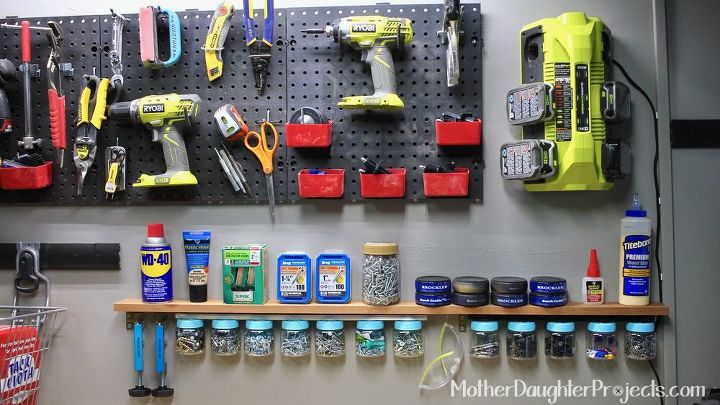
We love how this shelf turned out! It looks like it was always meant to be placed there.
For more details please visit our website!

Comments
Join the conversation
-
Aww thanks! Those are plastic pegboards. Really pretty straight forward to hang. Here's a link to that post:
http://www.motherdaughterprojects.com/blog/install-plastic-pegboard
-
This is a great project, and reminds me of a similar hack that my uncle did many years ago. He took baby food jars and mason-type jars (anything with a screw-on metal lid will work, but make sure it has a good sturdy lid rim)), and screwed the tops into the bottom side of a board. Then you simply screw and unscrew the jars to secure them and open them respectively.


Frequently asked questions
Have a question about this project?
That's what I call a Bogof