


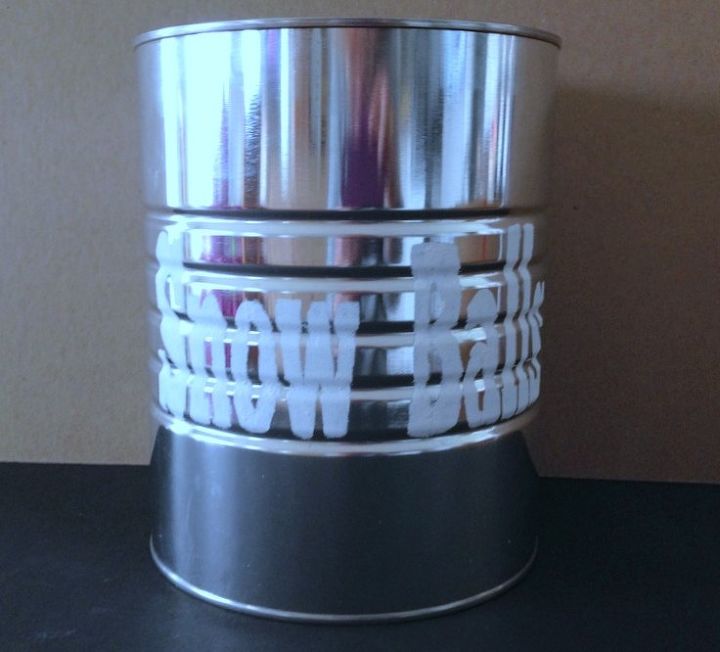
Snow Ball Tin Container DIY
9 Materials
Loving this cold weather? Brrrr . . . Snowy days are perfect for making indoor DIY winter decorations. Why not bring the beauty of outdoors in with this adorable snow ball container craft project. It's a great way to recycle those tin cans you're about to throw out and to spruce up your home after the holidays.
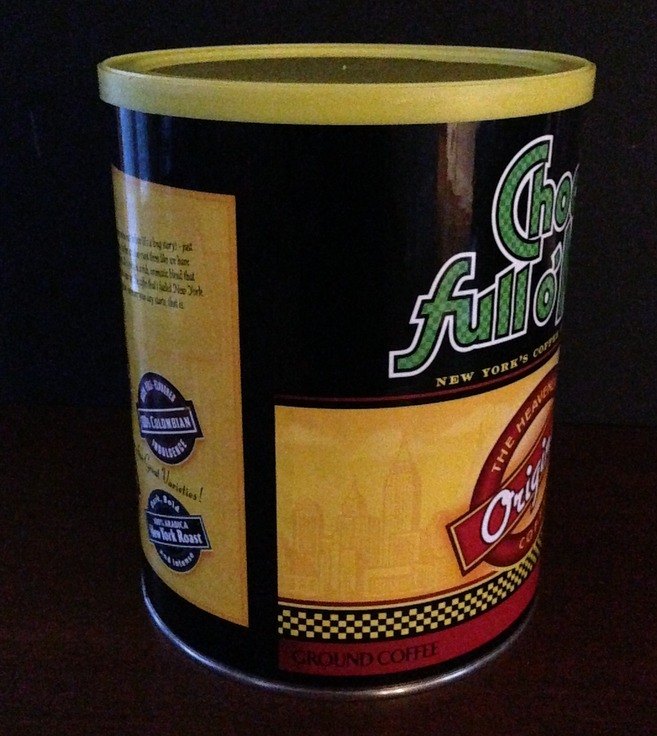
Start by removing the covering and any adhesive residue from a large tin container like a coffee can.

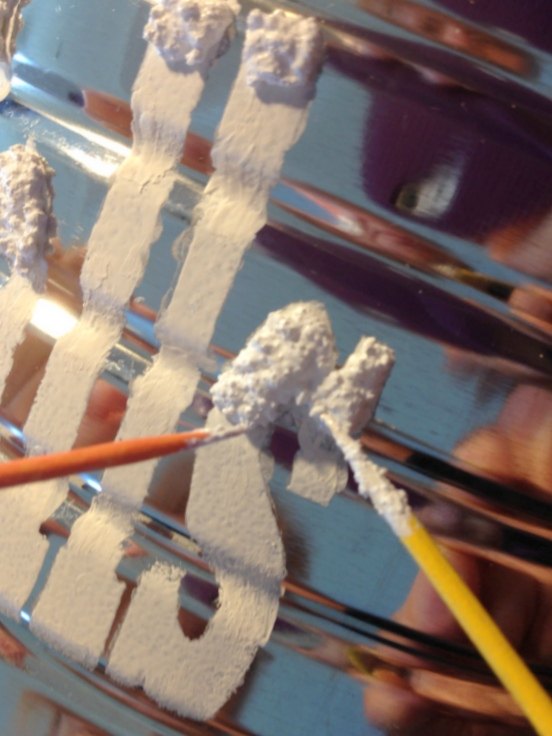
Next, make a stencil out of cardstock for the wording and embellishments. I found a fun site called Rapid Resizer that shows you how to make a word or picture stencil in almost any font and size to print out. Once you've printed the wording, cut out the letters using a craft or exacto knife.
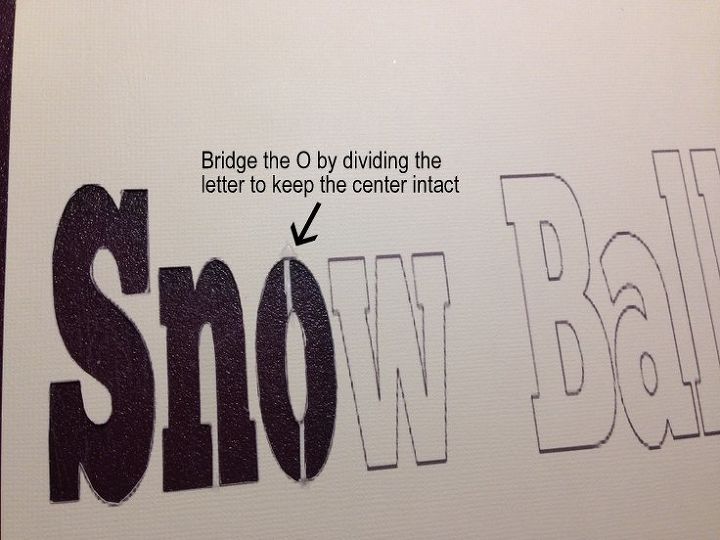
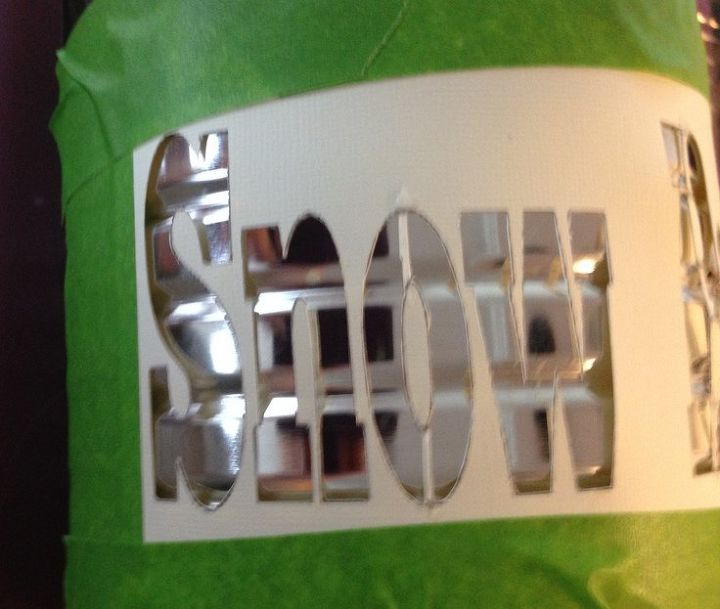
For letters like o's and a's, you will need to make a "bridge" by dividing the letters to keep the centers intact. Apply painter's tape to stencil and attach to can.
Dry brush on paint to stencil and . . .
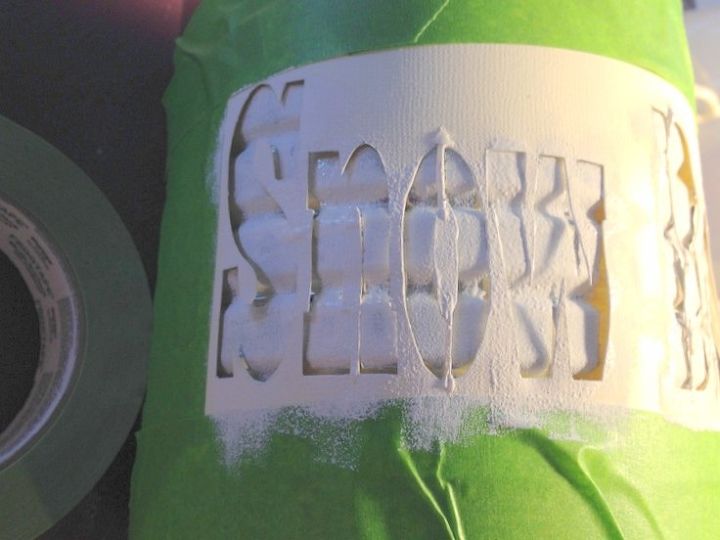
then remove. Let dry.
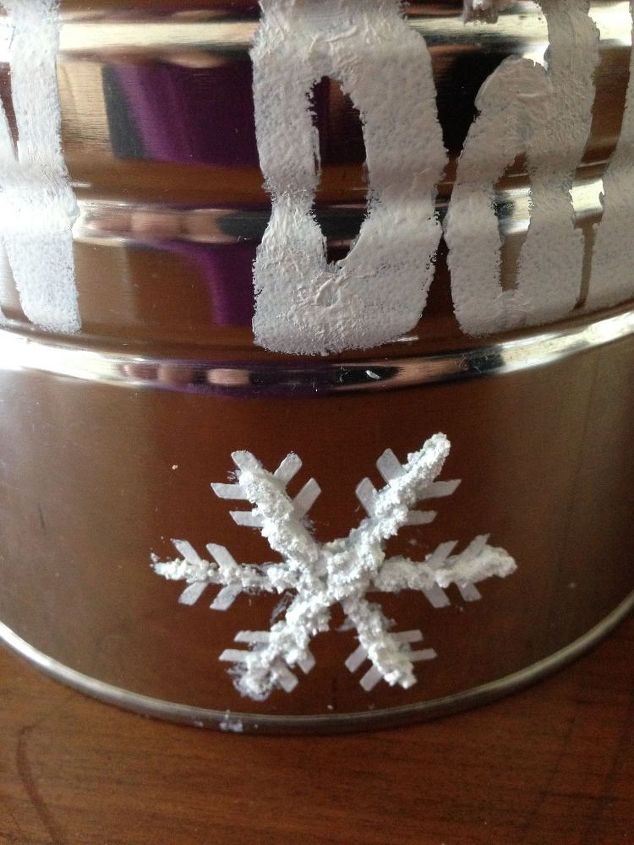
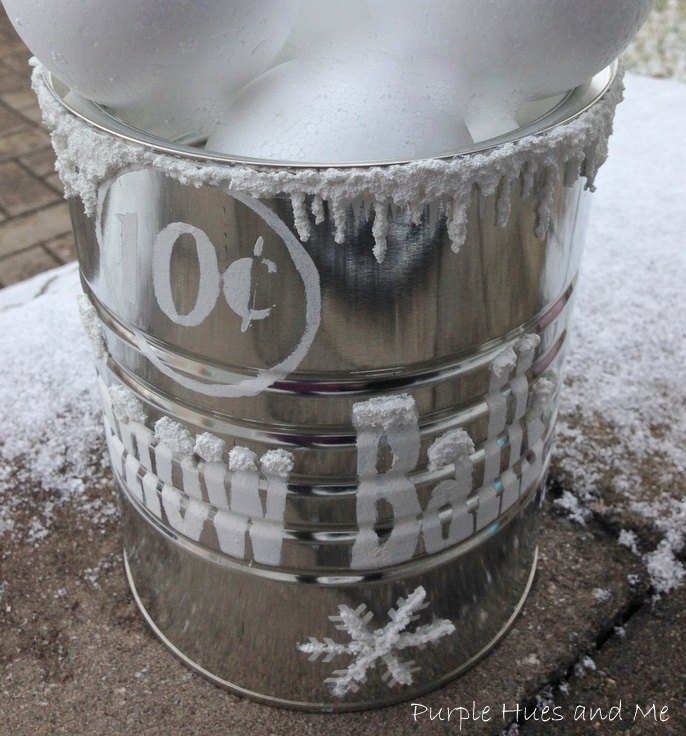
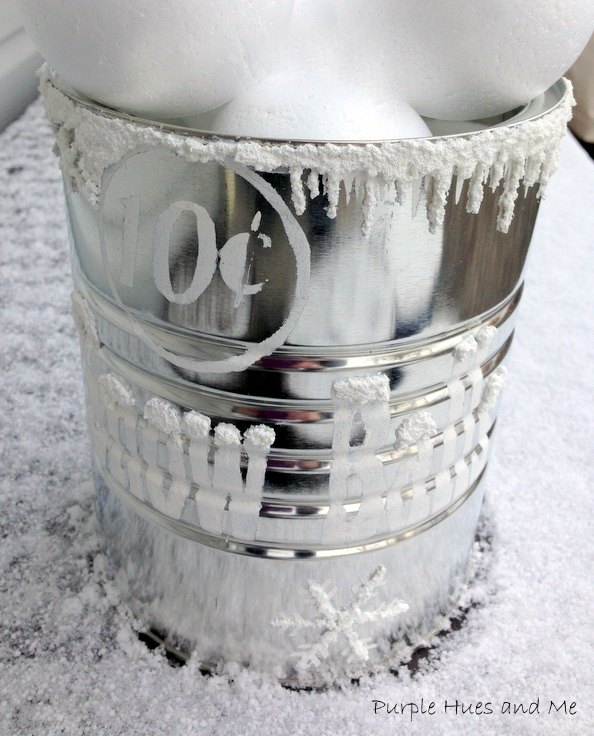
Add Snow-Tex to letters using toothpicks for a dimensional "snowy" effect.
Have fun adding Snow-Tex to letters and on decorative patterns!
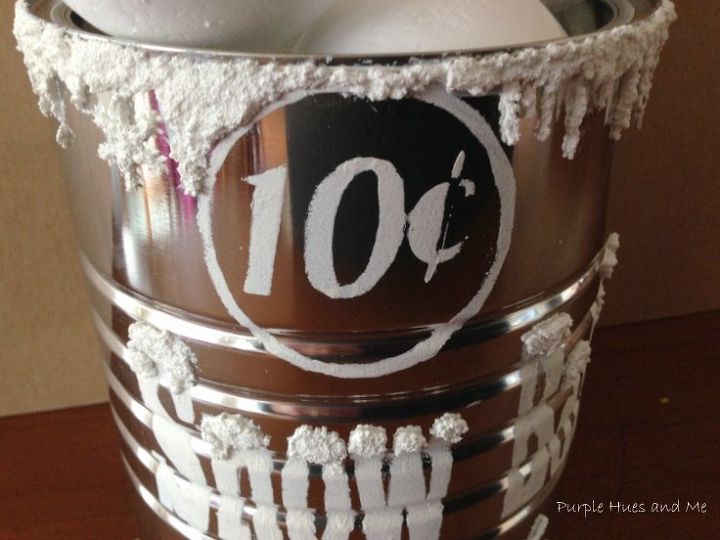
Top off with faux snowballs to complete the look!
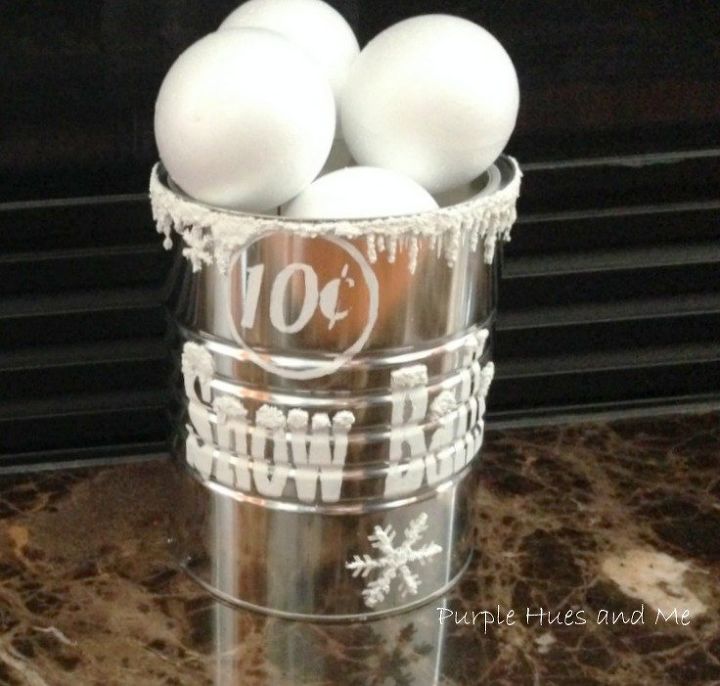
Baby it's cold outside!

Want more details about this and other DIY projects? Check out my blog post!
Comments
Join the conversation
3 of 34 comments
-
This is really cute, the grandkids will love it, And fun coffee trivia as well. Thanks for sharing
-
So clever.


Frequently asked questions
Have a question about this project?
What are the snowballs made from? Are they styrafoam glass ornaments?