


How to Treat Wood Branches for Home Decor

by
Lori Greco
3 Materials
Using branches for home decor is beautiful and cost effective. And after I did some research on how to prepare wood branches for home decor, I realized it wasn’t that difficult. I was a little bit overwhelmed however, at how many different approaches there were. So the steps I’ve outlined below is only one approach – if you do additional research you’ll find lots of other ideas and options. But this approach worked best for me and the results look great.

When I redesigned our daughter’s bedroom closet area, I removed the doors and turned her crowded closet into an open space with a pretty curtains to frame it. For a curtain rod, I decided to use a branch I found on one of my daily walks with our pup. It was the perfect rustic heading and added some contrast and this girly space. Here are the materials you’ll need if you’re looking to add wood branches to your home.

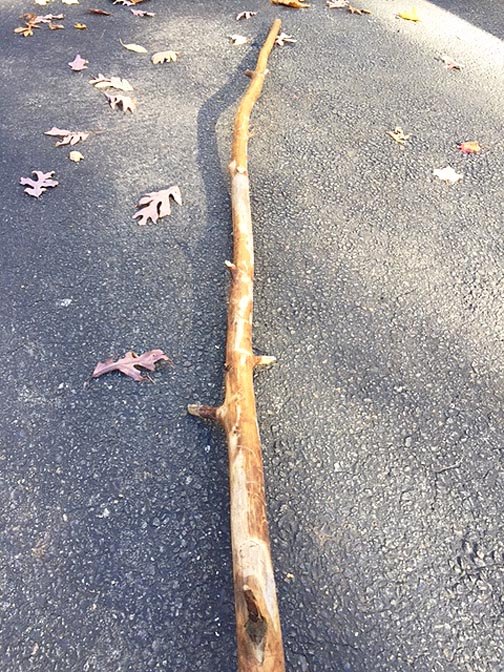
STEP 1: Get a good branch. I found it was best not to cut any branches off a tree but instead, find one already on the ground. This way, the wood has started to age and dry out. I take our dog for walks in a big wooded area behind our neighborhood. I found several branches that were already on the ground and I dragged 2 of my favorites home. I quickly selected the branch I wanted and the other one became our dog’s new chew toy. I had to keep in mind that my branch was being used as a curtain rod. It needed to be a certain length with a little curve to it but not too much. But the biggest challenge was that each end of the branch needed to be somewhat equal in diameter so it could fit on the rod brackets. This was a little tricky and even though I came pretty close, I needed to sand down one of the brackets a bit so it could hold the thicker end.
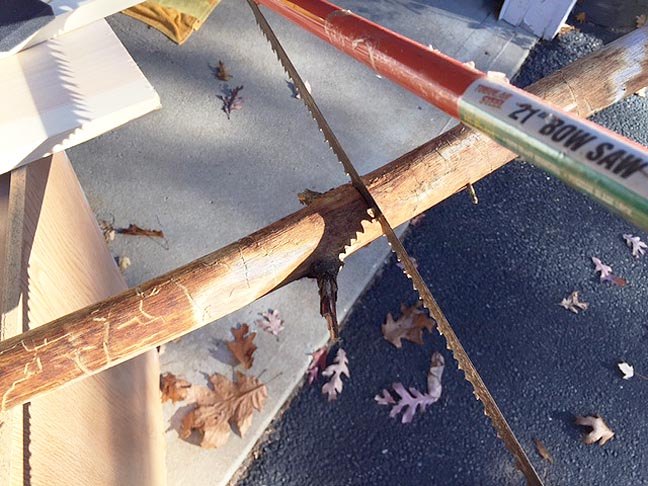
STEP 2: I trimmed off any extra branches with my bow saw (you could also use a hand saw) and then cut my piece of wood down to the size I needed for the closet.
STEP 3: Next, you have to let your branch dry out. Freshly cut branches can take anywhere from 6 months to a year to completely dry out. Since mine had already been on the ground, it had already started drying but it was hard to figure how much longer I needed to let it completely dry. So I brought my branch into our garage and let it dry for another month. The branch piece was already pretty dry but giving it a little extra time couldn’t hurt. I also read that you don’t want to force direct heat onto the branches to speed up the drying time. This can make the wood crack and warp. So a little patience and planning is needed.
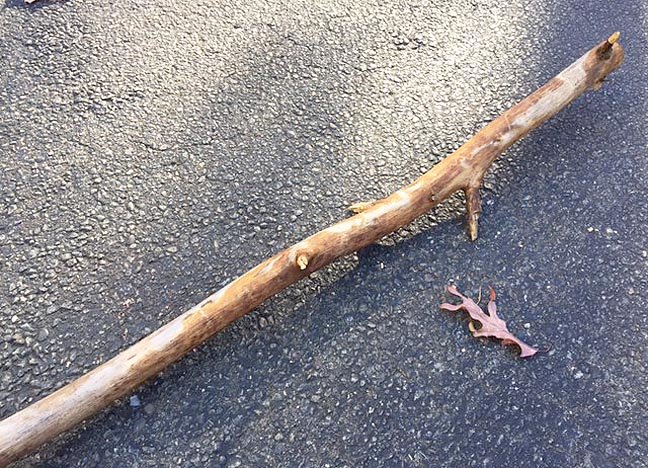
STEP 4: After the wood had fully dried out, I started scraping the bark off. This is a very important step that a lot of people skip when bringing branches indoors. You need to scrape the bark off because there could be bugs living in it. Some people like the look of the bark and use chemicals to ward off the bugs but I wasn’t taking any chances. I read that some bark can be very difficult to remove. I used a paint scraper and luckily, the bark on my branch came off pretty easily.
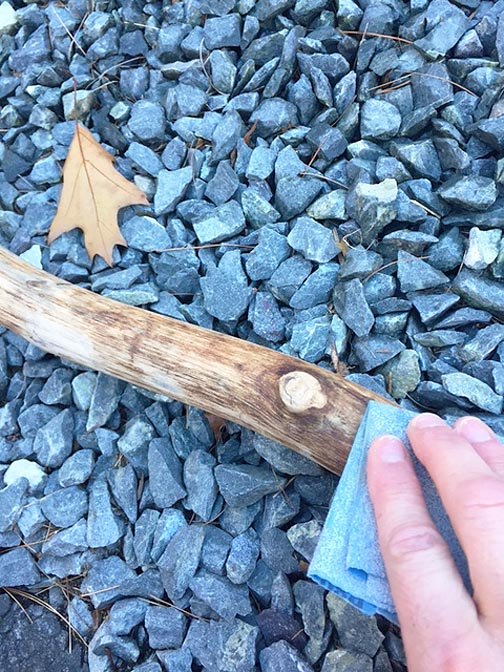
STEP 5: After I got most of the bark off, I used 120-grit sandpaper on the entire piece to smooth out any rough spots and give the piece a nice even look.
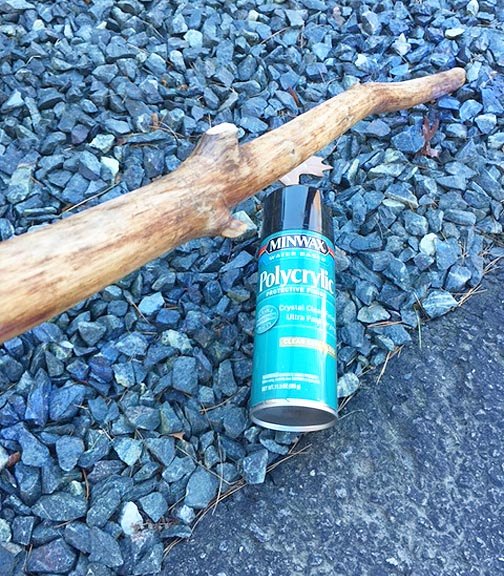
STEP 6: I cleaned the branch with a dry towel to remove any dust. Then I strayed a generous coat of Clear Semi-Gloss Minwax Polycrylic Protective Finish. I wanted to bring in a bit of sheen while giving the branch a little protection. I just discovered this acrylic polyurethane in the spray version and I love it. It’s easy to apply and dries fast. And since it’s acrylic based, it doesn’t have the yellow tint that comes with most oil-based polyurethanes. You can also stain your wood or even paint it. But even just the clear coat of poly brought back some of the beautiful wood tones and color depth that was lost when I scraped all of the bark off.
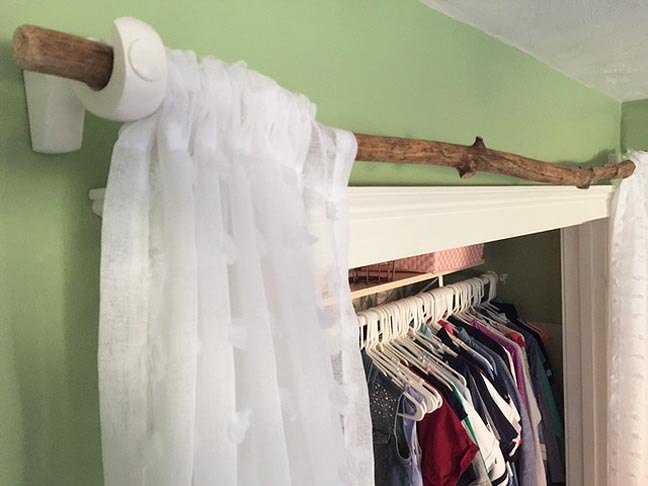
I hung my new curtain rod with some old white wood brackets I had. They were used to hold a 2″ wood rod so they worked well for this branch. And the curtains had a rod pocket design so they fit well on the branch. You could also hang them with curtain rod clip rings too.
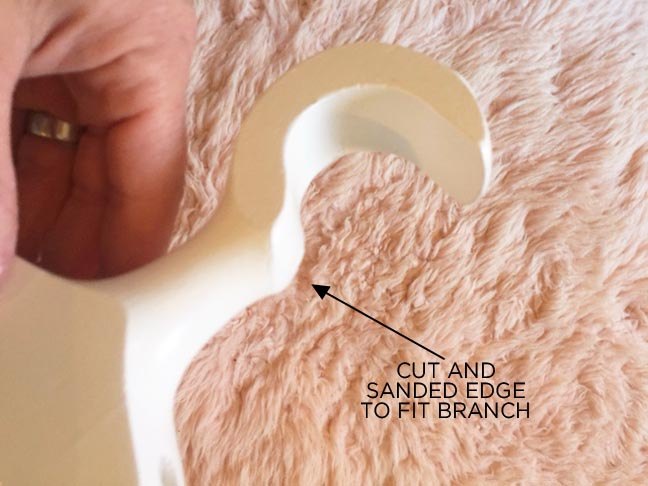
Like I mentioned before, I did have to trim and sand an edge of one of the brackets so the branch could fit but you can’t tell when it’s hung and it supports fine.
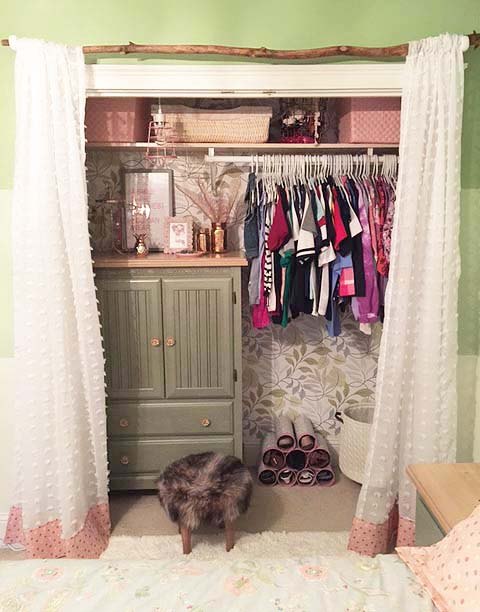
I love the natural feel the curtain rod branch brings to this space. And the bonus is that it cost almost nothing. I only had to buy the can of polyurethane – and I’ve got plenty left over for future projects. Maybe another branch idea?
Want more details about this and other DIY projects? Check out my blog post!
Comments
Join the conversation
3 of 35 comments
-
Absolutely inspired. I have a few branches that are so beautiful that I held onto them to do something. Now I realize that the options are unlimited.
Thank you
-
Came across this when I was looking up how to treat branches for using indoors. I love this idea and am now going to use it in my own bedroom. I currently have ugly sliding doors to my closet and was looking for ways to make my bedroom more unique and beautiful. I absolutely love nature and all things natural, so this idea appealed to me big time! I’m lucky enough to have a forest at the back of my house, so tomorrow I’m off to look for some branches. I plan on making curtain poles for the two windows in my bedroom to match.


Frequently asked questions
Have a question about this project?