


DIY Tin Wall Art!
7 Materials
Sometimes it can be a little bit tricky to find the perfect piece of art to fit a specific wall space in your home, or if you do find the perfect piece, it can be pretty darn expensive! If this is the case, than you might be better off to just DIY it!!!
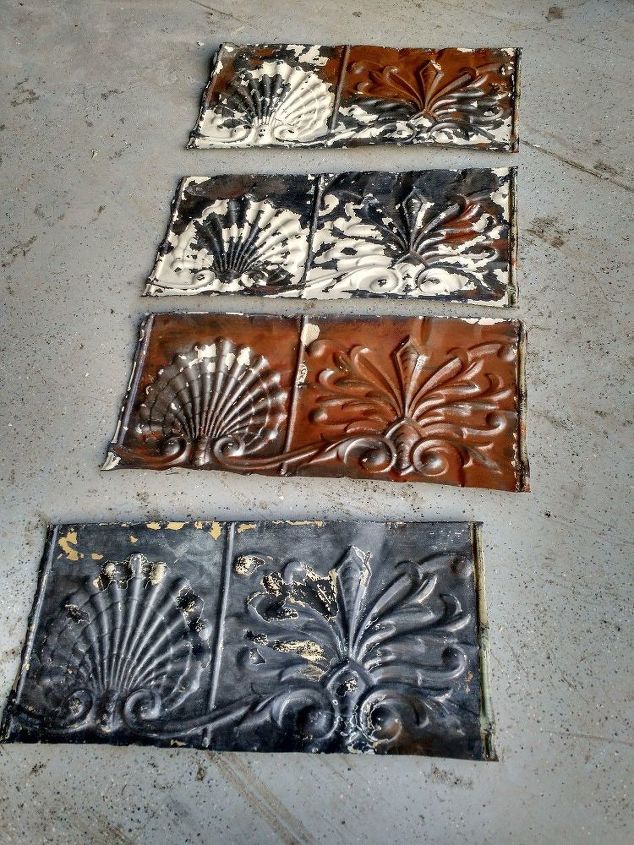
I’d been searching high and low for the perfect pieces of tin to hang on the giant wall behind the couch in my living room… and finally, I found them!
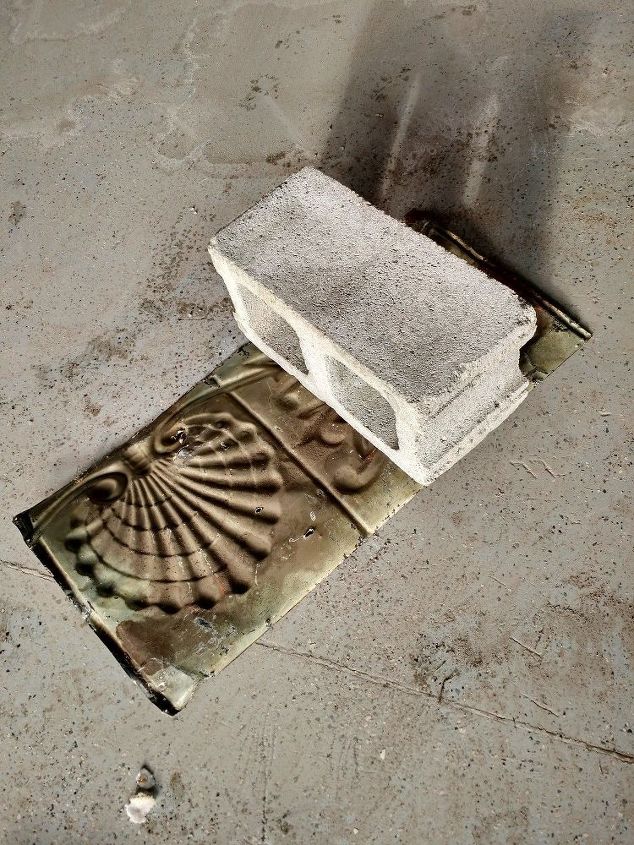
The first thing that I did was flatten them out by placing a concrete block on them and pressing down. This actually helped to chip off some of the old paint too!
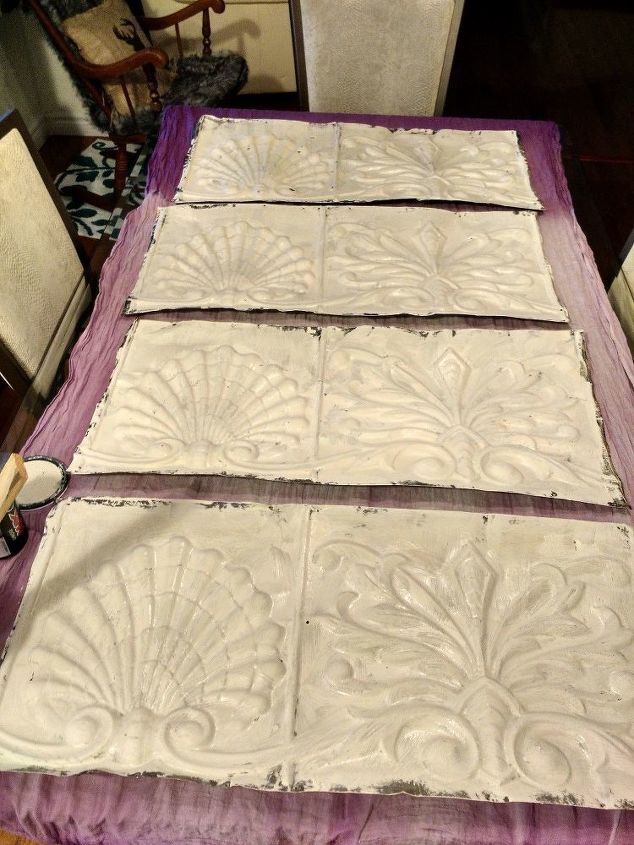
After removing all of the old paint, I then used chalk paint to coat my tin panels.
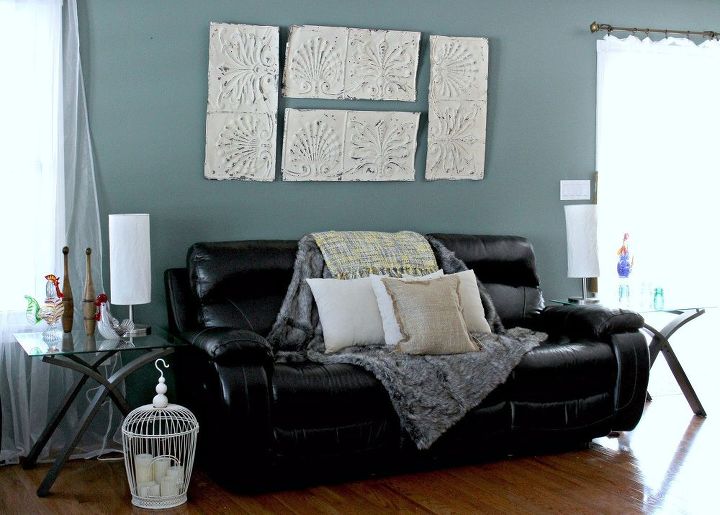
Here is the final product, and I must say that I am absolutely thrilled with the end result! It is the perfect fit for my wall, and even though it took a very long time to find the perfect pieces, it really only took one afternoon to complete the entire project!
Resources for this project:
See all materials


Any price and availability information displayed on [relevant Amazon Site(s), as applicable] at the time of purchase will apply to the purchase of this product.
Hometalk may collect a small share of sales from the links on this page.More info

Want more details about this and other DIY projects? Check out my blog post!
Comments
Join the conversation
2 of 22 comments
-
That looks wonderful! Great job!
-
I love this idea, thank you for sharing!


Frequently asked questions
Have a question about this project?
How did you remove the paint and are you saying the tins that are silver, gold etc. are painted?
Anybody knows if you can use it as a mold and the right type of plaster to make more then paint them, maybe frame them or use them as decor?
How do you hang them on the wall? Could you glue them behind a stove for a backsplash?