


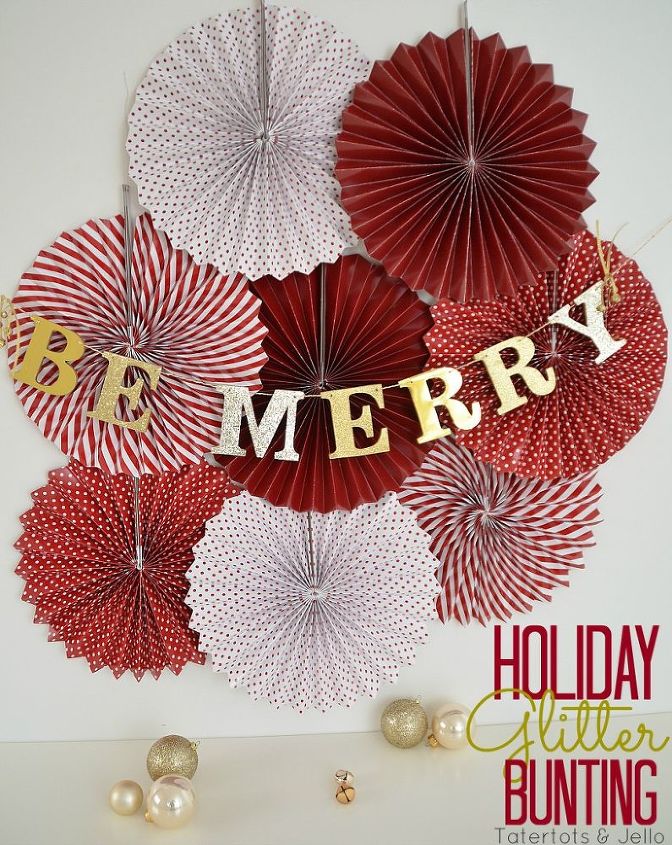
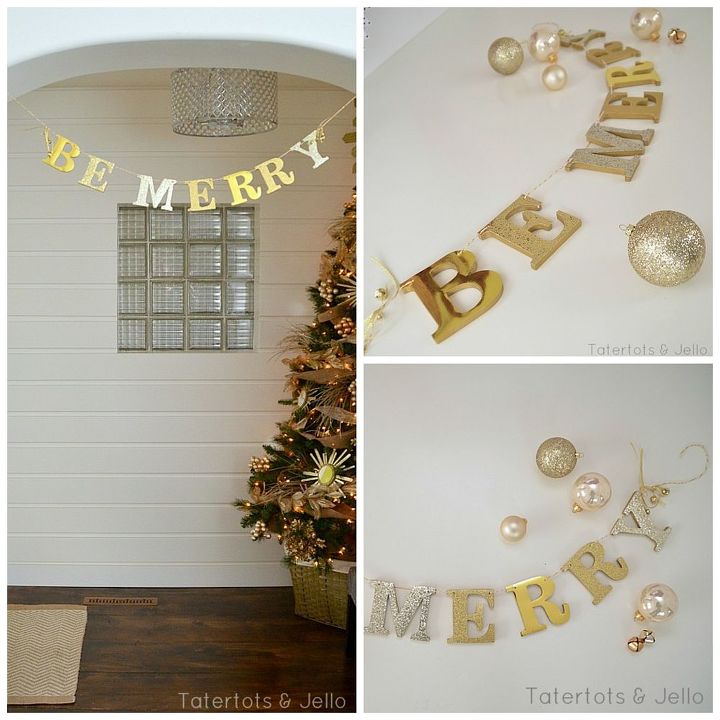
DIY Glitter Letter Bunting

by
Homes.com
Try this DIY project by Jennifer Hadfield from Tatertots & Jello to add a little holiday spirit to your home.
Supplies
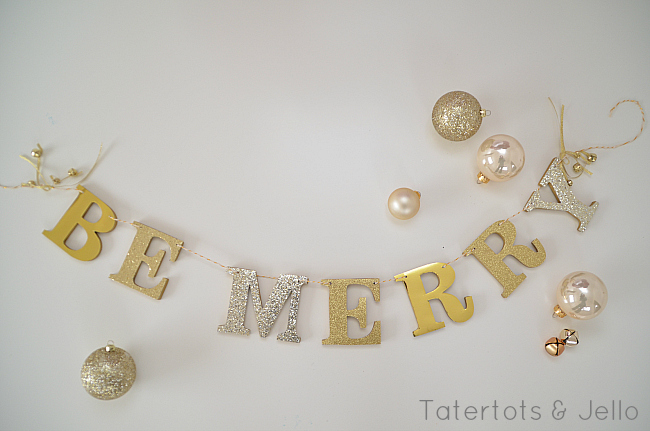
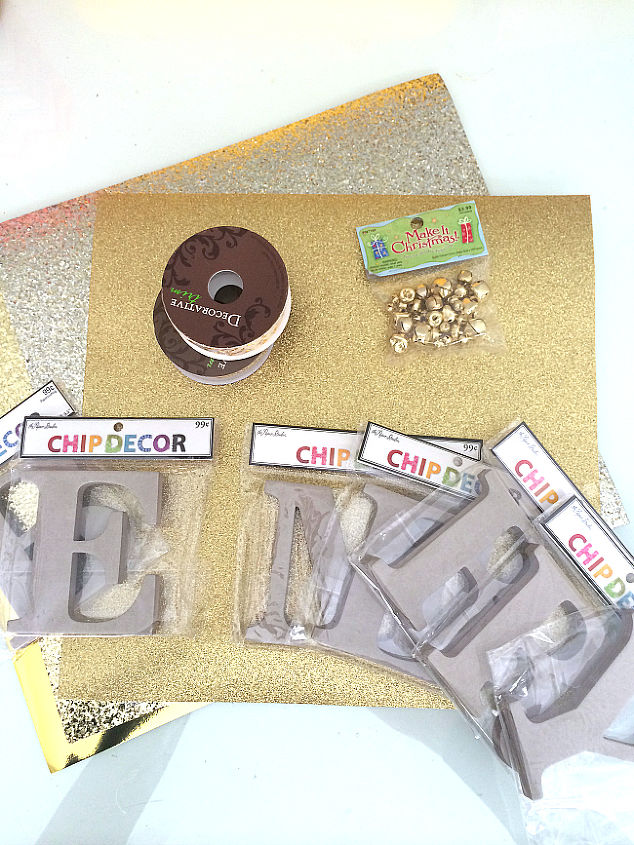
Chipboard Letters spelling out your word or words
Paint for the sides of the letters – I used gold
Paper to cover the front of the chipboard letters – I used different shades of gold glitter paper
Spray AdhesiveA drill to drill holes in the lettersTwine or fine ribbonEmbellishments like little jingle bells (optional)
Directions
• Figure out the order of what paper you want on what letter and then trace the chipboard letters onto the back of the scrapbook paper with a pencil.
TIP- you will need to trace the letters backwards to have the right side of the paper match the right side of the chipboard letter. Cut out the letters.
• Drill holes in the top edges of the letters. Use a small drill bit. I used a 1/8″ drill bit. The chipboard might expand a little as you drill. You can take a xacto knife and shave any chipboard material that isn’t even.
• Paint the edges of the letters.
For the full tutorial visit the blog here: http://blog.homes.com/2013/12/diy-holiday-glitter-bunting-banner-olioboard-contest/
project
Supplies
Chipboard Letters spelling out your word or words
Paint for the sides of the letters – I used gold
Paper to cover the front of the chipboard letters – I used different shades of gold glitter paper
Spray AdhesiveA drill to drill holes in the lettersTwine or fine ribbonEmbellishments like little jingle bells (optional)
Directions
• Figure out the order of what paper you want on what letter and then trace the chipboard letters onto the back of the scrapbook paper with a pencil.
TIP- you will need to trace the letters backwards to have the right side of the paper match the right side of the chipboard letter. Cut out the letters.
• Drill holes in the top edges of the letters. Use a small drill bit. I used a 1/8″ drill bit. The chipboard might expand a little as you drill. You can take a xacto knife and shave any chipboard material that isn’t even.
• Paint the edges of the letters.
For the full tutorial visit the blog here: http://blog.homes.com/2013/12/diy-holiday-glitter-bunting-banner-olioboard-contest/
project


Frequently asked questions
Have a question about this project?