


Valentine Felt Topiary
2 Materials
It was time to make another felt topiary! This time I took photos and will tell you how you can make one for yourself!

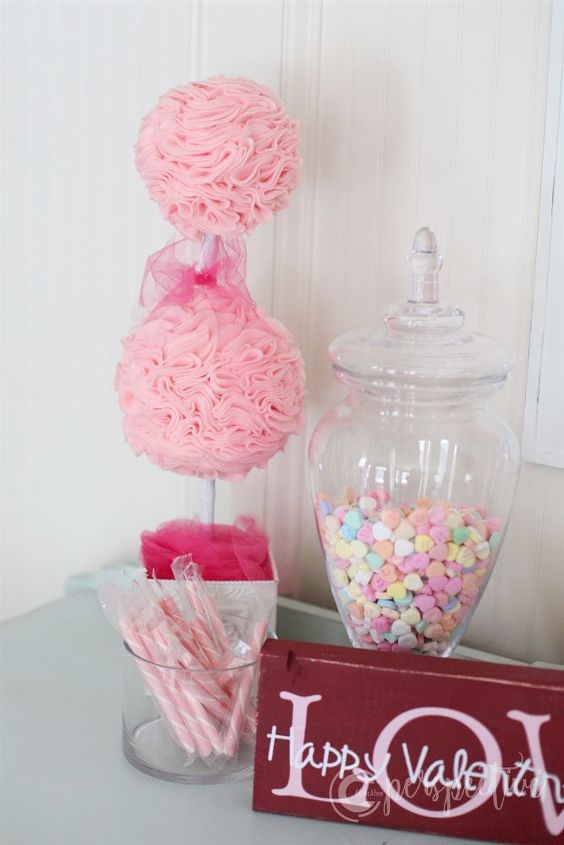
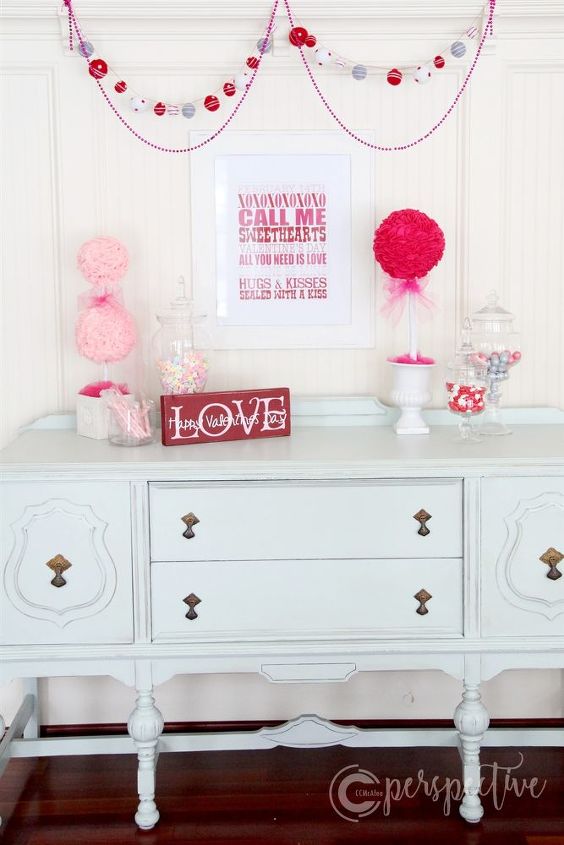
I made my first felt topiary way back in 2012. This light pink one was my first one.
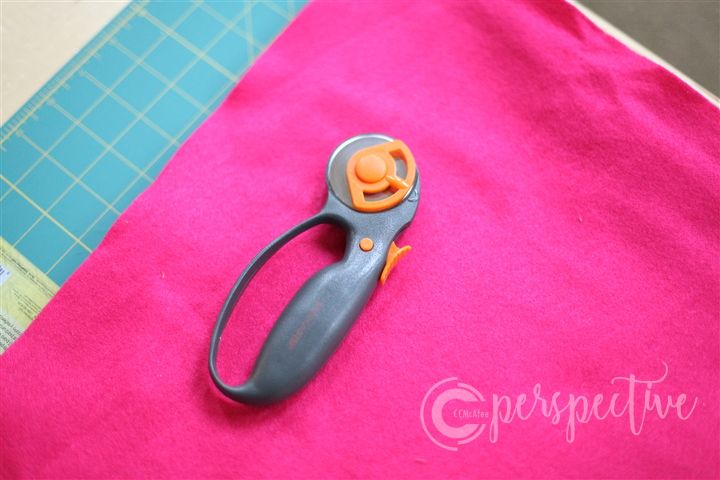
To start you will need felt. I bet you wish I would tell you how many yards you need, but I can't! You can determine how dense you want your felting done. I can guess that you will need half to 3/4 of a yard of felt. Does that help? I do mine more dense.
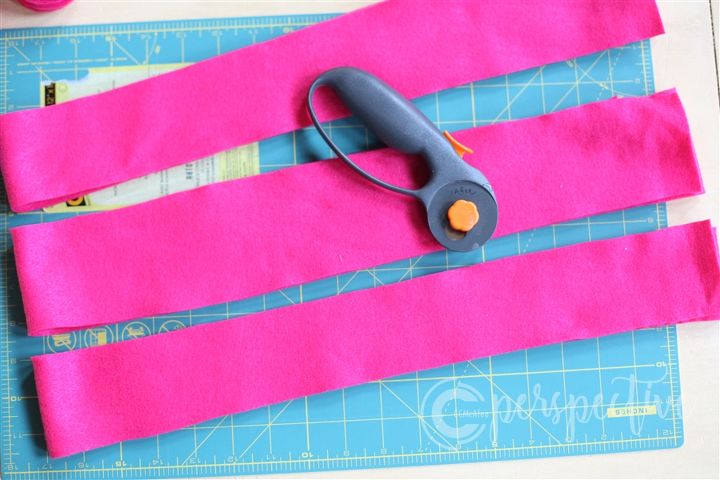
I begin by cutting my felt into squares. This is where it goes faster if you have a rotary.
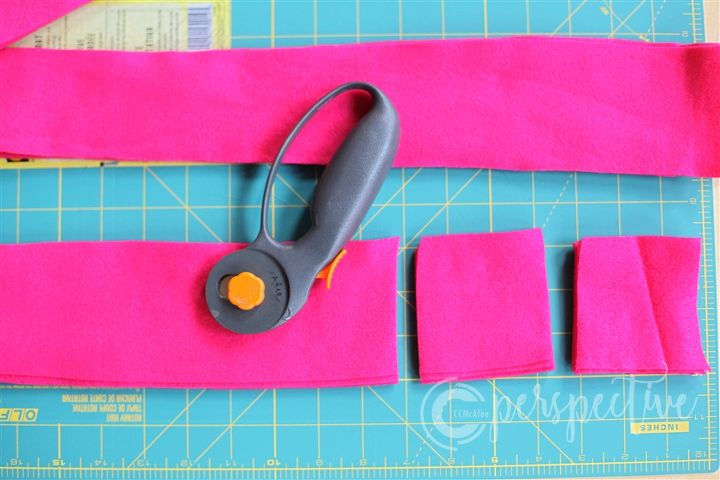
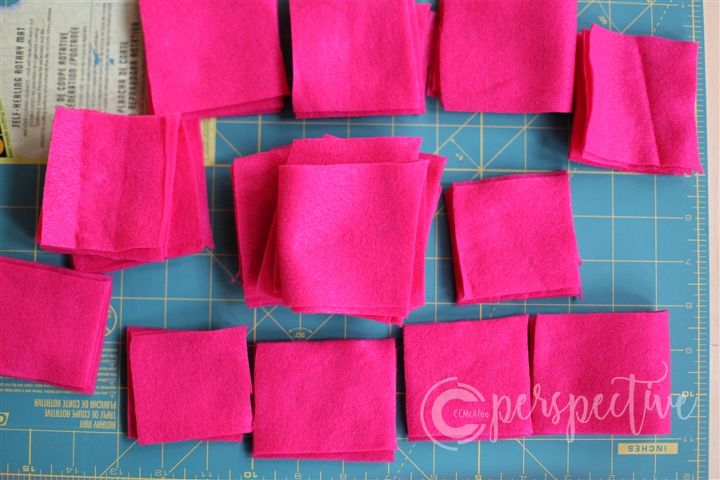
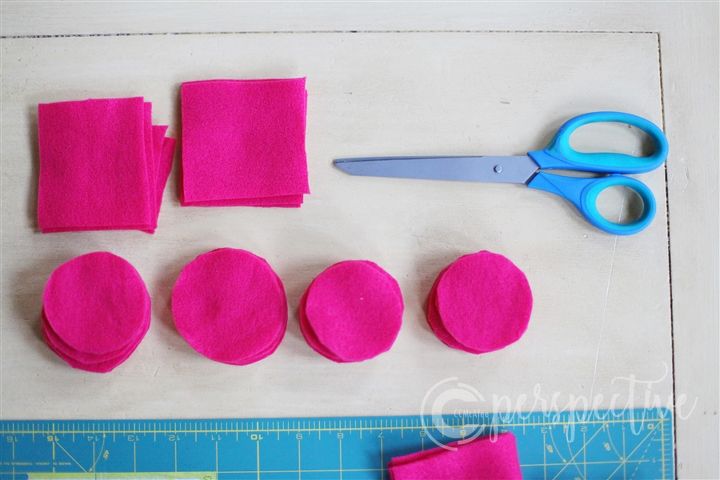
Starting with squares helps me to cut better circles.
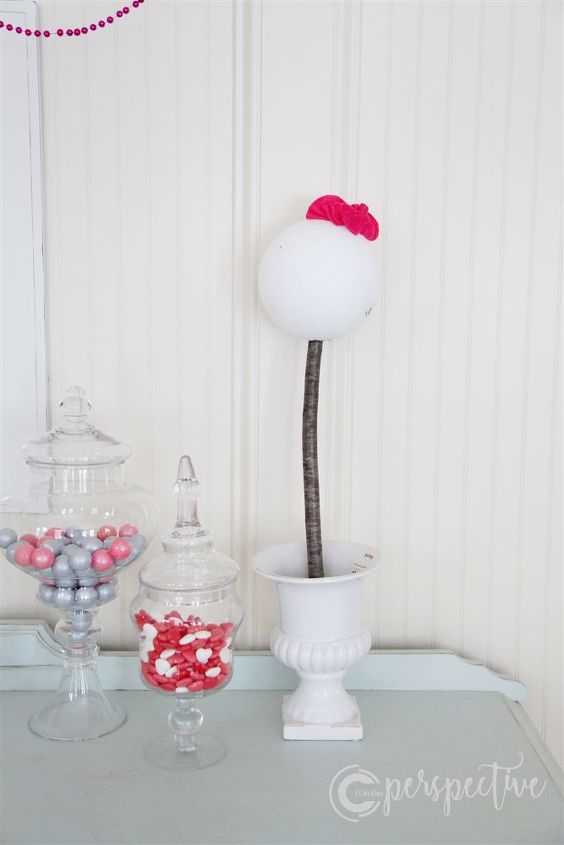
Before you start pinning felt, go ahead and glue your dowel or stick into your foam. You will want to work around that.
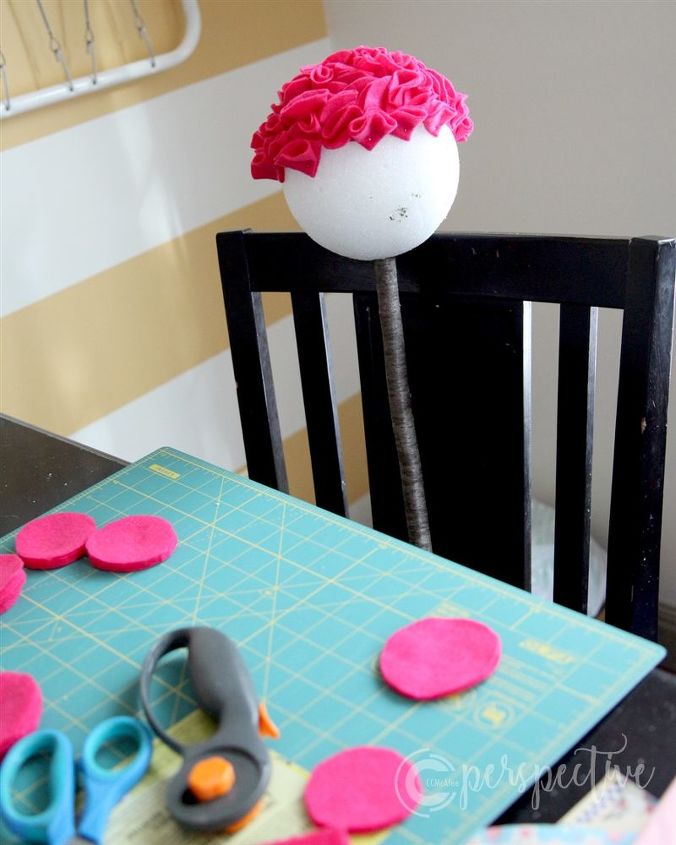
Fold your circles into half and half again. This gives each piece some volume. You will be pinning at the base of the folding, where it comes to a point. You can see that I sort of bend the folded part up and the pinned part is flat.
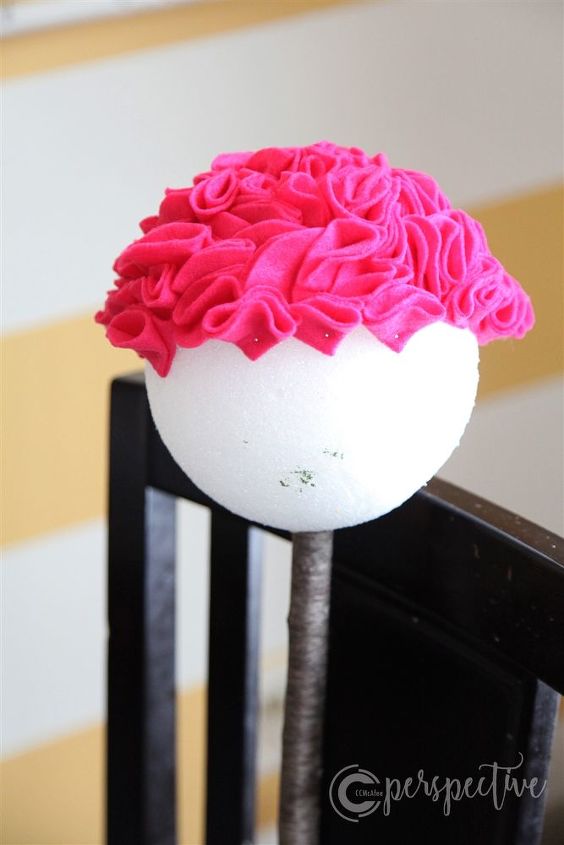
That is the process! Just keep going until the sphere is covered in felt. I have done this several times, don't worry about felt facing the same direction, or lining it up any certain way. The best way is to stagger everything so all the foam is covered.
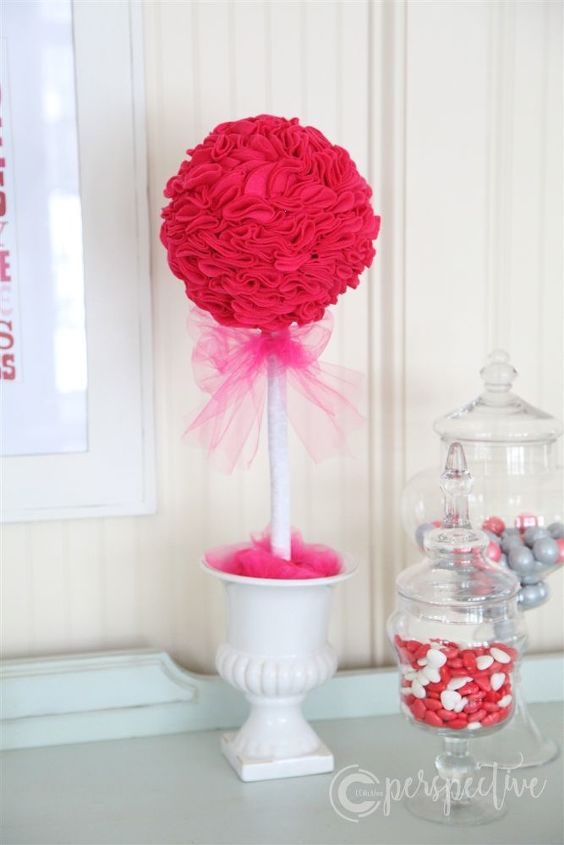
Isn't it cute? I love it!

Want more details about this and other DIY projects? Check out my blog post!
Comments
Join the conversation
2 of 34 comments
-
OMG! I can't decide which one I like (love) the most. Guess I LOVE them both then. Good Job, girlfriend!
-
I am so doing these. I like them both so I will do them both. Thank you for sharing.


Frequently asked questions
Have a question about this project?