


Kitchen Redo

by
Catherine
4 Materials
We were going to remove the cabinets but when the rescued dog chewed them up we moved faster!
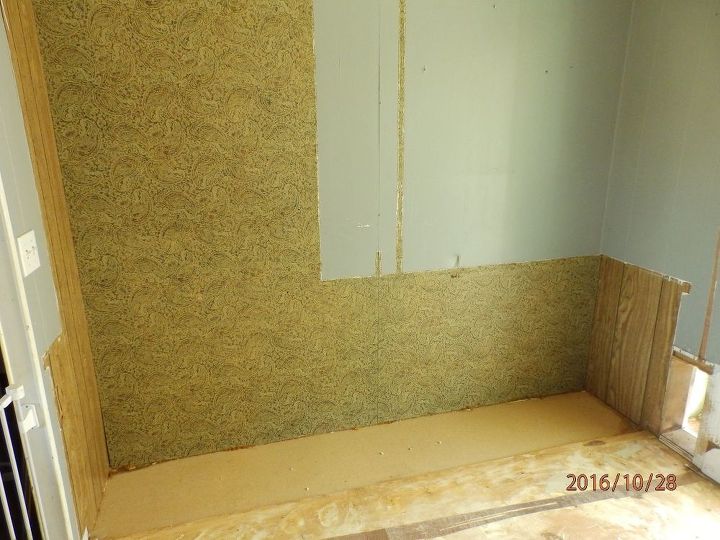
This is what we started with after the base cabinets and built in china cabinet was removed. I failed to get pictures of the demolition, sorry. Basically we took a hammer and screw gun to remove the old stuff.
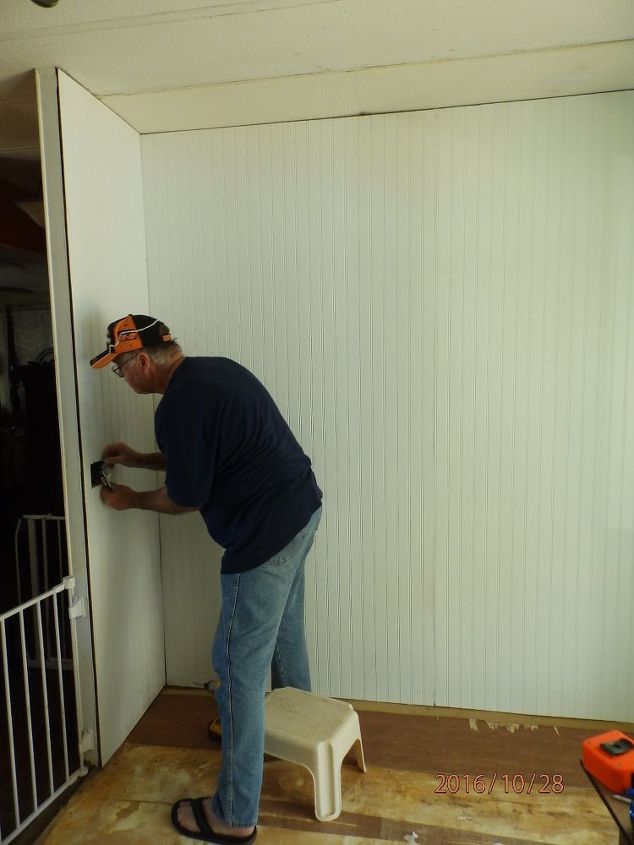
We (my husband) then covered the walls with bead board. My job was to caulk and paint. I used a trim paint because I wanted stark white. I love the clean look of it.
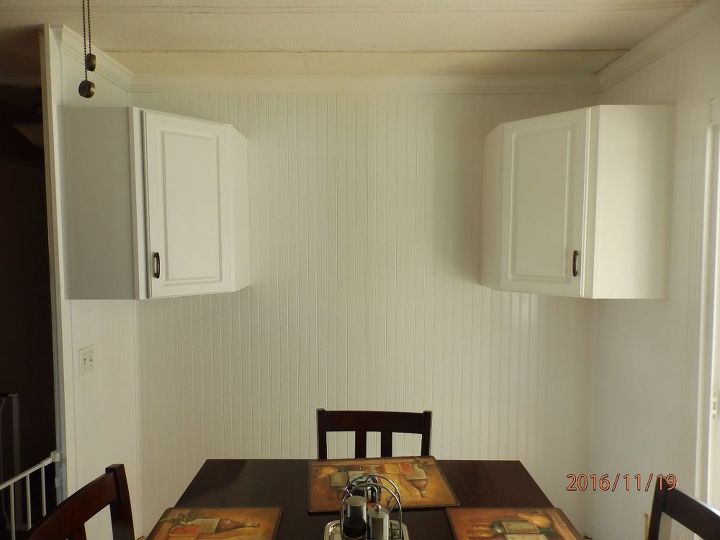
The next step was installing corner cabinets. We happened to find these discontinued pair at Lowe's for a great price. I couldn't decide if that was what I wanted but the price swayed me. lol
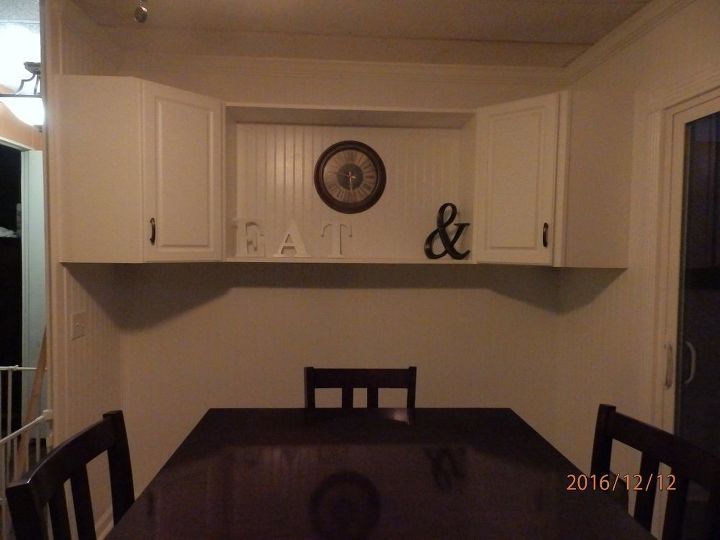
Still a work in progress. I have a hard time deciding where to put shelves and permanent things. Once its there, its there, so it has to be to my liking, I finally decided on this placement for these shelves. Now where to put the others!
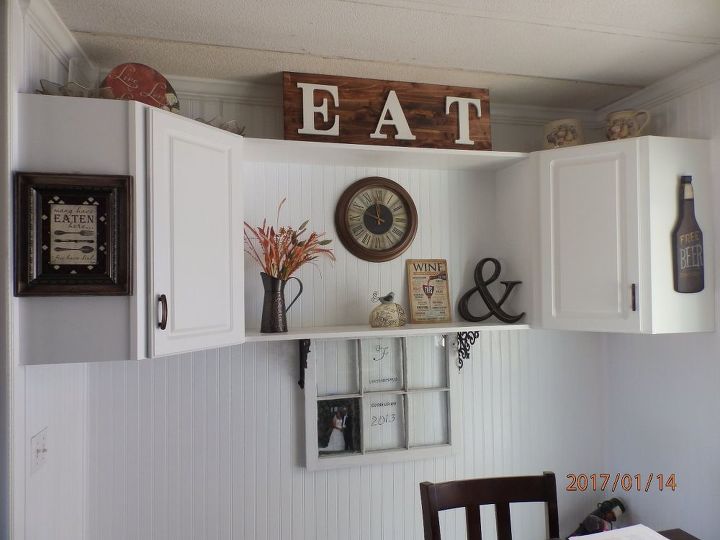
No other shelves yet. :-) But the decorating has begun! For the EAT sign I purchased letters from Wally world, painted them white and glued them on to a board from hardware store that I stained. The window is an old one from my parents house. I used a sharpie to write on the window, bought shelf brackets for looks and started to add pictures. I will post later when I finish that. I have decided to put wide corner shelves under the cabinets and will post those pictures after installation. Ignore the "wine" sign, it will go on the wall after the corner shelves go up.
Want more details about this and other DIY projects? Check out my blog post!
Comments
Join the conversation
2 of 39 comments
-
I'd love to see you add an addition wall shelf under these cabinets. One piece, cut to the size and shape of the entire space(maybe held by beautiful korbels) would provide a "buffet"... great job!
-
I actually did put shelves but not all the wat across. I will post pictures soon. Thanks for the suggestion!


Frequently asked questions
Have a question about this project?