


Kitchen Herb Garden: A Challenge Project
15 Materials
Easy
I was invited in January to participate in a challenge: Grab a few tea cups and create something fun.
Game on!
I love tea and tea cups, and I love to garden. With the growing season on the horizon, I decided to combine a few of my favorites to create a pretty little indoor herb nursery.

I started with a trip to the thrift store for some cups I wouldn't mind painting. Two dollars later, I was ready to go.
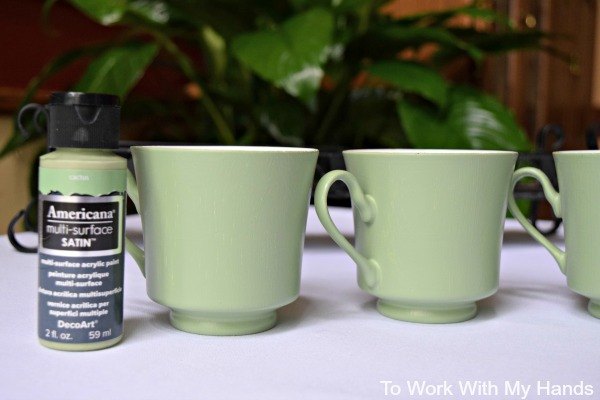
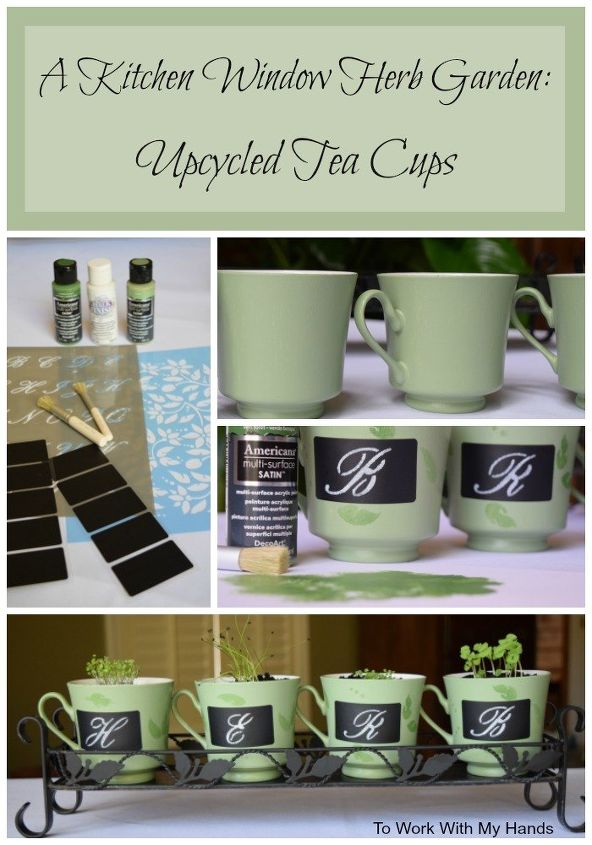
That fruit trim across the top was a bit of a problem, so I gave the cups two coats of white spray paint as a primer before beginning the project.
Next, I painted them using DecoArt's Americana satin in Desert. I love the soft green color that hints of spring.
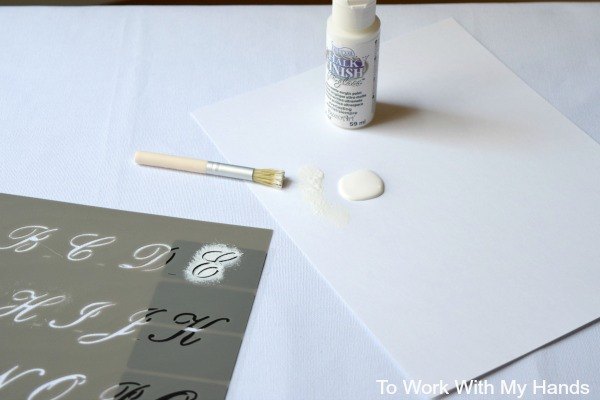
I wanted to dress the cups up a little, so I used four chalkboard paper sticker labels and stenciled a letter to each one ( H, E, R, and B) using white chalk paint.
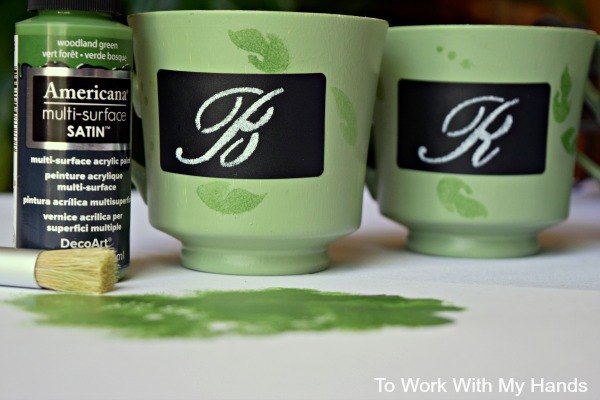
Next, I added the labels (which reposition easily, by the way), and used a darker green paint to stencil a few random leaves on the cups around the labels.
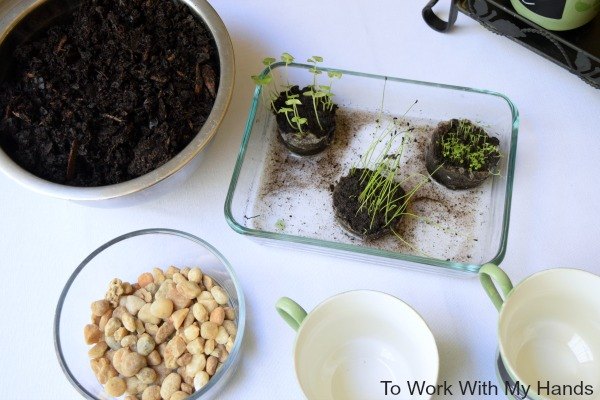
Finally, it was time to add the plants. I had started some herb seeds a few weeks earlier in peat pellets, which are a breeze to transplant.
I started by dropping some pebbles in the bottom of each cup, the added some potting mix, a herb pellet, and firmed it all down with a bit more potting mix on top.
Done!
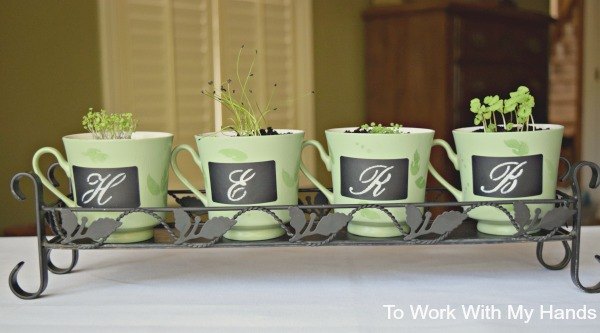
I grabbed a metal tray I found at a yard sale a couple of years ago that fit the cups perfectly, and my little herb nursery was ready to go!
I sowed these herbs pretty thick, but they'll be able to grow right in the kitchen window for several more weeks before they'll need to be transplant into the garden.
A new, thinner set can then be started right in the cups to enjoy right from the kitchen window.
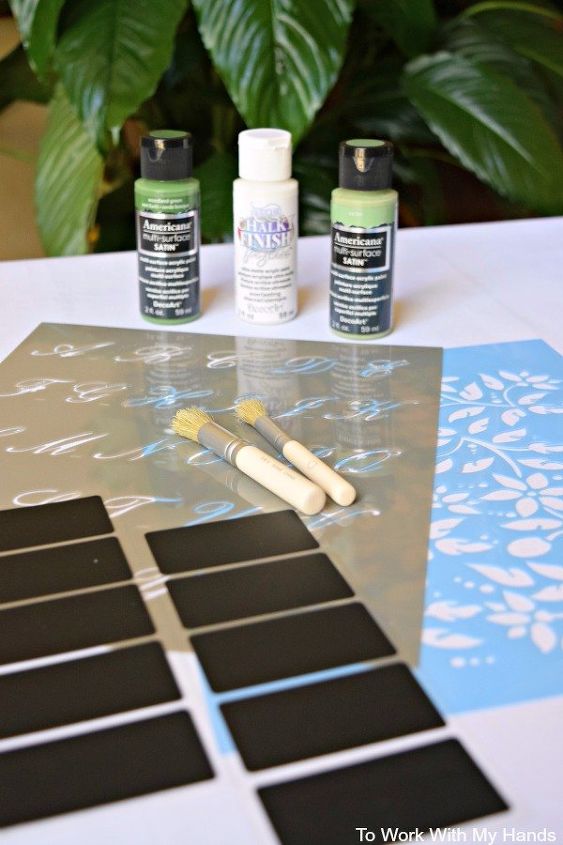
Here's the supplies I used for this project.
The spring gardening season will be here soon! The next time you're at the thrift store (or rummaging through your stash of thrifted finds) grab a few tea cups and make your own cute little herb nursery.
{
"id": "3841802",
"alt": "",
"title": "",
"video_link": "https://www.youtube.com/embed/YZG4tFsV36U",
"youtube_video_id": "YZG4tFsV36U"
}
{
"width": 634,
"height": 357,
"showRelated": true
}

Want more details about this and other DIY projects? Check out my blog post!
Comments
Join the conversation
5 of 9 comments
-
Your challenge project turned out really cute!!
- See 1 previous
-
Love this!


Frequently asked questions
Have a question about this project?