


Crusty Heirloom Chair

by
Linda kelley
This chair used to be part of a dining set that we had when my boys were small. As you can see, the black paint is almost gone, and it’s in pretty bad shape.
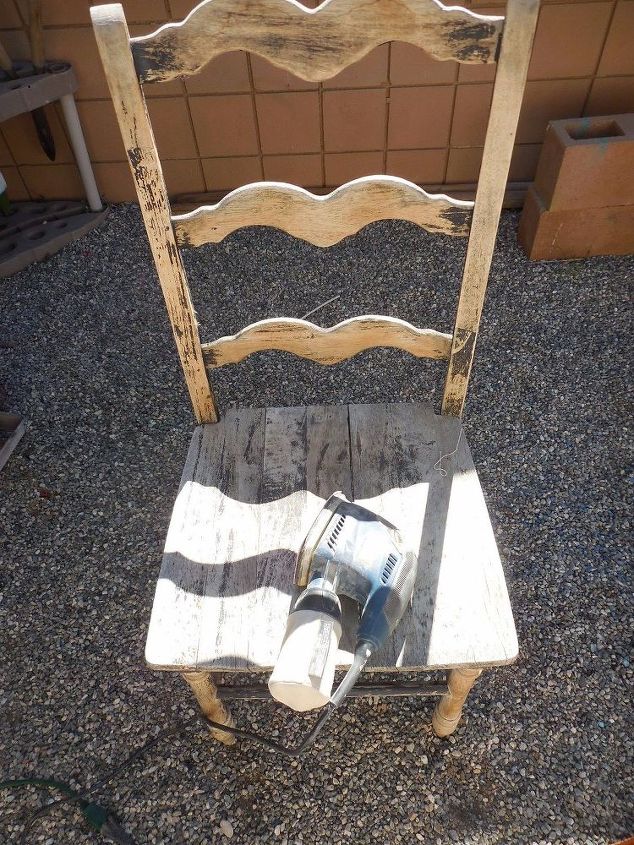
I started by sanding the chair with 120 -220 grit sandpaper. I used my Ryobi Mouse…love that little guy! It’s like the energizer bunny…just keeps going. I was able to sand down the small cracks, but the larger cracks were still there. I would have used wood filler, but I was worried the color wouldn’t be the same in those areas after I stained. Also the chair was made of different woods.(something I couldn’t tell when painted). At this point, I must say, I was a little discouraged.
I started by sanding the chair with 120 -220 grit sandpaper. I used my Ryobi Mouse…love that little guy! It’s like the energizer bunny…just keeps going. I was able to sand down the small cracks, but the larger cracks were still there. I would have used wood filler, but I was worried the color wouldn’t be the same in those areas after I stained. Also the chair was made of different woods.(something I couldn’t tell when painted). At this point, I must say, I was a little discouraged.
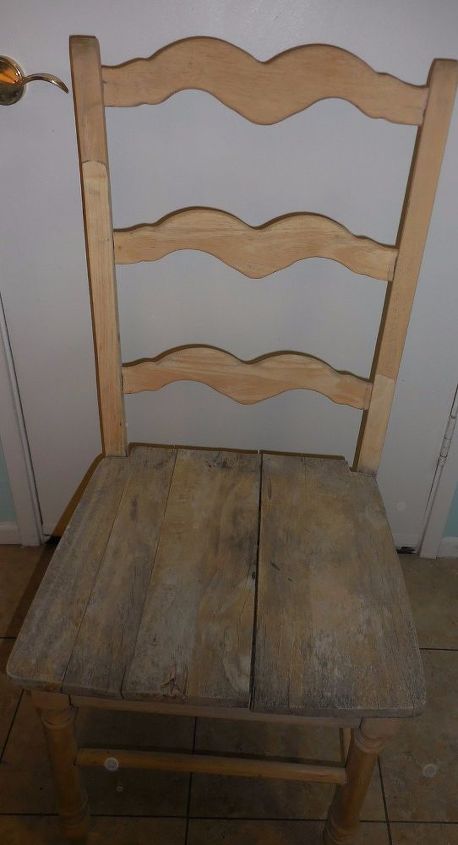
All done sanding....didn't sand the seat...
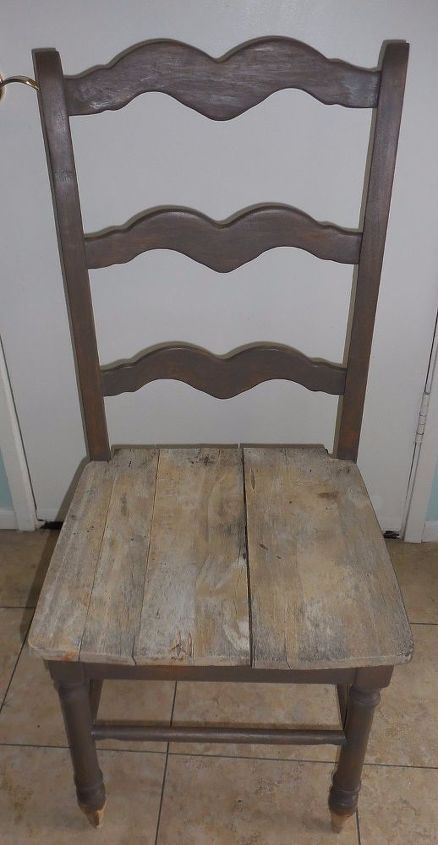
I started by using the Briarsmoke stain on it first..but I thought it was too dark for the look I was going for.I wanted some glam to it.
I then went over it with the Bleached Blue stain. I liked how the brown stayed in the cracks of the chair, and the blue kind of highlighted them. I lightly sanded different areas to bring back some of the brown stain for the aged look.
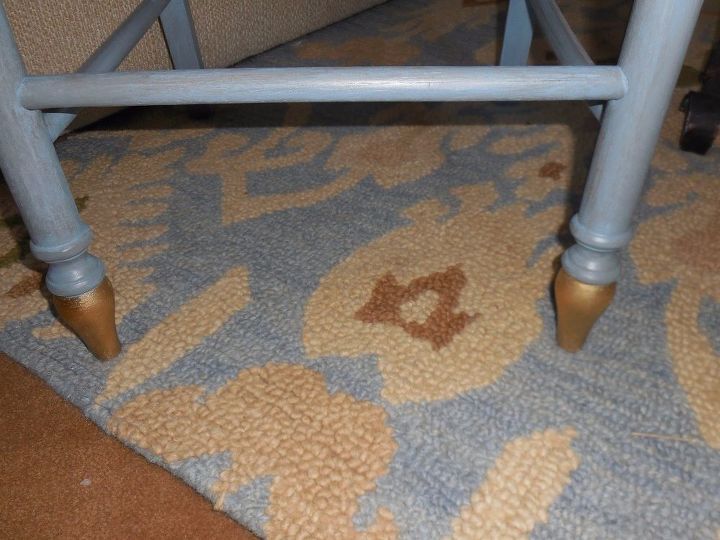
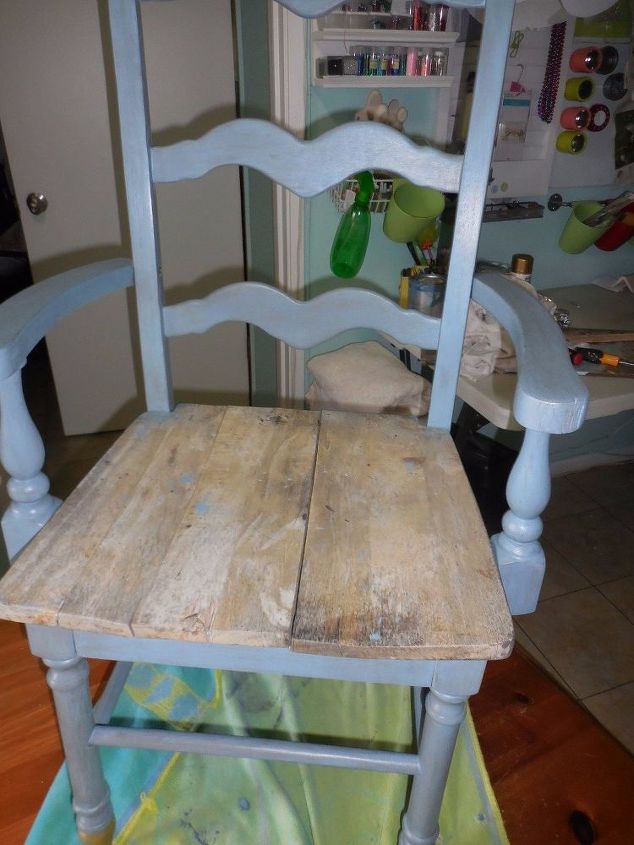
From there I used painters tape and plastic to cover the chair…all but the front bottom legs. I sprayed them with the Gold Mirror Effect…I love this product and the look it added to the chair. I then applied a coat of Varathane Triple Thick Poly to the chair. I had never used this product before, and I love that I only needed to use one coat. The chair feels so soft and smooth.
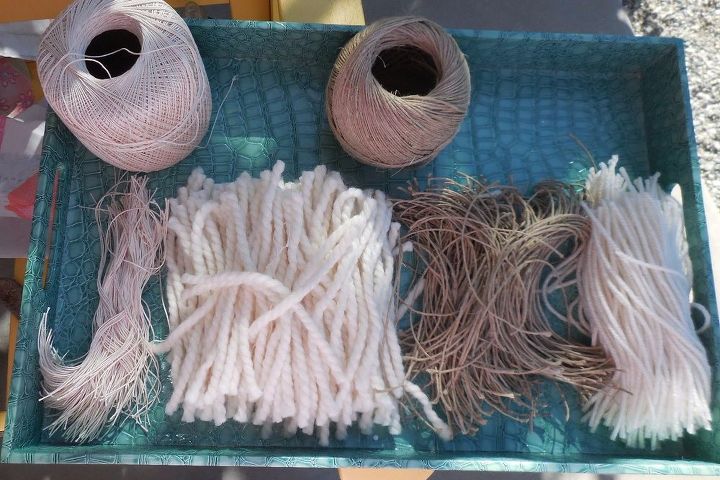
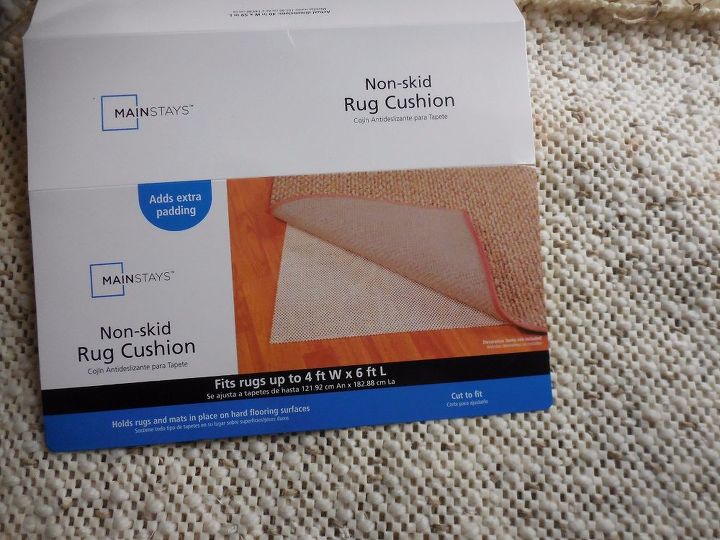
I had known exactly what I was going to do with the seat. I had recently made a rag rug that I was so happy with, you saw it here, I thought I would use a similar, but different, technique. I purchased 3 different types of yarn, in various thicknesses, hemp string, chair foam pad, and a non slip rug protector. For the next few days, I was watching movies and working on it.
This is what I purchased….this pic also shows what the back looks like when done…

I started by cutting the yarns in 6″ lengths.You slip a crochet hook in one little square with a strand attached and come up on the one next to it.then tie a knot. Keep going..using a random pattern. I had purchased a foam pad from the store and cut to fit the seat of the chair. This is the back when done!
I then purchased a canvas, and spray painted the sides with the Aged Gray Chalked spray paint. I then taped the sides and sprayed the front of the canvas with Rusto oleum Chalk Board spray paint.

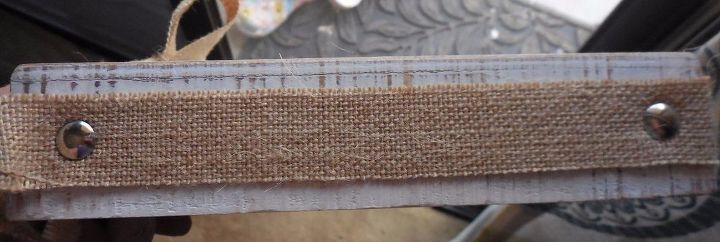
I used white paint for the lettering. I then took burlap ribbon and went around the sides and attached thumbtacks to hold it down, and tied a bow at the top.
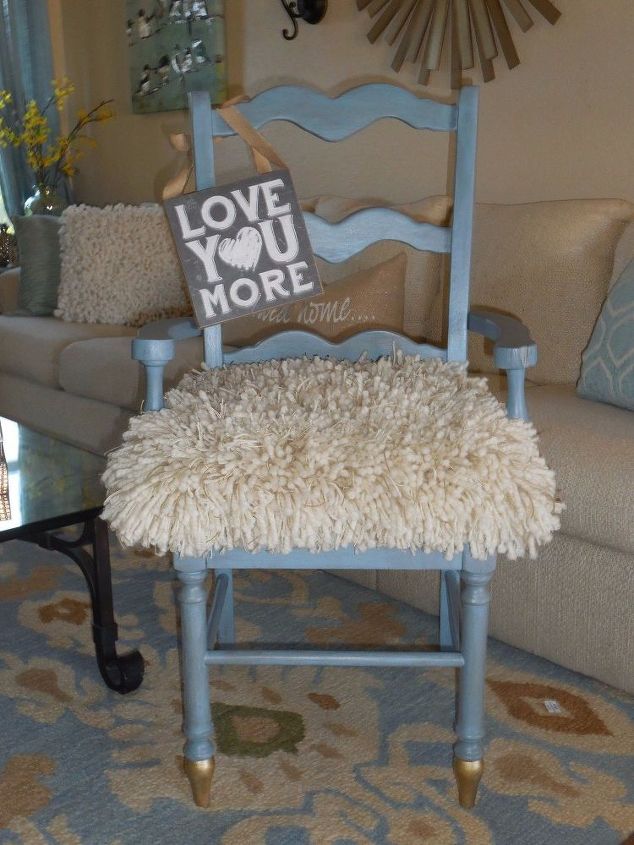
I glued the foam pad to the chair. Then put on the rag topping (I don't know what else to call it) I stapled it underneath the seat.
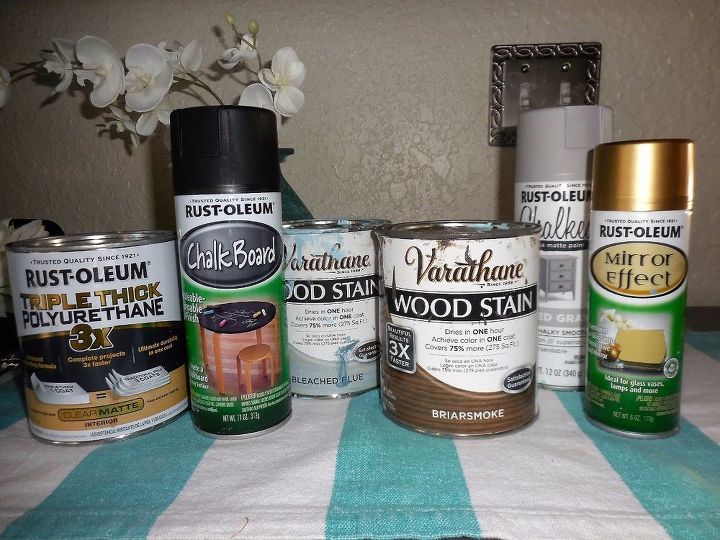
Above are the products I used on this project!
Check out the ottomans I did here...https://kelleysdiy.com/2017/02/22/shaggy-ottoman/
Want more details about this and other DIY projects? Check out my blog post!
Comments
Join the conversation
4 of 11 comments
-
WOW! Nice job!
-
Wow ! You sure took this from trash to treasure !


Frequently asked questions
Have a question about this project?