


DIY Sea Turtle Picture Frame

by
Dan Berg
$10
1 Hour
Medium
How to easily make a DIY Sea Turtle shaped nautical picture frame
{
"id": "3755929",
"alt": "",
"title": "",
"video_link": "https://www.youtube.com/embed/_g3pxr5O5Gw",
"youtube_video_id": "_g3pxr5O5Gw"
}
{
"width": 634,
"height": 357,
"showRelated": true
}
http://www.diyeasycrafts.com/diy-fish-shaped-picture-frame.html

This unique nautical photo frame is easy to make!
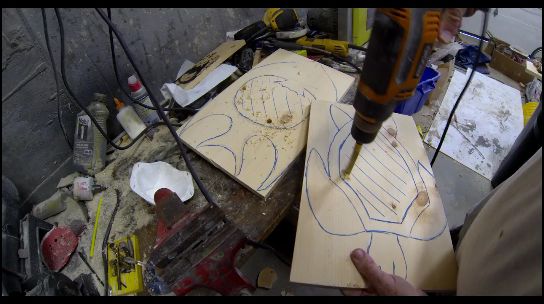
First step is to draw outline on a piece of 1 inch pine. We used a drill to make a few holes so jig saw could start inside cut.
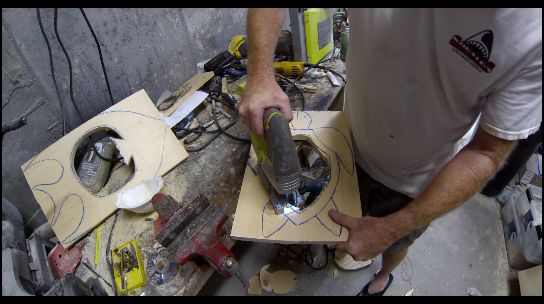
Cut out the inside opening for the photo.
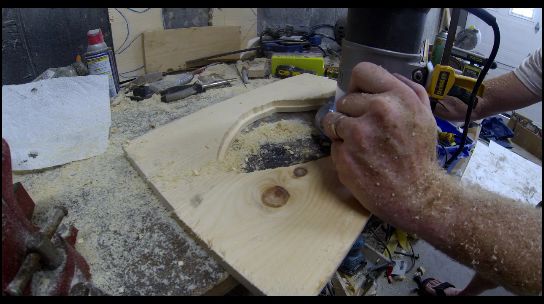
Then flip the wood over and using a router cut a lip about 1/4 inch deep. I just free handed this. You will not see and rough spots because its the back of the frame.
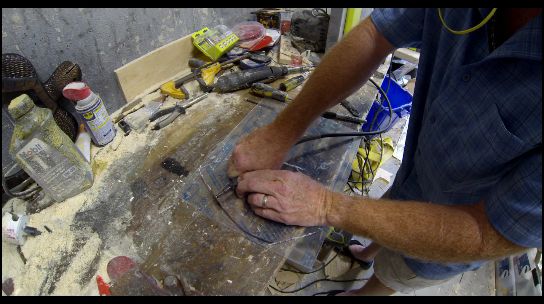
Then using a jig saw cut out the outside shape of the sea turtle.
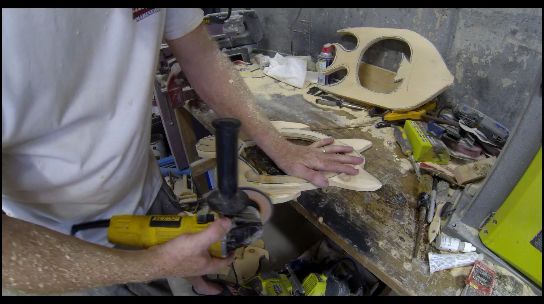
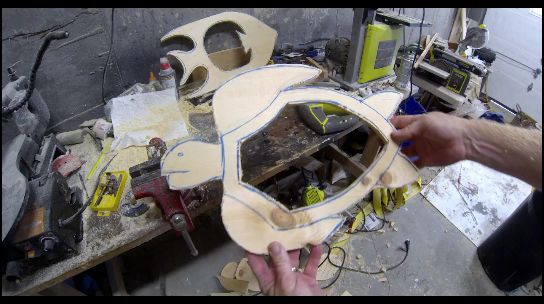
I used a angle grinder with a flap sanding wheel to smooth out all of the edges. A sander would also work.
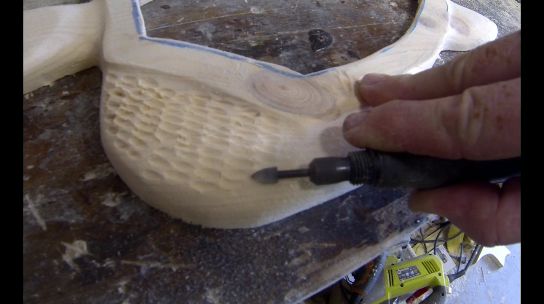
Texture can be added to the sea turtles fins with a dremel grinder.
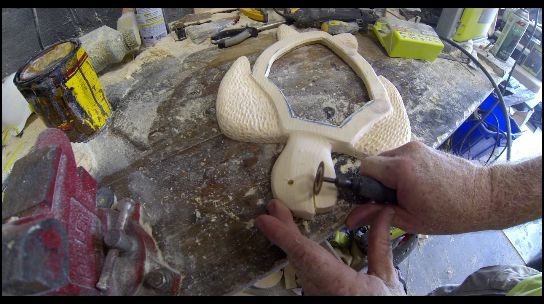
Using the same dremel grinder with a cut off wheel make the line for the sea turtles mouth.
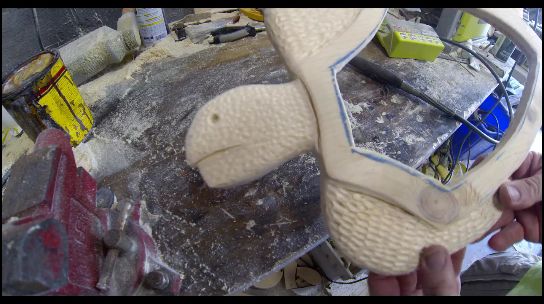
The frame can be either stained or painted.
I used the same cut off wheel and dremel grinder to cut plexi glass to fit. Then cut a cardboard backer to hold the photo in place. ***Check out short How-to video posted above to see every aspect of the build*** If you like the video please give it a thumbs up and subscribe to my DIY Youtube channel.
Comments
Join the conversation
2 of 16 comments
-
Okay, you lost me at Step 2. But I see woodworking is Your forté! And it's so creative and lovely! I can easily see something like that for sale at a store for more than I can afford! Lol.
-
Beautiful!


Frequently asked questions
Have a question about this project?