


Rainbow Cubby Toy Organizer

by
Abbey D
Spruce up those standard white cubby toy organizers with this fun rainbow makeover using FolkArt Color Shift Paint!
Start by assembling your organizer per the instructions, but leave off the backing to the system...it makes it easier to paint without it on there.
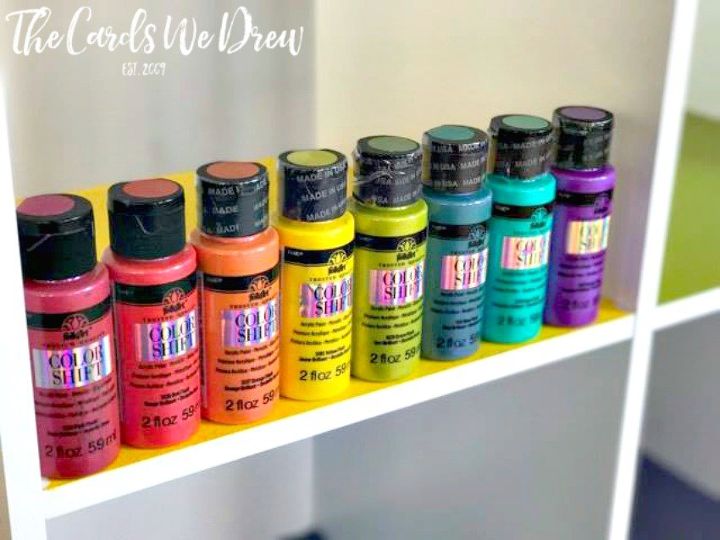
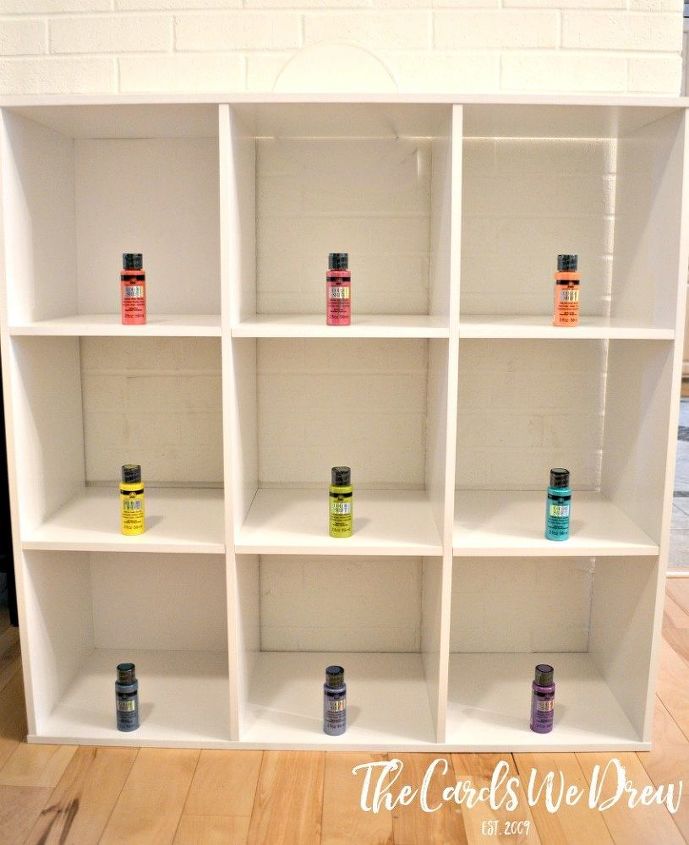
I laid out my Color Shift Paint in rainbow order using 1 bottle of paint for each cubby. Unfortunately, the cubbies have a finish on them that prevents you from applying it directly, so you'll have to start with a little elbow grease.
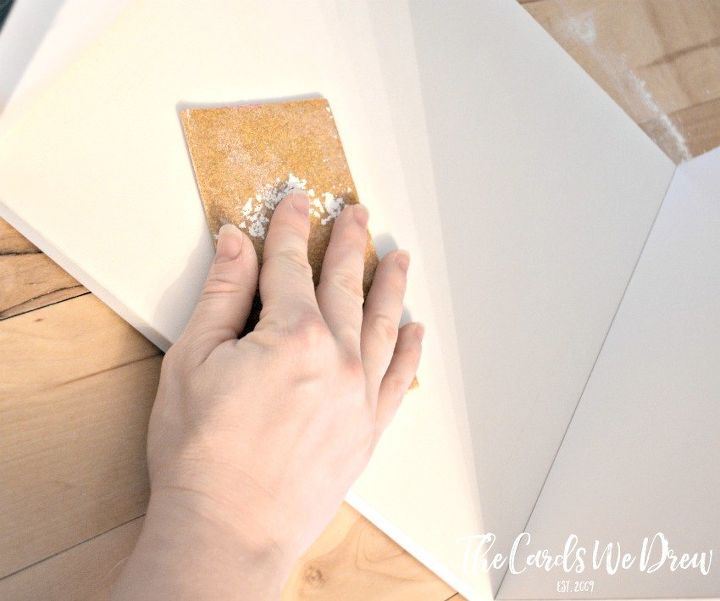
Gently sand the base of each organizer until some of the board starts to show through. I didn't sand the white off, but merely textured it enough so that it would absorb the paint better. Once sanded, wipe off the dust with a wet cloth and then dry completely. Do this for all 9 cubby holes.
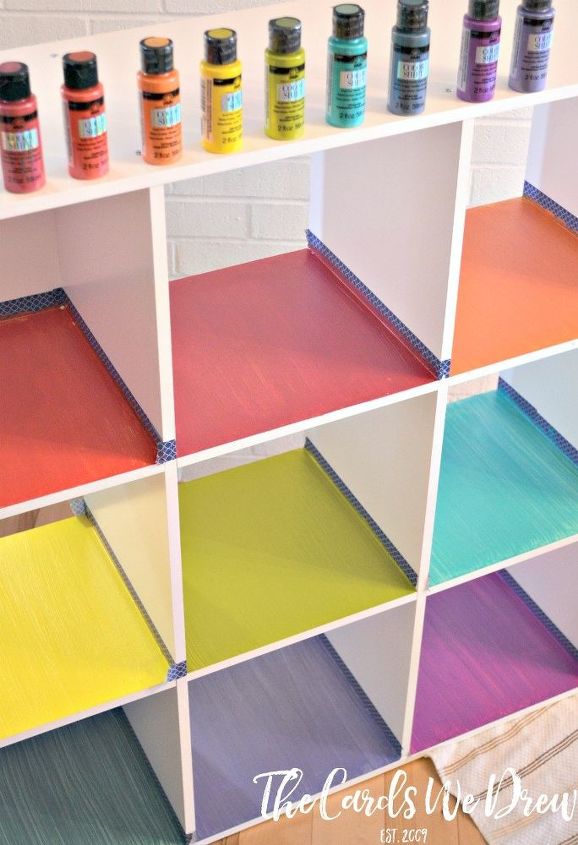
Next I taped off the sides of the cubbies so that painting was easier.
I did two coats of color shift paint on each of the cubbies, letting them dry completely between coats.

Finally, I remove the tape and beheld my beautiful storage! It's so fun and happy and is perfect for our daughter's bedroom. I added the backing onto the storage system and am getting organized as we speak (no, it doesn't already look this empty!).
Check out my blog below for ALL the details!
Want more details about this and other DIY projects? Check out my blog post!
Comments
Join the conversation
3 of 43 comments
-
Really cute for a kids room! or even the bathroom
-
what a cute idea!


Frequently asked questions
Have a question about this project?