


Family Picture Book for Baby
If you love this project, grab your quick start DIY guide & subscribe to our blog!
I am definitely excited for another month of the craft room destash, where us ladies get together and make a craft using JUST the supplies we have in our craft rooms. We started this last month and I made a mini album out of a cardboard roll and some scrapbooking supplies. This month I decided to make a family picture book for my baby.
I was trying to figure out what to whip up this month for the craft room destash challenge and I looked through a few of my I-think-I-can-make-something-fun-with-this boxes…ya I know you have those boxes in your craft room too!
It’s ok, you’re in good company! That’s what this little monthly challenge is ALL ABOUT.
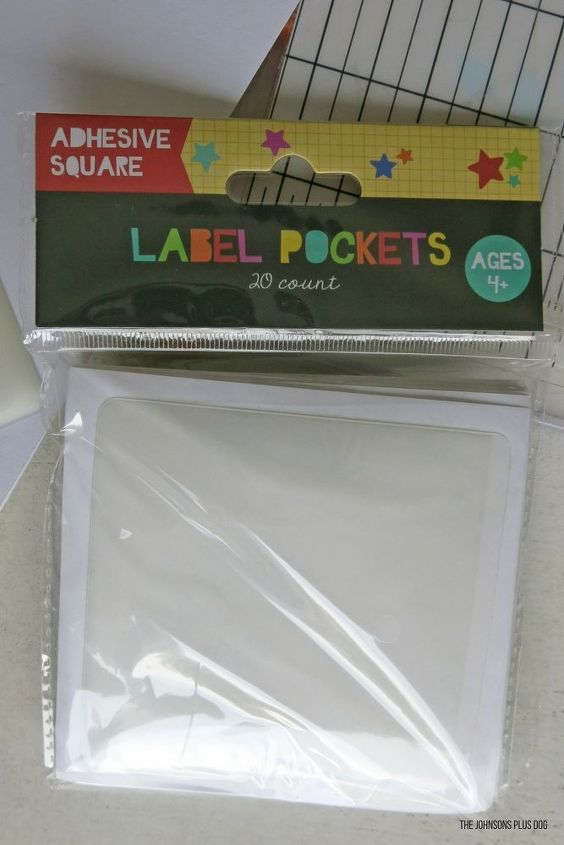
I grabbed these little square adhesive label pockets that I snatched up a few months ago from the Dollar Spot at Target. I purchased them because they looked like they could come in handy for something…. I mean, that why I buy ALL THINGS in the Dollar Spot.
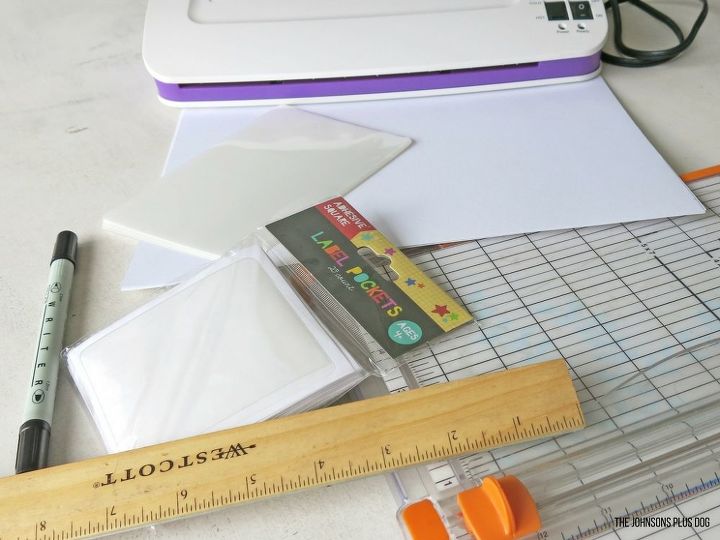
Supplies for DIY Family Picture Book for Baby:
- White Cardstock
- Colored Sharpies or Markers
- 2 Loose Leaf Rings
- Square Adhesive Labels (I got mine in the Dollar Spot at Target)
- Family Photos
- Laminator
- Ruler
- Hole Punch (not shown in picture)
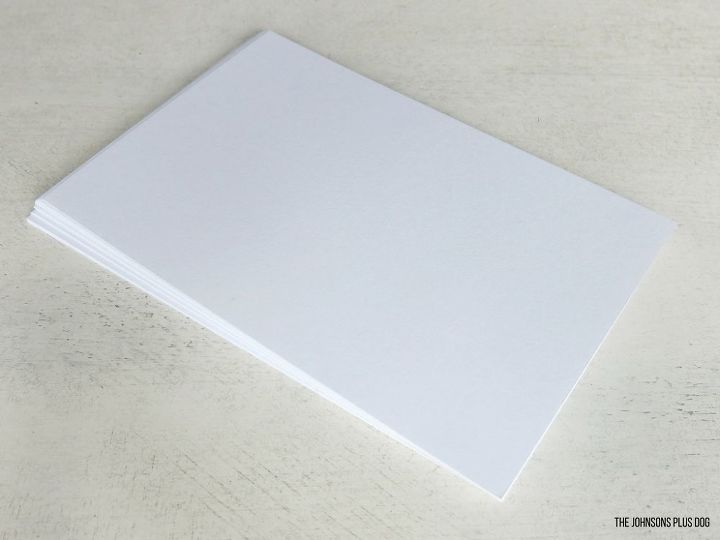
I started by cutting my paper down to size. I made mine about 4×6.
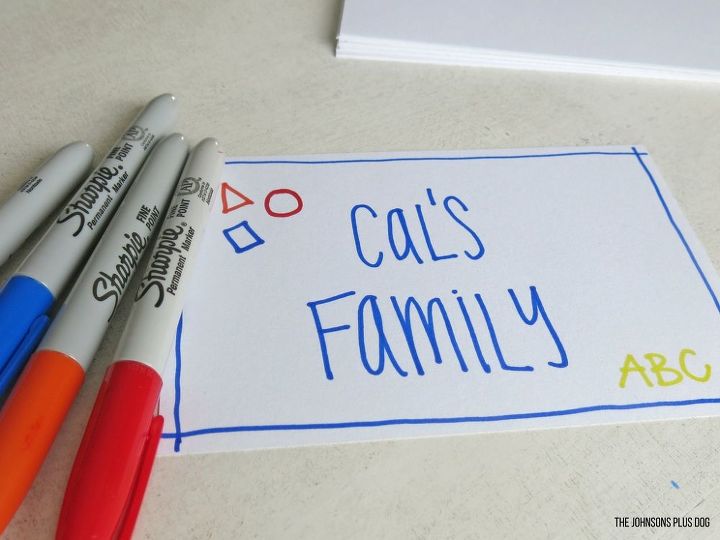
Next, I started on the pages. I just used colored sharpies and other markers.
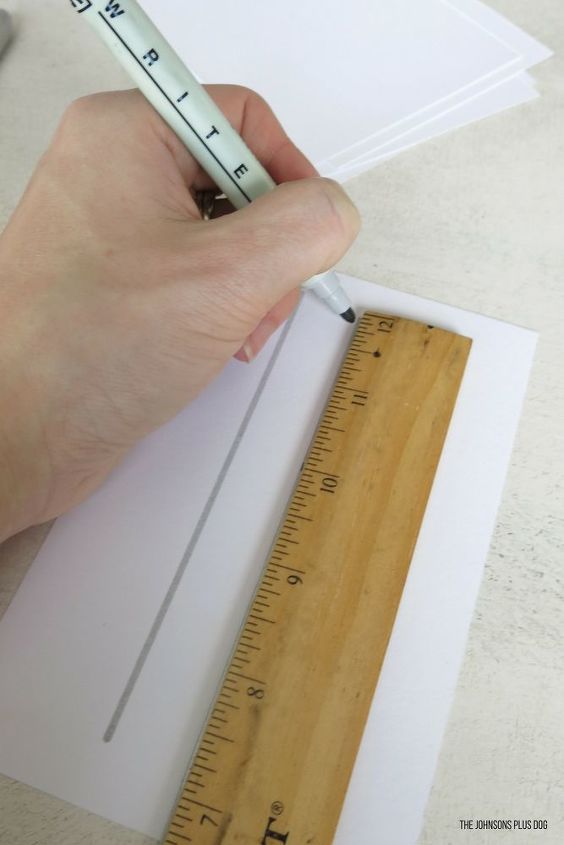
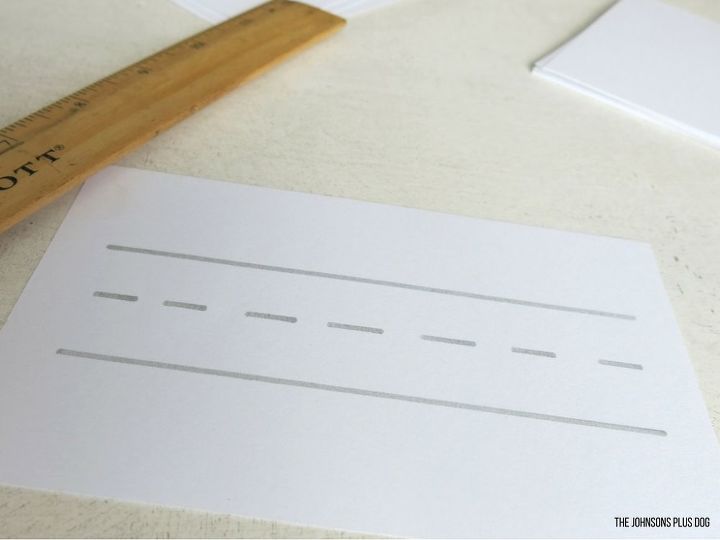
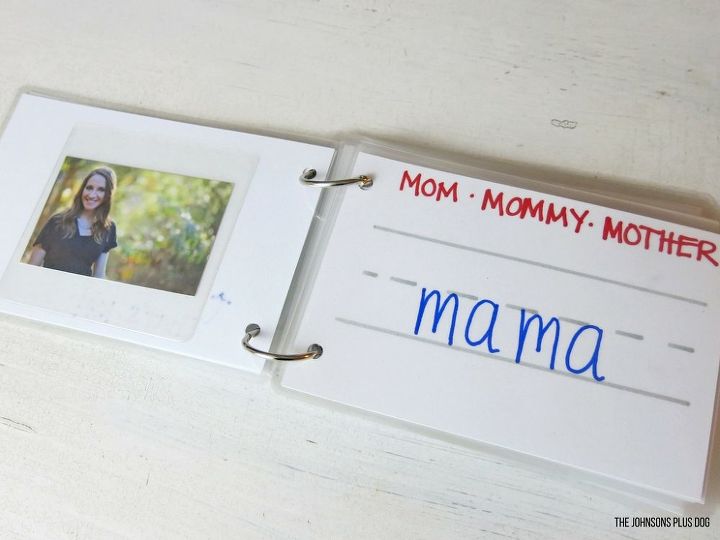
Then I added in lines that look children’s handwriting paper.
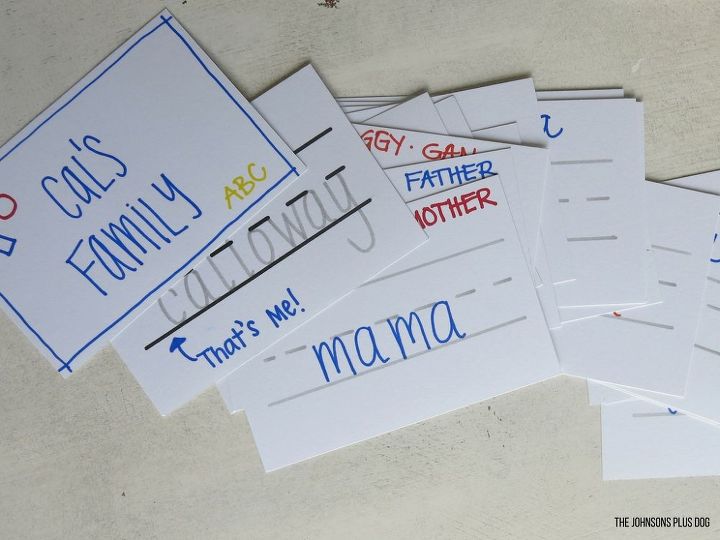
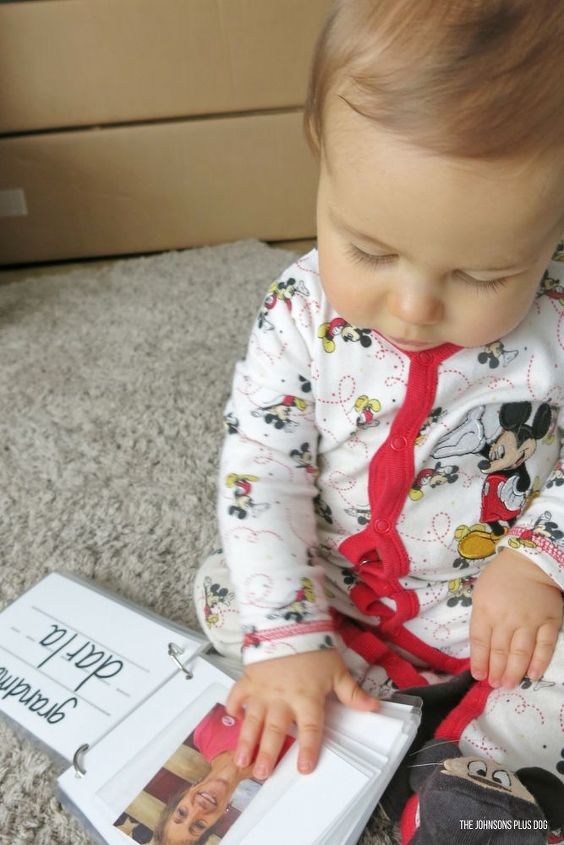
Next I wrote in the names of all of our family members on each page.
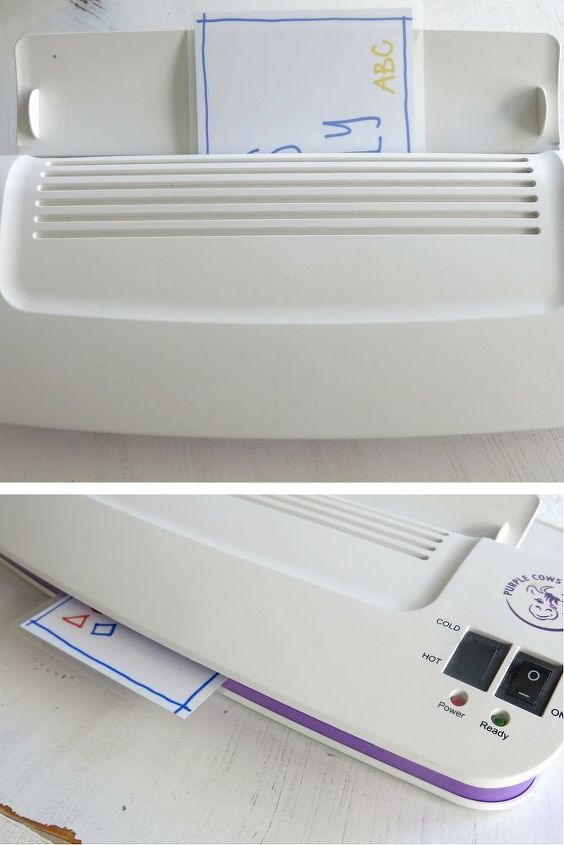
Next comes my handy laminator. This makes the pages of the family picture book for baby really baby-proof!
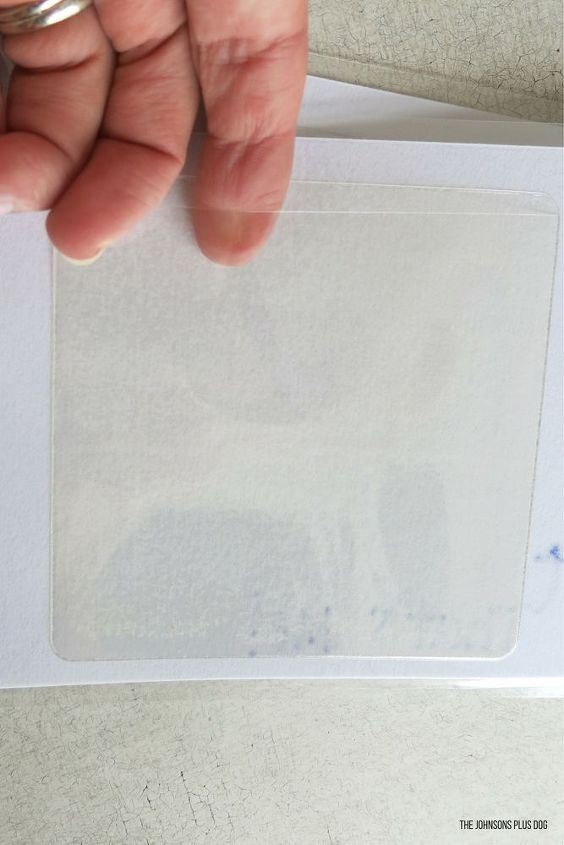
Next I attached my label pockets for the photos. I got mine in the Dollar Spot at Target. I attached the labels pockets on the backs of each page so that the left side of the spread was the photo and on the right side is the name.
If you can’t find label pockets, you could glue or tape your photos to the paper and then laminate them. I just thought it was cool that we can swap out the photos whenever we want.
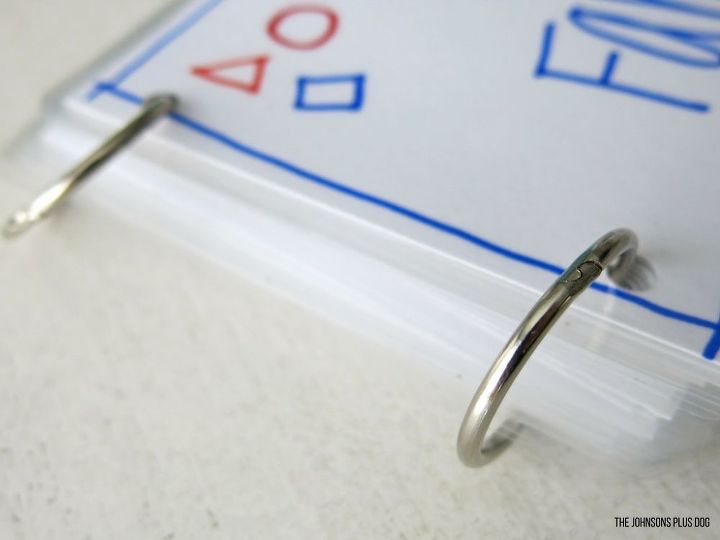
I bound the book with simple rings in some holes I made with a normal hole punch.
If you didn’t want to hand write everything, you could print out the pages….truth be told, I was planning on that…but my printer was out of ink! Haha.
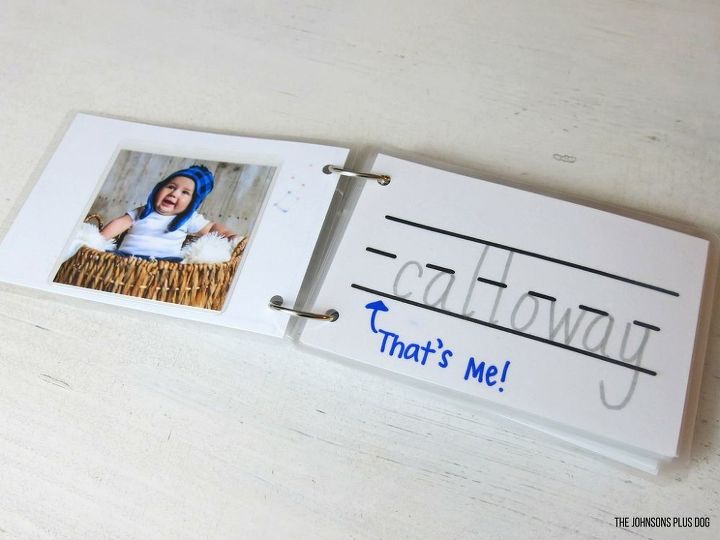
Another super great thing about the laminated pages that you can write on them with a dry erase maker…which means this DIY Family Picture Book for baby can really be used all the way from baby…through toddlerhood and even will be helpful when he is learning how to write! He can trace over the letters.
The moment I handed him the picture book, he was all smiles. He had a blast turning all the pages all by himself and pointing at the pictures of familiar faces.
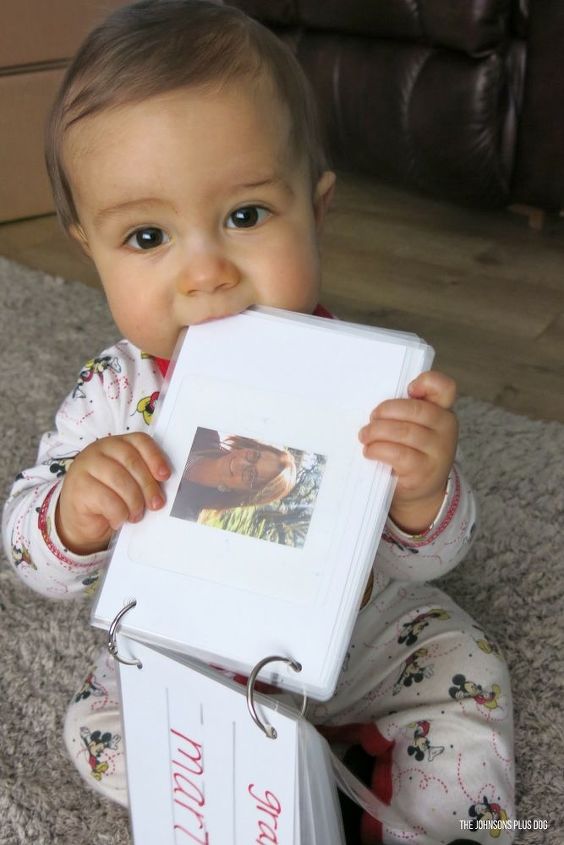
The laminator is a great way to really make any books for your baby! It makes them sturdy and pretty much slobber proof…We tested.

I had so much fun raiding my craft room again this month for a little DIY Family Picture Book for Baby! I can tell that Cal is going to love this one for a while.
Be sure to visit the blog post to hop around and see what the other brilliant ladies have made using supplies they had on hand. I bet you can get inspiration for some crafts using just items that you probably have in your messy craft room!

Comments
Join the conversation
-
This idea is so awesome and Cal is ADORABLE!! ahhh so cute!


Frequently asked questions
Have a question about this project?