


Turquoise Inlay Cheese Board
It’s been a little over a year since I wrote a tutorial for making an end-grain cutting board. I didn’t want to write the post. I honestly didn’t think anyone would care. There were already hundreds (at least) of videos and tutorials for making cutting boards, so why would anyone want to read mine? I was a relative newcomer to woodworking, and a total noob to blogging. But Handan wanted me to write it, so what choice did I have? (answer: none)
That little tutorial, which I was so loathe to write, went on to become our best-read post, with double the page views of the next best post. The lesson is obvious and applies to all men: always listen to your wife. They know things.
The downside to that post was that I was deluged with orders for cutting boards for the 2015 Christmas season. I could accommodate a few people, but my workshop is not set up for mass assembly, so I had to turn most people down. Besides, with the labor involved, even with a substantial price tag, making boards was not an economically sound business model. So those Christmas boards were my last. I was boarded out. I didn’t want to look at another cutting board, unless I was chopping onions on it.
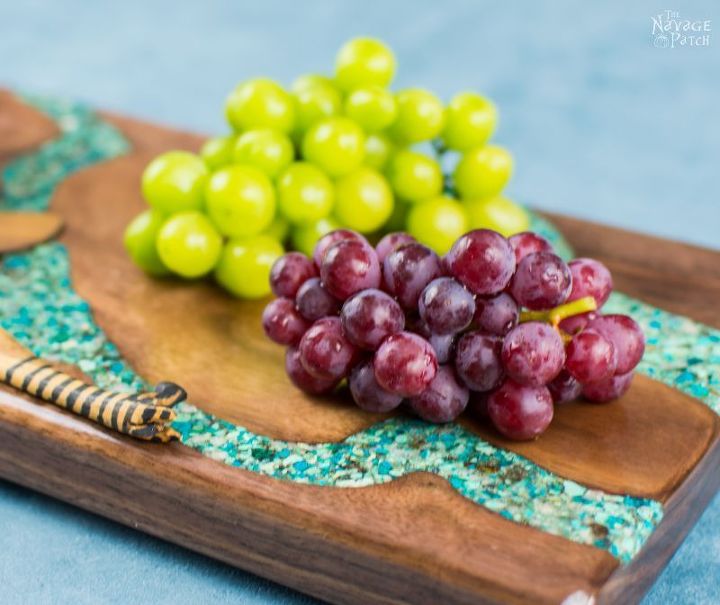
But as the months wore on, I found myself thinking about cheese boards from time to time. Cheese boards can be identical to cutting boards – that is, they can be end-grain or face-grain and used for cheese or chopping. But cheese boards allow a freedom of construction that traditional cutting boards do not. A cutting board needs to stand up to, but be gentle to, a sharp knife (wood and plastic rule for cutting boards). A cheese board does not. So, whereas you wouldn’t dream of chopping veggies or cleaving a ham hock on a piece of stone, you wouldn’t think twice about running that little round cheese knife through a wheel of brie plopped on a shiny slab of marble.
A friend recently asked me to make her two more cheese boards of the sort I used to make a couple of years ago. I had sold her a matching pair, and now she wanted more! They were the envy of all her friends, and she has to loan them out on occasion, she told me. Unfortunately, I had to turn her down. Now that The Navage Patch is in full swing, I no longer have time to make boards for sale anymore. But then I got to thinking…
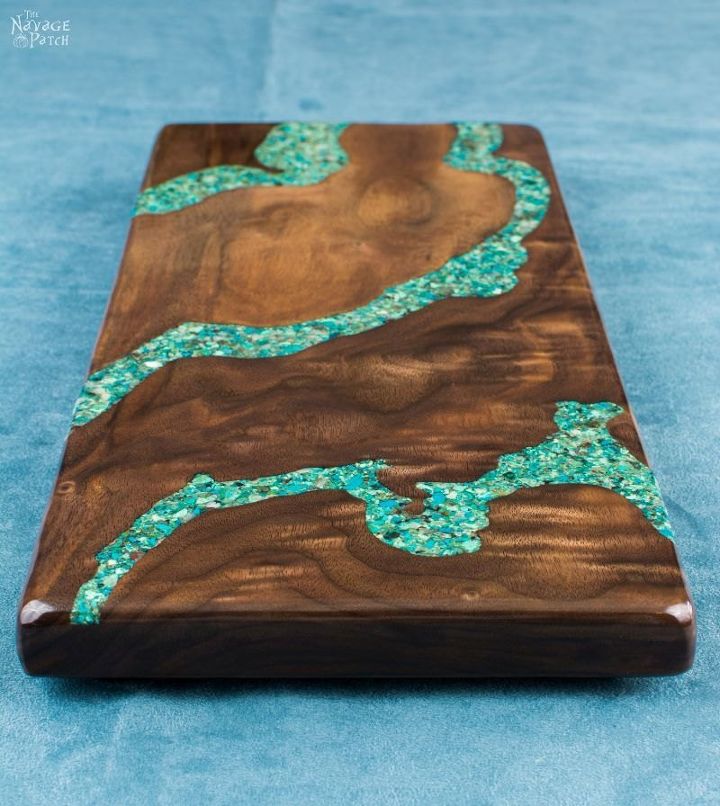
What if I made a new kind of cheese board? Something with class and elegance. I could write about it here, and she would get one heck of a board – an absolute one-of-a kind. The board I had in mind would be made of walnut with rivers of crushed turquoise inlay coursing through its grain. I had just the piece of wood in the basement…
Two years ago I bought an 8 foot length of walnut that was 8 1/2 inches wide and about 1 1/2 inches thick. Normally walnut has rather straight and uninteresting grain, but this piece had highly detailed (figured) grain running down its length. I wanted to use it for something special.
Well, as the months rolled on, I used a piece here and a piece there for some end-grain cutting boards I was making, but I never got a chance to showcase that beautiful figure. I held onto a piece in the hopes that one day I’d use it in a project where the walnut’s beauty would shine. That day had arrived.
I took my last piece of figured walnut and traced along a few of the grain lines.
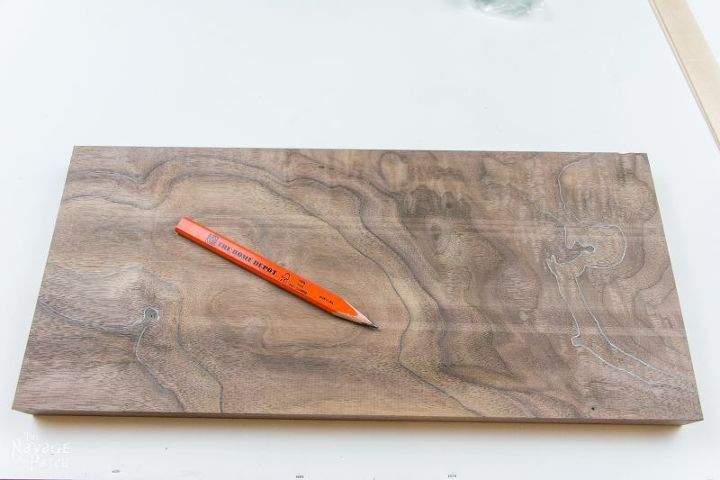
These would be my three rivers of turquoise. After excavating the riverbeds, I crushed my own turquoise for this project. This is MUCH cheaper than buying already-crushed turquoise.
-----------------------------------------------------------------------------------------


----------------------------------------------------------------------------------------
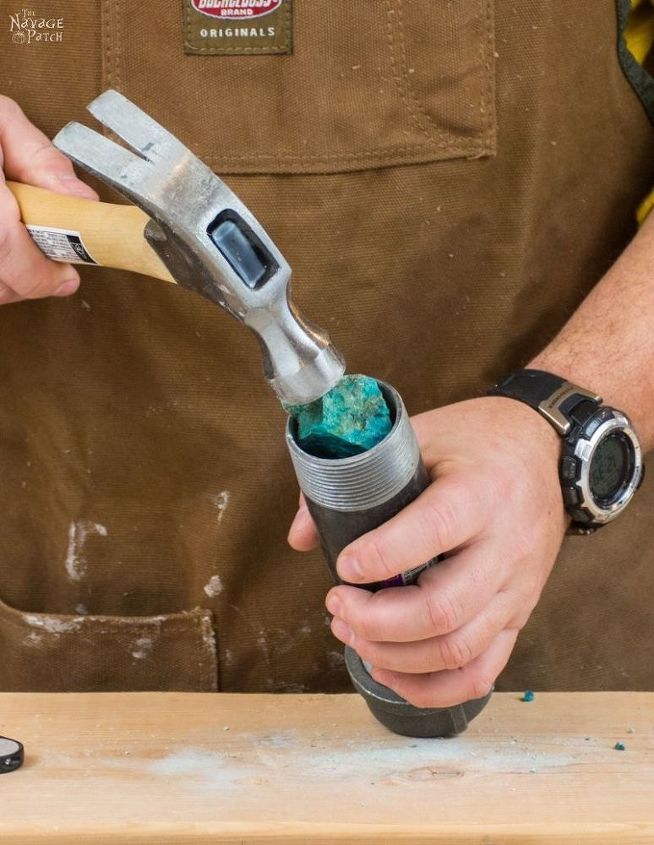
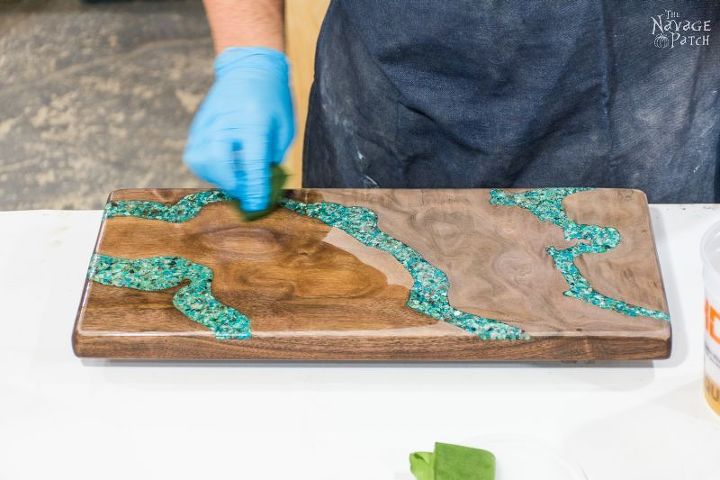
When I had my four grades of crushed turquoise, I moved on to the inlay process.
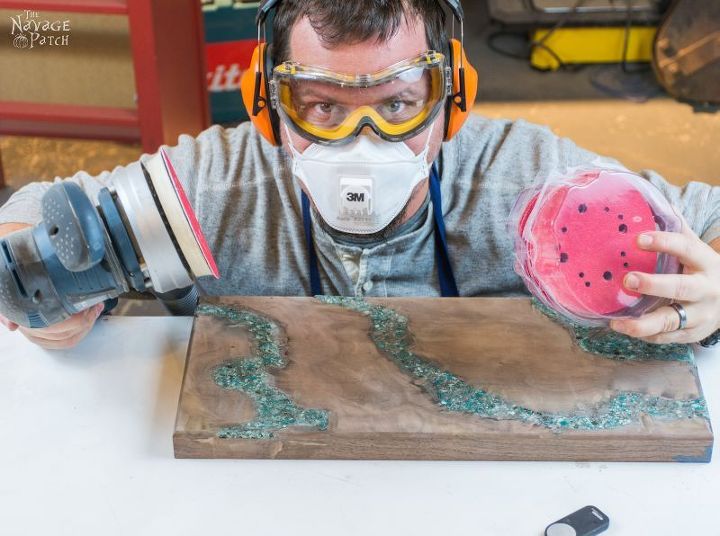
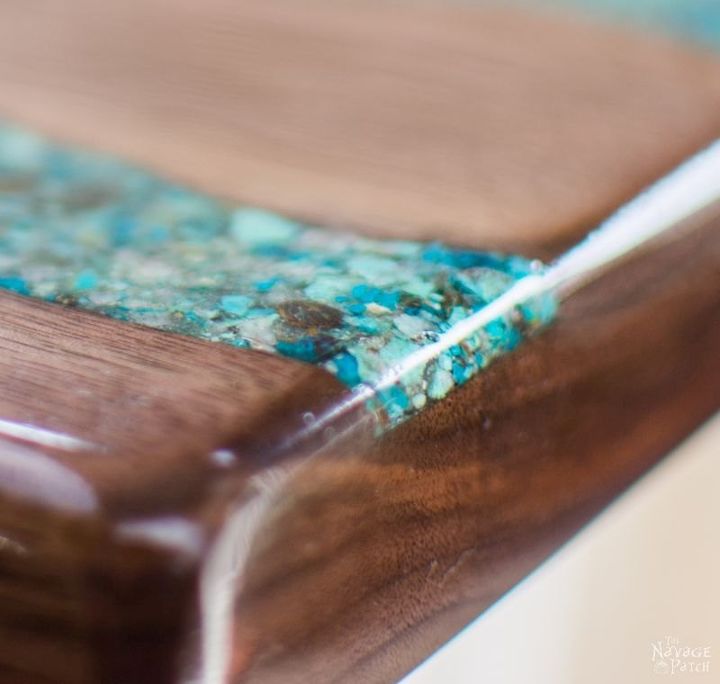
Then came the hard part: sanding down all that crushed stone.
Please click over to the blog post to read about the tips & tricks on this process.
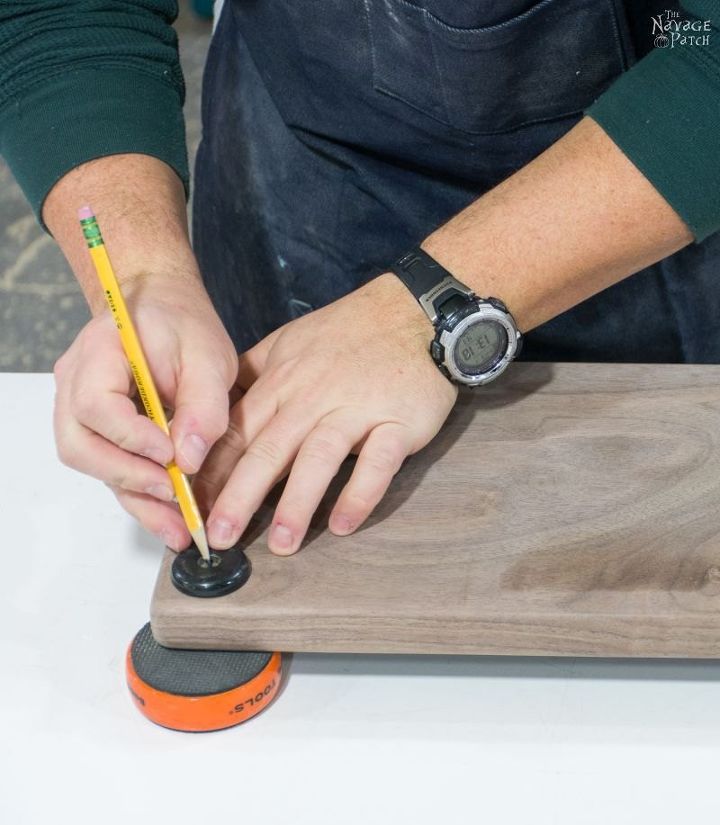
When the board was sanded, I marked where the rubber feet would go and pre-drilled the four holes.
I finished the board with my go-to finish for cutting boards and cheese boards.
And my one-of-a-kind beauty was complete!

Please click over to our blog for the full tutorial and many more pictures.
Thanks for reading!
-Greg

Comments
Join the conversation
-
stunner ,serenaleagh tailem bend south australia
-
absolutely


Frequently asked questions
Have a question about this project?
Just a comment...the cutting board is simply gorgeous. If you aren't already selling them, have you considered a catalog such as Uncommon Goods? You are very talented.
what did you put on for finish
What did you use to keep the turquoise in plac Also did you varve the rivers in the wood? If yes what tool did you use? Thank You VERY MUCH!!