


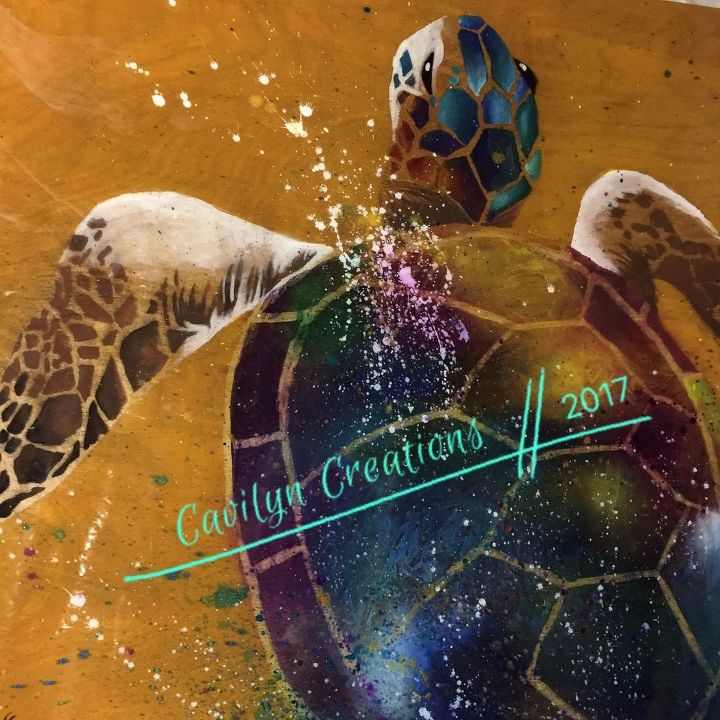
A Cosmos Within a Turtle Shell

12 Materials
$200
3 Days
Medium
**This post is sponsored by Unicorn SPiT, but all statements and opinions are mine. **
HI all- so this piece was an adventure. I’ve been longing for weeks to get my hands back into the stain press technique, but I wanted desperately to challenge myself and try something a little different. Little did I know that the social media site full of fascinating and inspiring ideas called Pinterest would give me my jump in the right direction. I found an original art work by the artist Tilen Ti, and I was hooked, both by the art form of watercolor, which was my main medium until Unicorn SPiT, and the fact that the painting contained an animal.
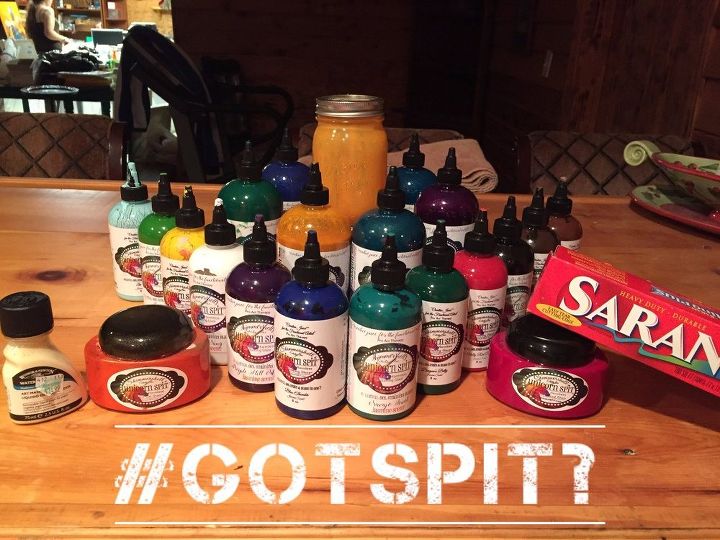
My two sponsored colors for this piece were Blue Thunder and Navajo Jewel.
This picture shows all supplies used on this piece, with the exception of the plastic tarp, which was too large to show.
The Full List of Unicorn SPiT colors used is:
Regular SPiT:
Blue Thunder
Navajo Jewel
Purple Hill Majesty
White Ning
Roswell
Molly Red Pepper
Tucson
Lemon Kiss
Dragons Belly
!SQUiRREL!
Rustic Reality
Custom Orange Wash
Sparkling SPiT:
Finchi Fran
Patina Peacock
Grace C. Hummingbird
Lavish Lovebirds
Rock Chalk Jayhawk
Doves Cry
Flaming Rosie

To begin, we want to choose the best piece of wood to best showcase the painting. I went to Lowes and went to the lumberyard. Hint: knowing folks who work in the lumberyard can be a huge help, as they can often point you towards where the remnants are. My luck was that my Lowes friend knew where they kept the remnants for the plywood, and that the remnants they had were what they call “furniture/cabinet grade plywood”, that is a higher quality wood which is pre sanded and ready to take paint. The piece I chose was a 24”x24” piece of birch plywood with ¾” thickness.
I took the picture of the turtle that Tilen Ti did and improvised a little and projected the improvisation onto my board using my big projector. Doing all the line work was a pain, but infinitely better than doing this all freehand.
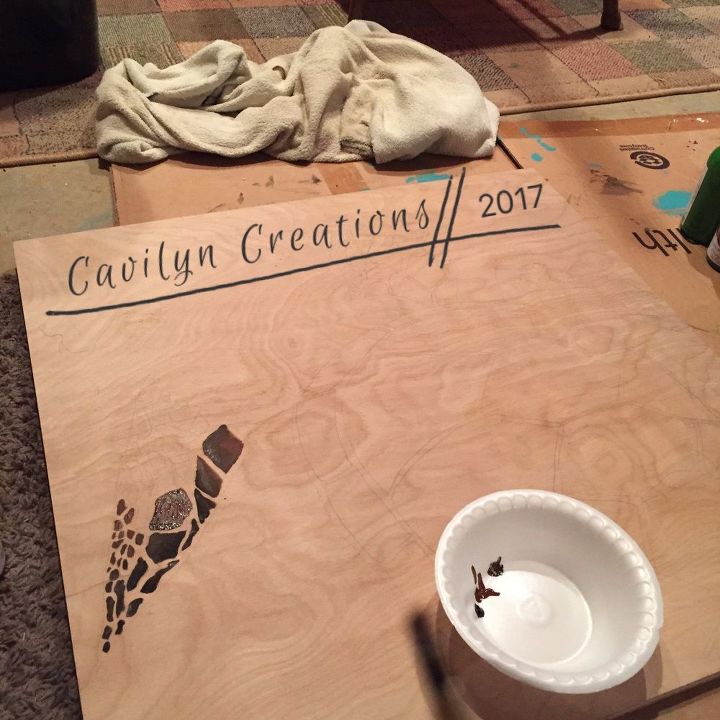
After sketching out the rudimentary lines to give me some guidelines for where to drop in color, I started to drop it in. The fins were painted in using Rustic Reality for the darker, richer brown and !SQUiRREL! for the lighter brown. I used Midnights Blackness to further supplement some darkness into the fins to add definition. The white on the fins is pure White Ning, which is just dry brushed on the board.

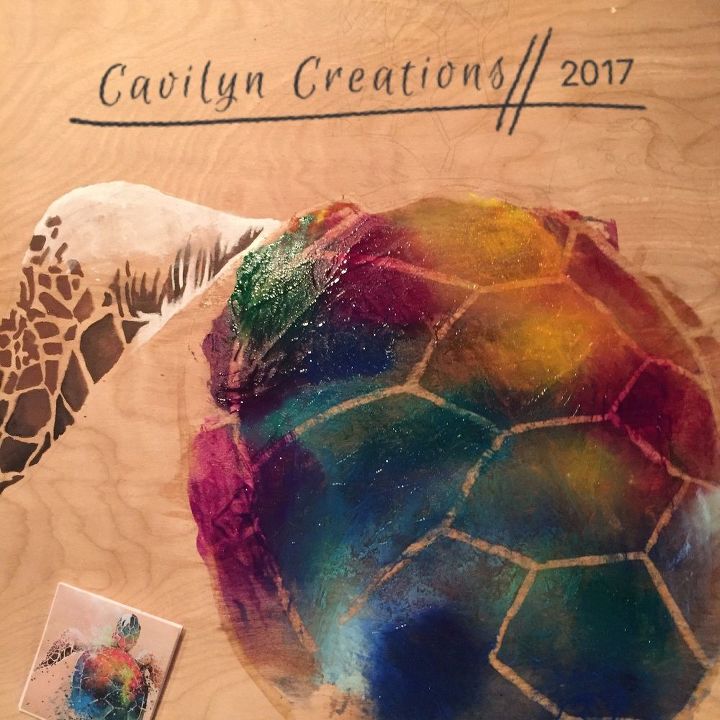
Now, I wanted to stain press the piece similarly to my reference picture, but how was I to press each section of the shell while still maintaining the white/untouched wood borders between them? To be honest, at first I was determined that I would just paint and press in the individual sections. Unfortunately, that was a big failure, as evidenced by the single section in red and yellow/orange in the first picture that I tried. The issue is that the colors went too muddy too fast, and there wasn’t as much vibrancy as I wanted. So back to the drawing board.
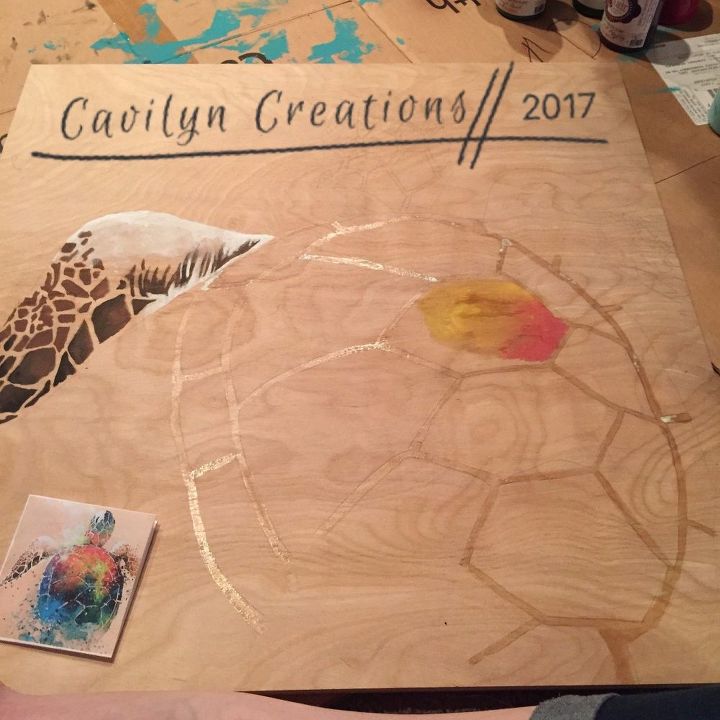
After contemplating what to do (I reeeeally didn’t want to paint white on the borders- I wanted to leave them slightly bare), I came up with a solution that ultimately stemmed from my time as a watercolor artist. That solution is a wonderful fluid called masking fluid, which acts as a barrier between your paint and your canvas, ultimately preventing the color from taking on the canvas. I bought this masking fluid from hobby lobby in the paint supplies, near the turpentine and paint thinner. So, off I went, using an old paint brush, because masking fluid typically ruins whatever you use to paint in on. After applying the fluid, I was off with a bang! Now I could do the typical stain press technique, I just had to be careful to not color out of the lines.
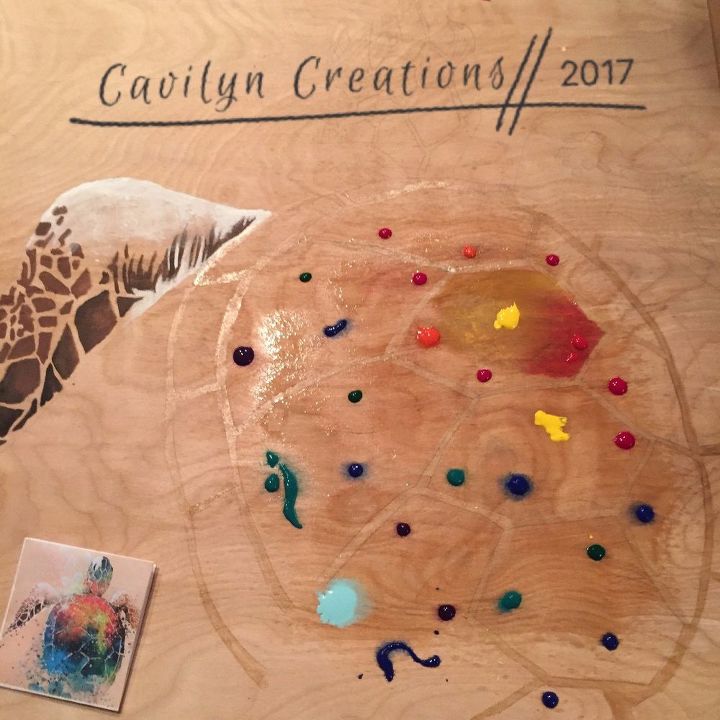
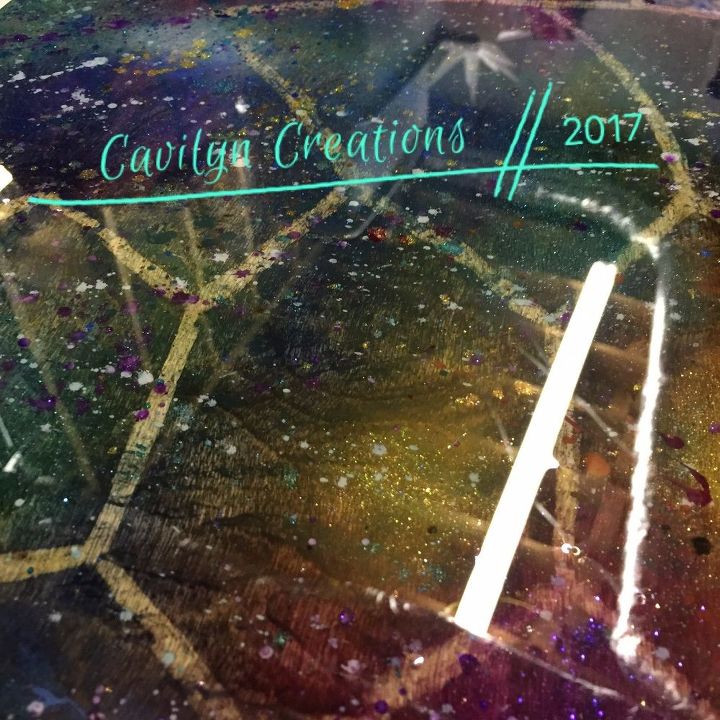
I used nearly every color in SPiT, both in normal colors, and in sparkle. To start, I pressed the normal colors using some saran wrap so that I could really move the spit around, and have less chance of ending up with spit going where I really don’t want it, like the background. After a successful press of the regular colors, I took and dabbed on some sparkle in specific regions where the colors would match well. I used a small piece of saran wrap to press in the sparkle too.
This is prior to the addition of the SPARKLiNG SPiT to the press.
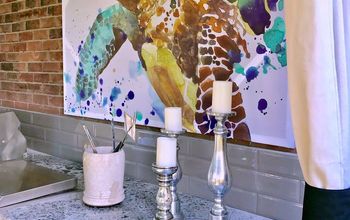
This is with the addition of sparkle to the press. Look at the body POP!
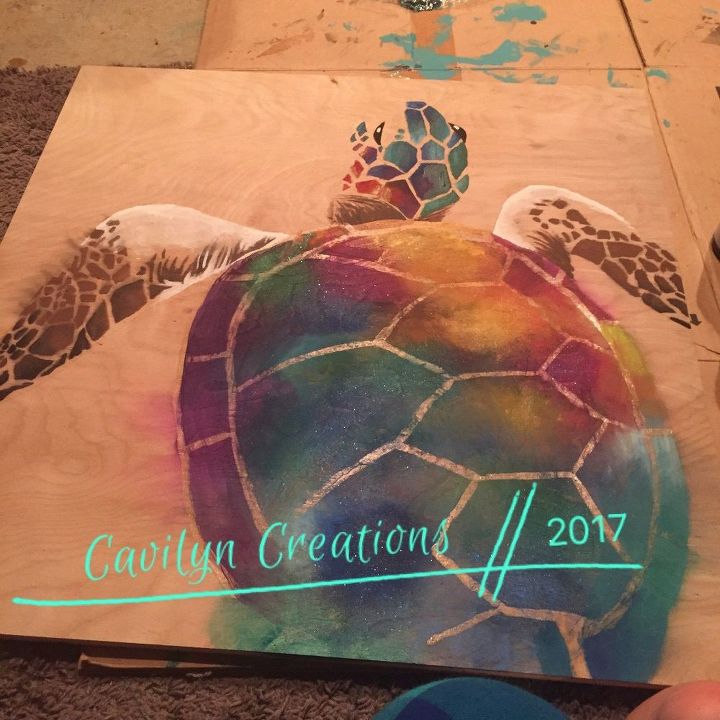
Well, we have a working shell- now we need a head! I painted in the head by hand, which is why they have only one or two colors per section, with the sparkle on top. The mouth region was highlighted with White Ning, and the eyes are Midnights Blackness with the reflection dot being pure concentrated White Ning.
For the background, I created a custom wash. I wanted orange because I didn’t think I had enough in the piece. The mix ratios were about 4 parts Lemon Kiss, 1 part Molly Red, 1 part Tucson, 3 parts Finchi Fran, and then I added water until I reached the consistency of a wash.
I also played with splattering the spit on the panel, and it worked out splendidly!
For most SPiT users, the look of Epoxy is the most visually incredible for a sealant. For many, this is a scary undertaking, as epoxying is a very time consuming process. However, it usually results in you getting a completely different and even more vibrant end result. To start, I mixed enough of the Famowood epoxy for about 4.5 sq. ft. I taped the back of my board so I could remove the drips on the underside later.
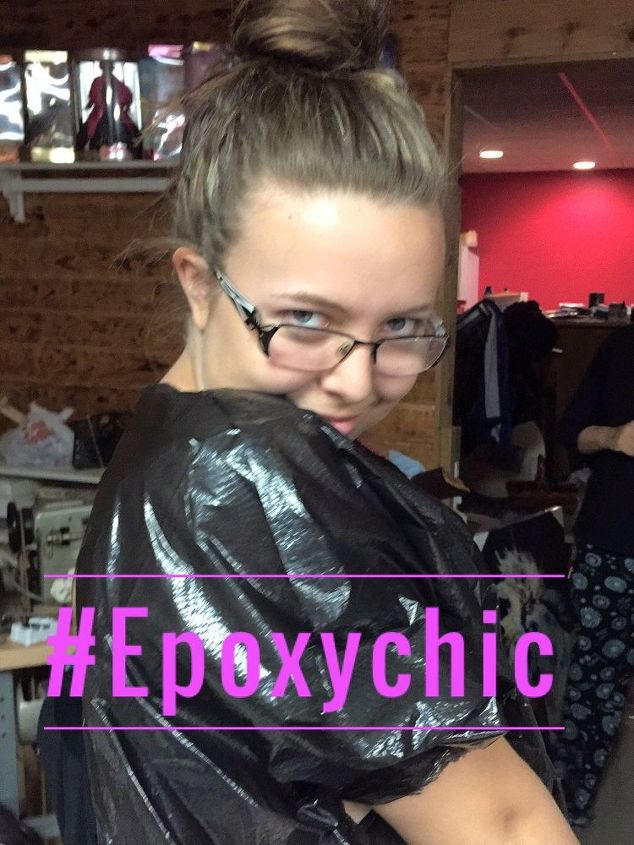
When we pour, we have a lot of pet hair that gets on our clothes, so we must dress in trash bags to reduce the amount of hair in the space, because getting cat or dog hair in a piece is not fun!
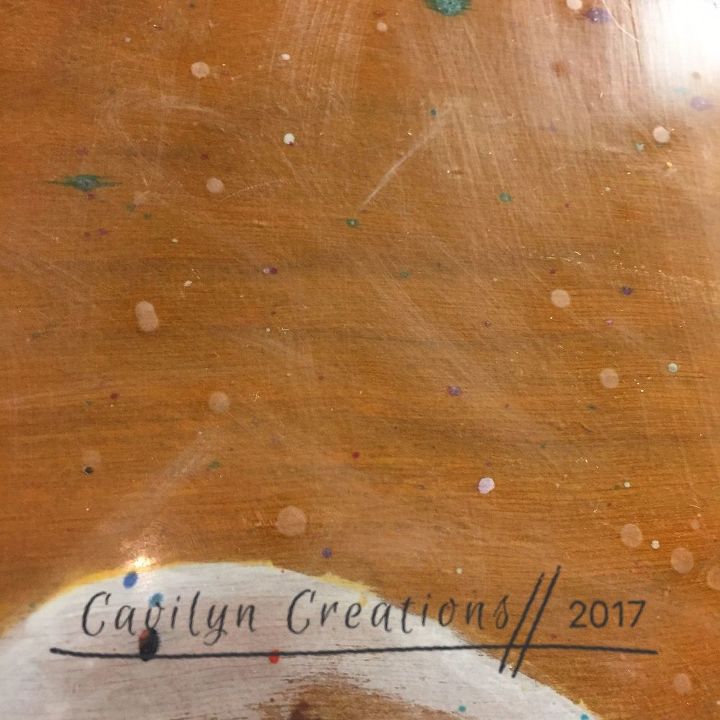
Upon pouring and heating, I noticed some small abnormalities in the pour, which became very clearly bubbles once the epoxy had cured 12 hours later.
When something like this happens, I must sand down the top to bust the bubbles so that when I re-pour, those bubbles go away. For the re-pour, I still made enough for about 3 sq. ft. just to be sure I had plenty. After curing, I peel the tape, and I have a lovely new turtle!

Comments
Join the conversation
2 of 25 comments
-
Beautiful!!
-
Unbelievably beautiful you are a fantastic artist


Frequently asked questions
Have a question about this project?