


Shabby Chic Easter Eggs
2 Materials
$6.00
Easy
What you can do with a needle, hammer and eggs.
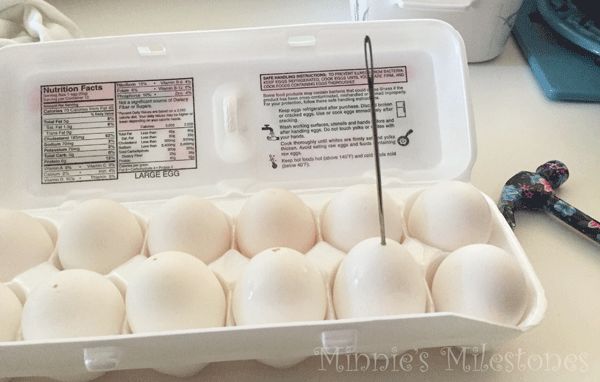
Gather eggs, needle or ice pick, small ping hammer, napkins, Mod Podge and a good set of lungs.
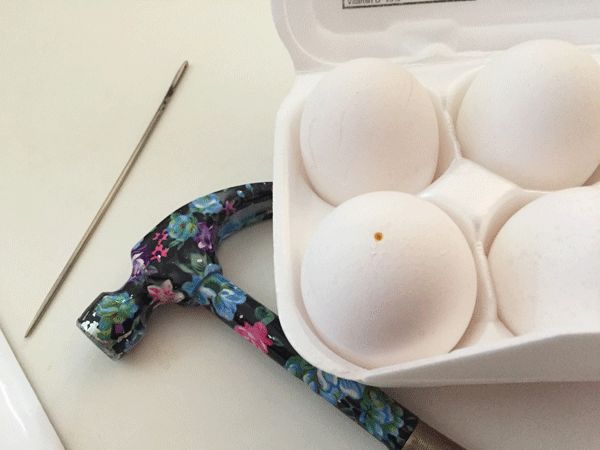
Make a hole on the top and bottom of the egg with a sharp object, I have found that a large needle or ice pick work best. I also pound the needle into the egg with a small ping hammer carefully and slowly. Then blow the egg yolk and egg white out the bottom while blowing into the egg through the other hole. Don't worry if you break a few, just always buy enough for the mishaps.

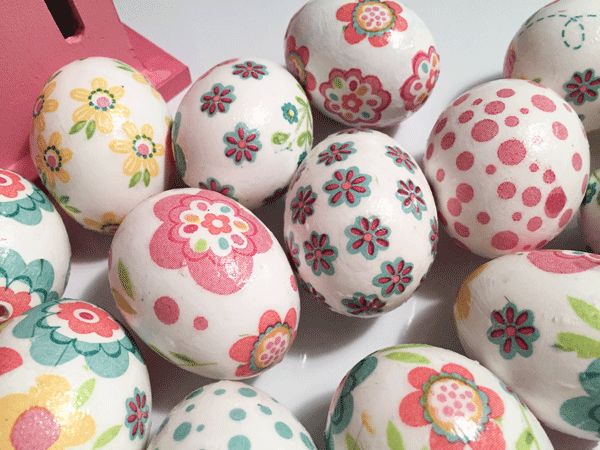
Buy a package of napkins when you see some you like, because my experience is if you go to actually look for what you want you can't find any. One package is more than enough for two dozen eggs.
Cut out the designs you want to use and Mod Podge the place on the egg where you want to place your design and then Mod Podge over the design on the egg carefully. I find it is about impossible to do more than a couple designs at a time on an egg. Place the egg with the backside that hasn't been Mod Podged (or the Mod Podge side that has dried) on a rack to dry. When the egg has been completely covered with your napkin designs let dry completely before letting them touch each other. Enjoy!
I made these eggs last year and put them in cardboard egg cartons. Mod Podge items will stick to each other. Perfect for a collection in a bowl for your Easter table. Just be cautious because they will stick together until perfectly cured.
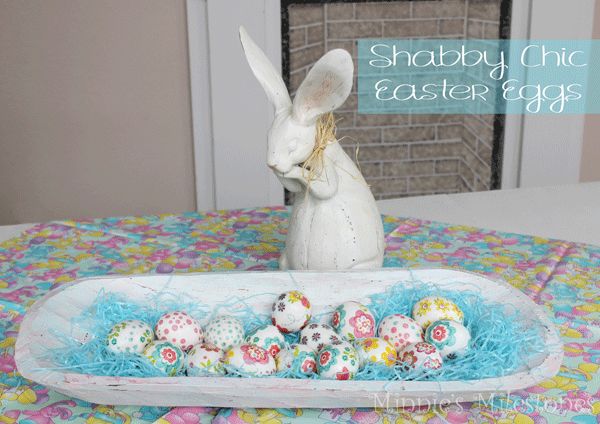
Beautiful real eggs you can use for several years!

Want more details about this and other DIY projects? Check out my blog post!


Frequently asked questions
Have a question about this project?
Beautiful! How long will they “keep”? Can you use them more than one year?