


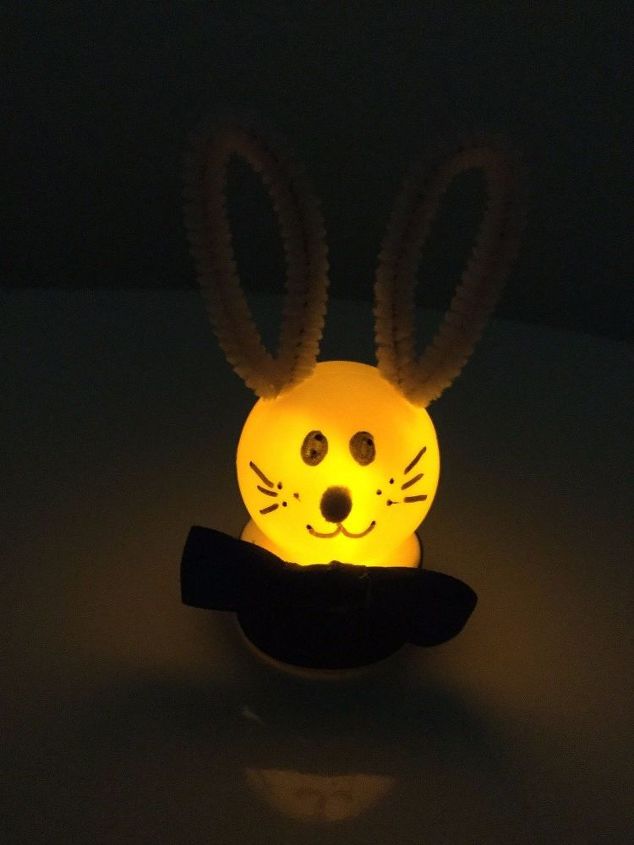
Easy Light Up Bunny Craft!
4 Materials
$1
10 Minutes
Easy
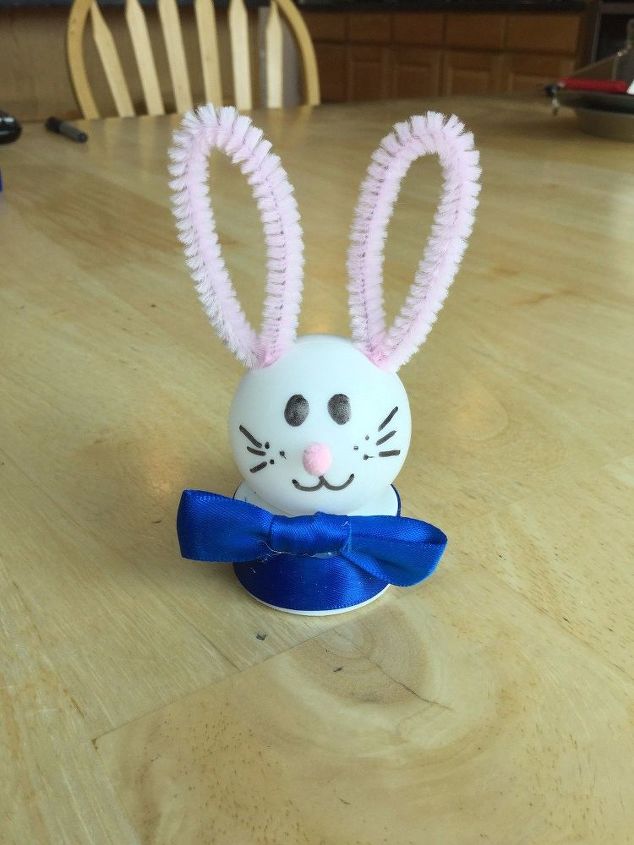
Make this super easy light up bunny craft for spring. Its easy and inexpensive! Great for kids and adults, parties, party favors, etc.
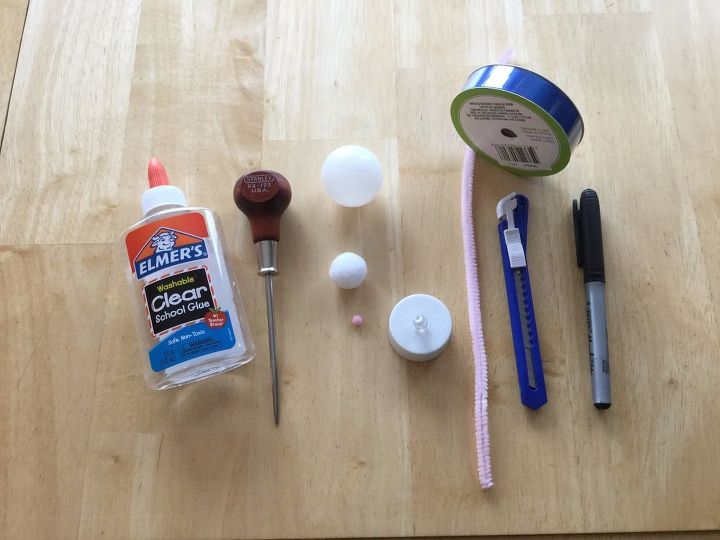
You will need:
Ping Pong ball (Dollar Tree)
Flicker light/battery operated tea light (Dollar Tree)
Permanent markers
Elmer's School Glue or hot glue
A pipe cleaner
Ribbon or Fabric
Small pom pom
Pom pom or cotton ball
Razor Blade - or something to cut with.
Screwdriver - or punch to poke a hole with.
Sissors
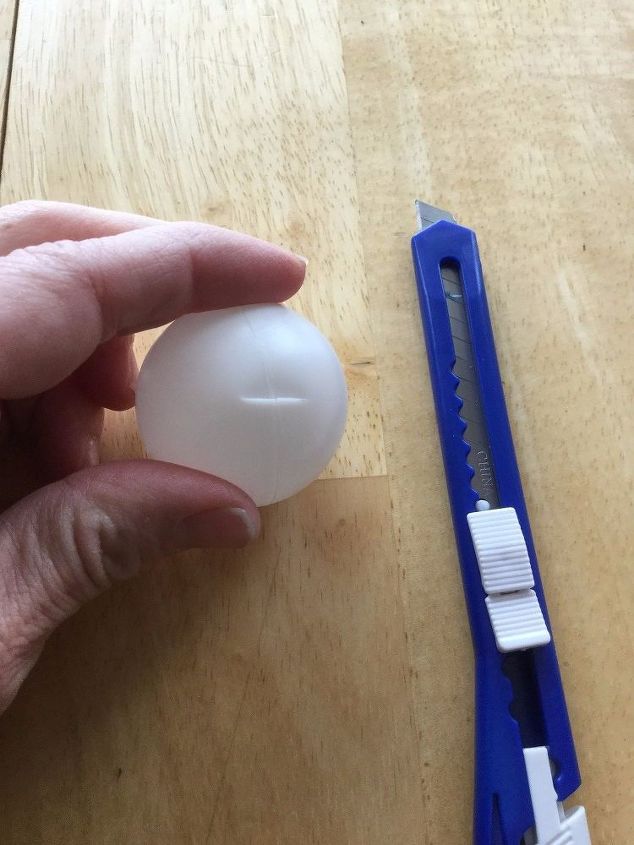
Cut an "X" in the bottom of the ping pong ball. This step is not for kids - I prepped this part for the class parties. You could try to have kids cut with something else like scissors, or a poke it with an ice pick.
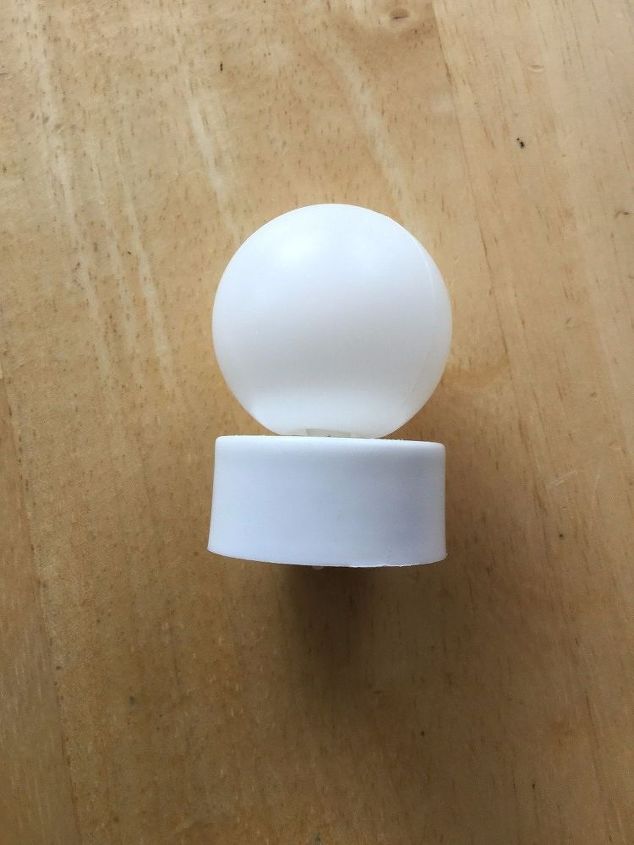
Put the ping pong ball on the flicker candle/battery operated tea light.
Cut your pipe
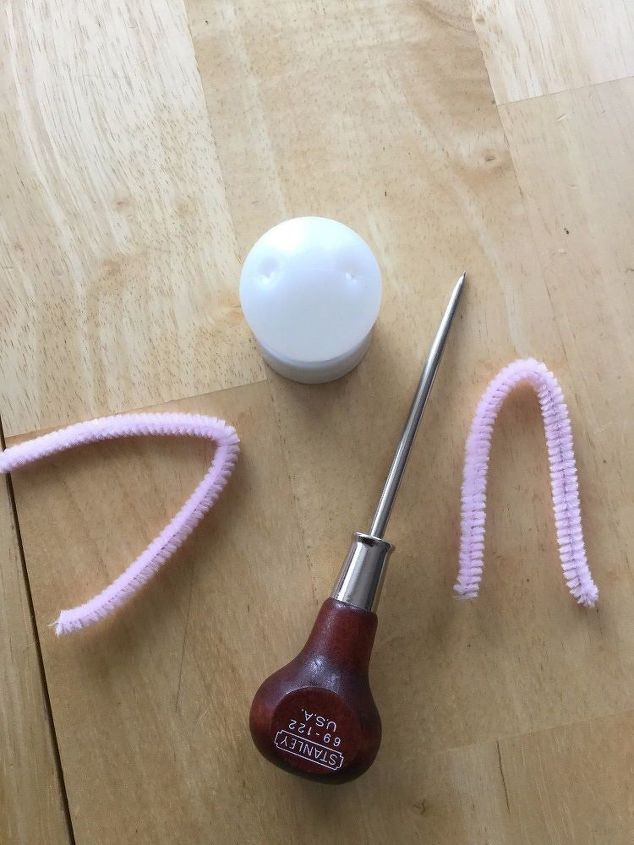
Cut your pipe cleaner in 1/2 and then fold each piece in 1/2.
Poke 2 holes in the top of the ping pong ball.
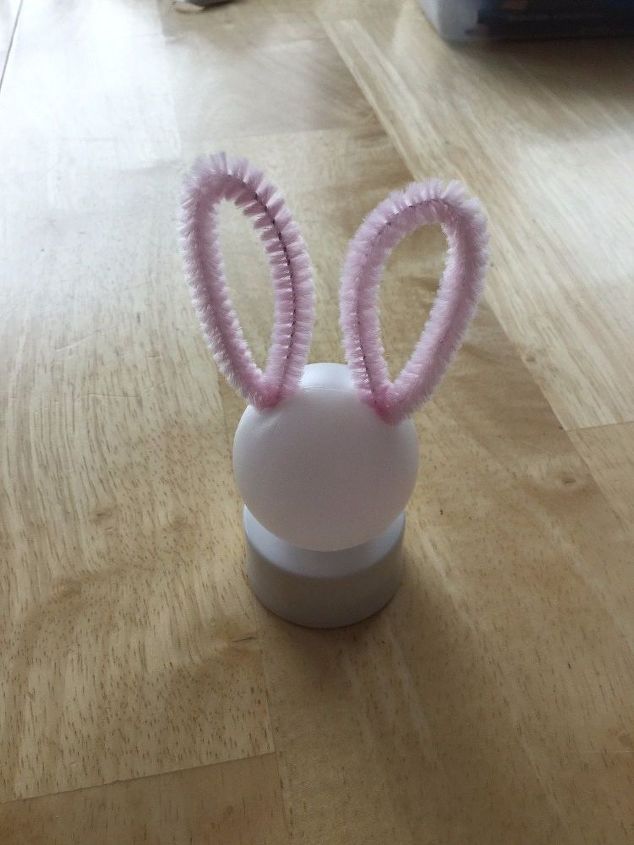
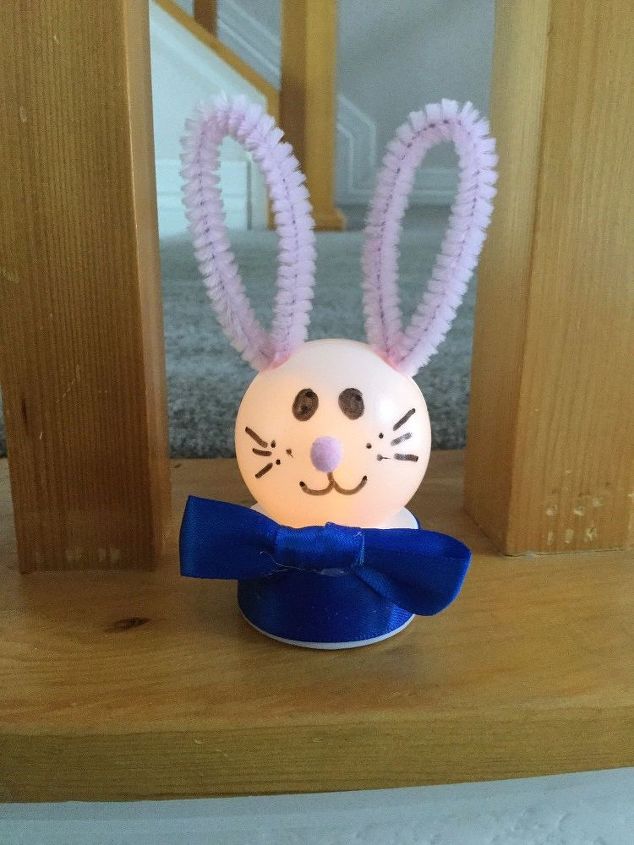
Place the folded pipe cleaner into the holes on the top of the ping pong ball.
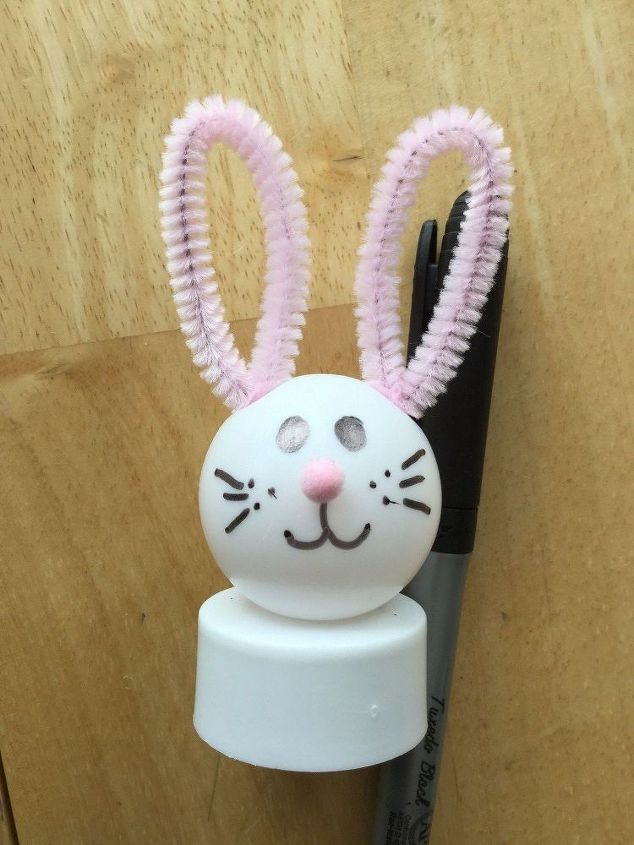
Use your marker to draw a face on your ping pong ball and glue the small pom pom on as a nose.
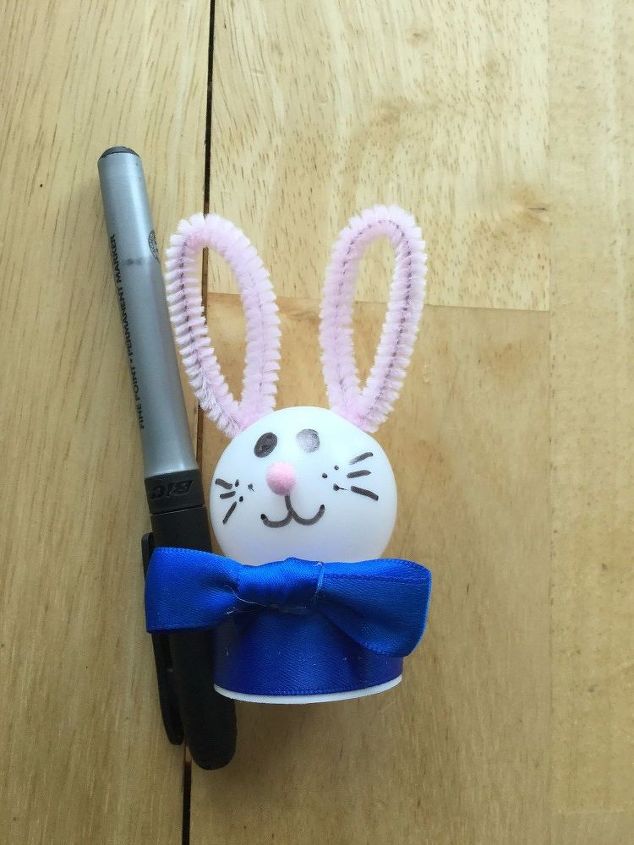
Glue ribbon around the flicker candle and glue on a bow if desired.
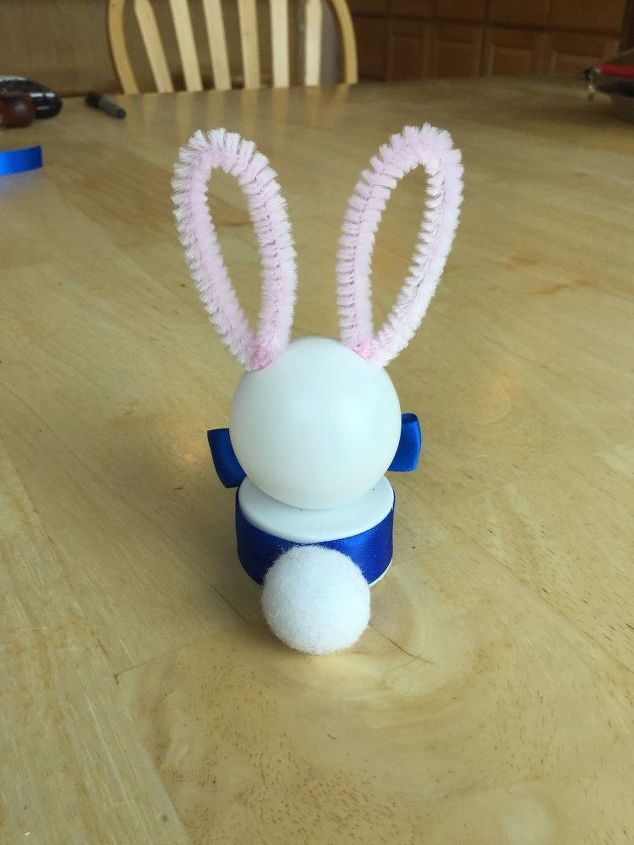
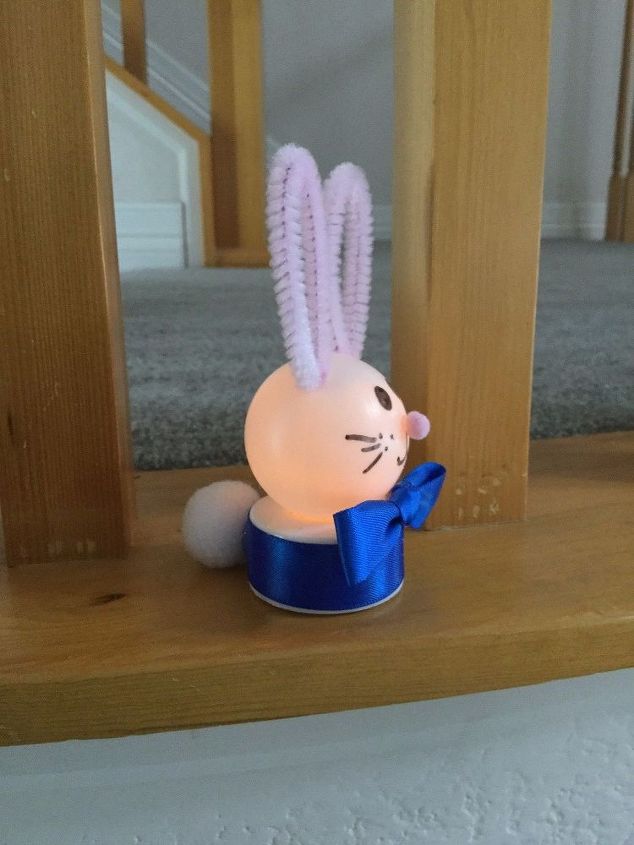
Glue the cotton ball or pom pom on the back for the tail.
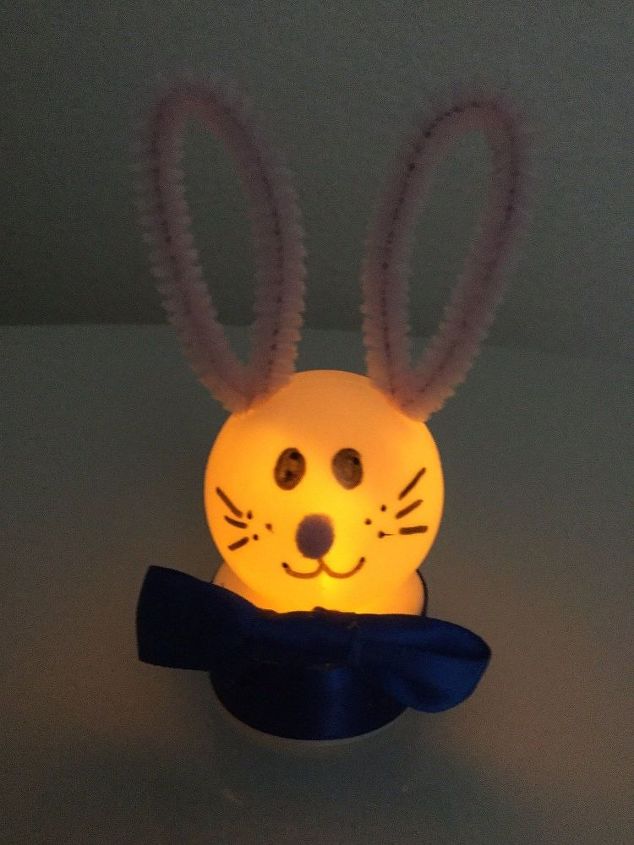
Let dry and your bunny is finished.
Turn him on and let him glow.
If you are interested you can find my other light up creations here:
Ghost for Halloween: http://www.hometalk.com/diy/craft/holiday-crafts/easy-halloween-light-up-ghost-craft-2-options--23058480
Snowman for Winter: http://www.hometalk.com/diy/craft/seasonal-decor/easy-winter-light-up-snowman-craft--25262644
Please join me on Hometalk's Facebook Live show on April 4th at 7pm EST to see me make this and more bunny projects!

I would love to have you stop by my blog Chas' Crazy Creations for the full tutorial as well as sign up for my latest creations, posts, recipes, exclusives, and more...
I would love for you to subscribe to my YouTube channel to see more of my crazy creations - https://www.youtube.com/channel/UCIOsMN7hycVRco-MROXwmXg
{
"id": "3805641",
"alt": "",
"title": "",
"video_link": "https://www.youtube.com/embed/mrHPK0bFxno",
"youtube_video_id": "mrHPK0bFxno"
}
{
"width": 634,
"height": 357,
"showRelated": true
}

Want more details about this and other DIY projects? Check out my blog post!
Comments
Join the conversation
4 of 42 comments
-
These would be cute strung as lights and hung along a fireplace or the porch railings.
-
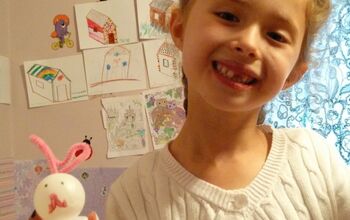
Here is a picture of my granddaughter holding one of her bunnies. I told her it was for the lady who taught me how to make the bunny, so she gave you a big smile!


Frequently asked questions
Have a question about this project?
So adorable, will be making this today.
Irene in Louisiana
May be better if you poke the holes with an ice pic or scissors (!) while you're prepping the other part. Very cute though.