


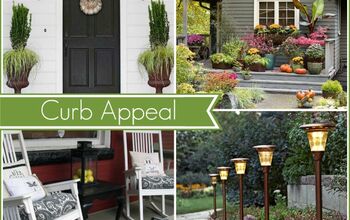
Curb Appeal Planting Project

2 Materials
Our house had overgrown, straggly shrubs in front and we wanted something fresh and new...so this is what we did!
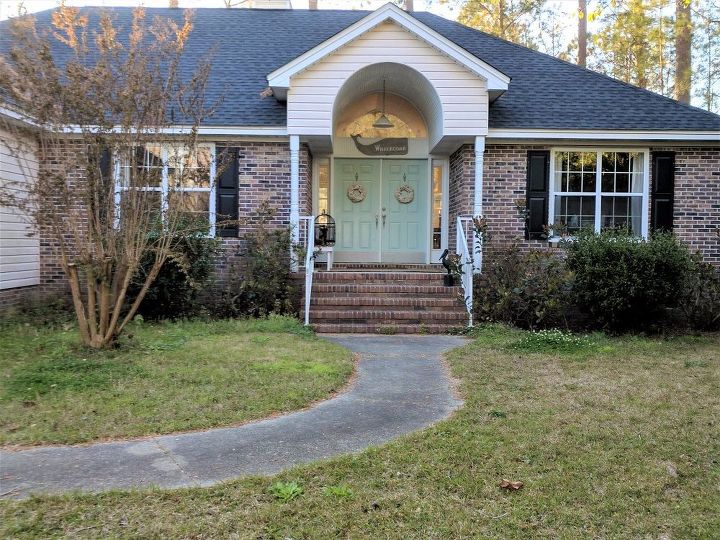
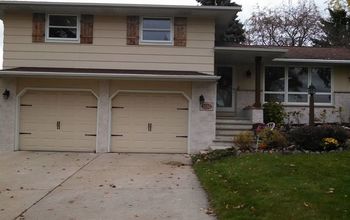
Front of house with overgrown, ugly shrubbery
BEFORE! - When we bought our house, the shrubbery in the front was terribly overgrown and straggly and had definitely seen better days!In an effort to improve the front of the house, we had already added the black shutters and painted the front door an aqua color. We live in Myrtle Beach, so we were going for a beachy feel with the entrance...
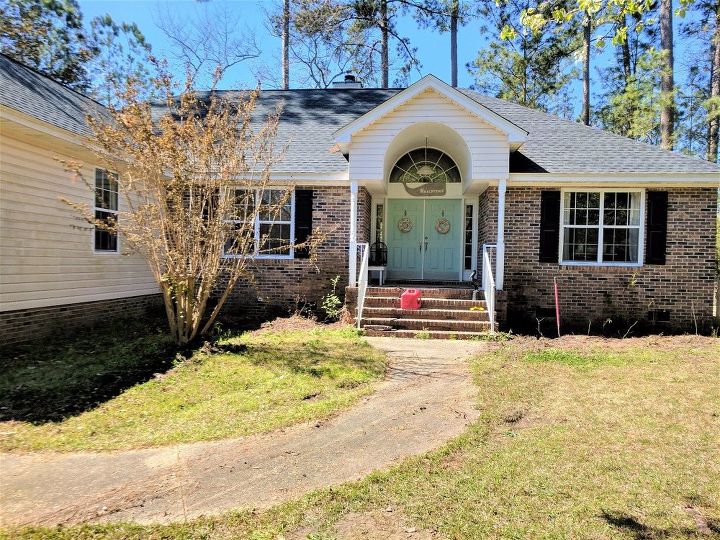
Our first step was to remove the old shrubs completely. We did a LOT of digging, and even used a truck to pull out a couple of the stubborn ones....but they were finally gone. It looks better already!
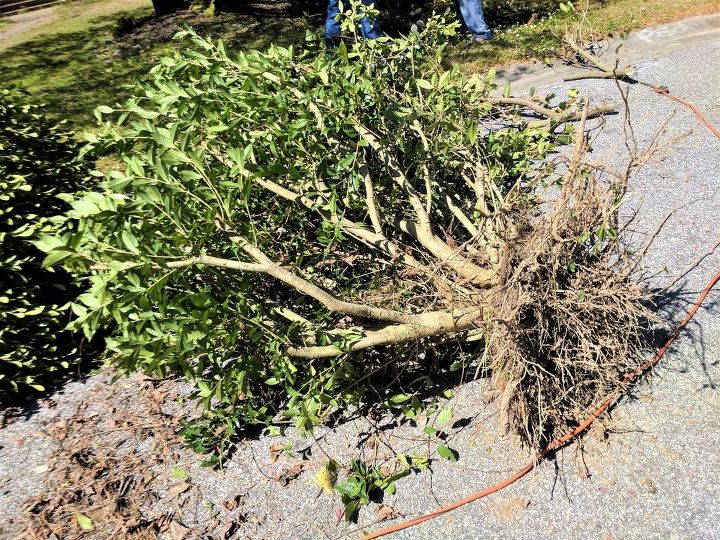
This is one of the shrubs that actually came out fairly easily....the roots on this one weren't nearly as deep as some of the others.
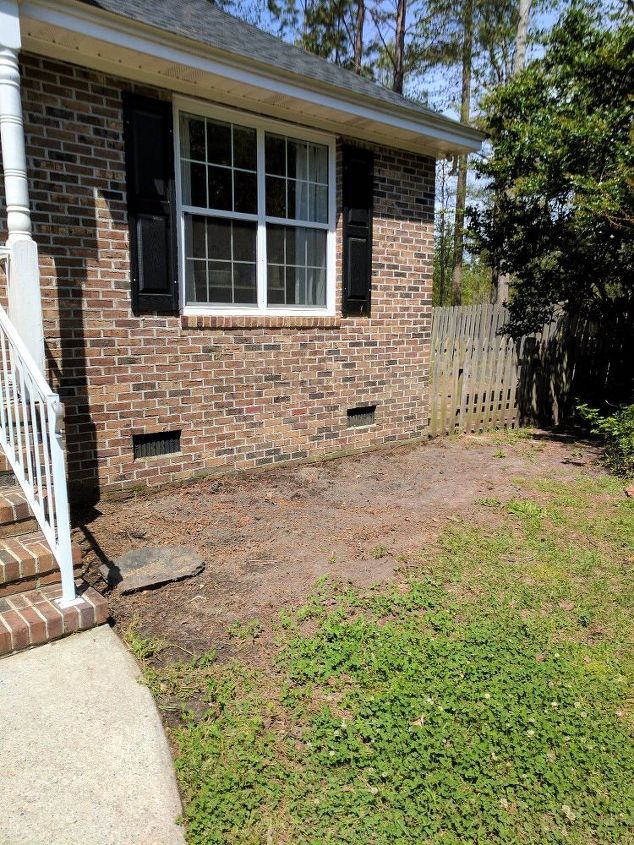
All cleaned out and ready for something new! We pressure-washed the front of the bricks to remove some of the dirt and staining that was hiding behind the old bushes.
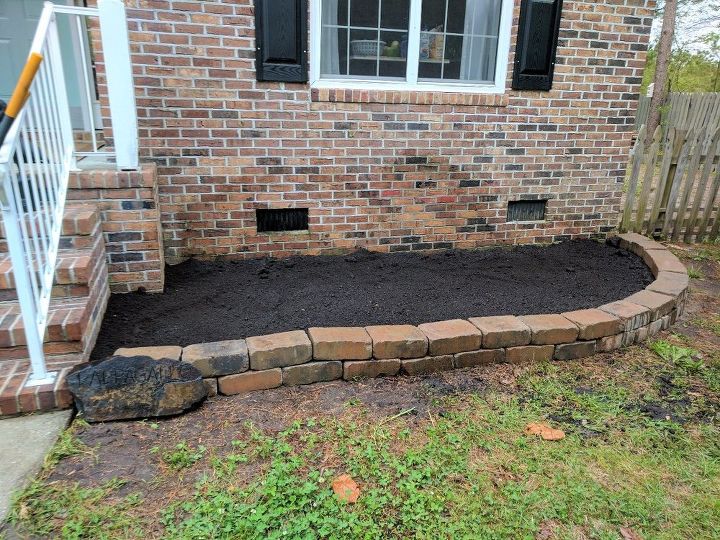
The next step was to lay landscaping blocks to form planting beds. We lucked out and got these on sale at Lowes for only $2.00 per block. Since they are permanent, we thought that price wasn't too bad. After the blocks were in place, we filled the beds with topsoil from a local garden shop.....it took two truckloads all together.....That was a LOT of shoveling!
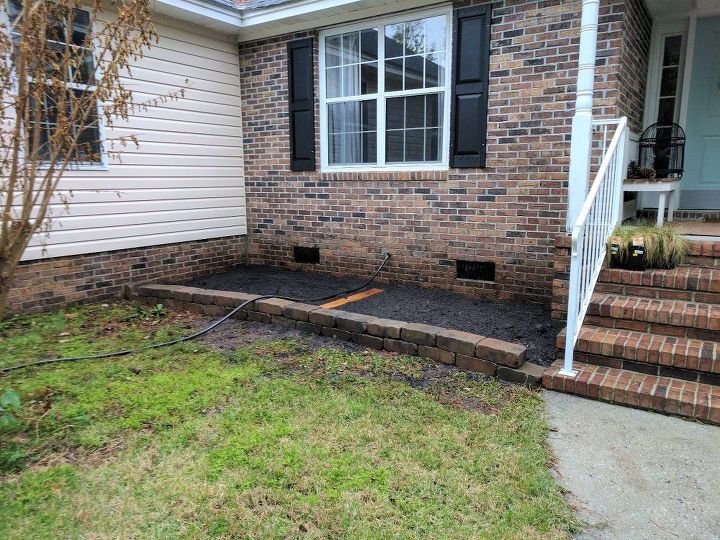
The bed on the other side of the steps....The board in the middle is so I could walk to the water hose without getting muddy! Somehow, I still got plenty of mud on me! Sigh! LOL
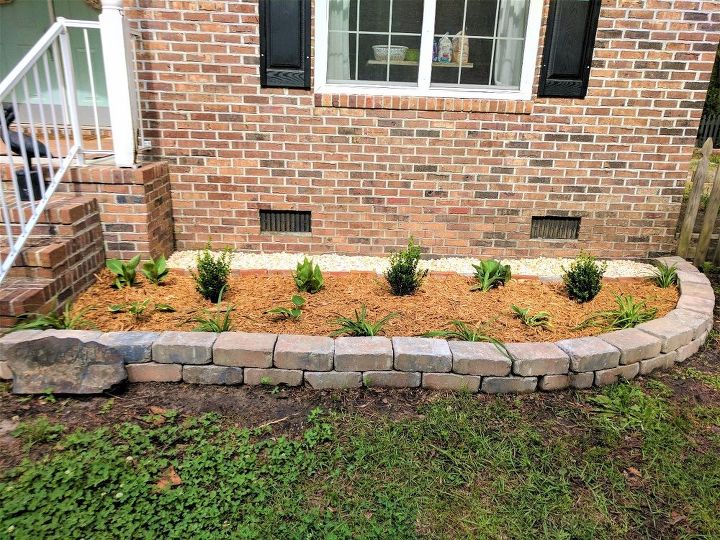
We decided to run a strip of gravel/rocks along the house to keep mud from splashing against the brick....so I lined up a single layer of leftover bricks from another project about 16 inches from the house and then filled it in with bagged rocks from Lowes. I love the contrast it gives, plus it will keep the front of the house clean. Then....let the planting begin! I chose Canna Lilies, Hostas, Liriope and Dwarf Boxwoods for color, year-round greenery and texture. We filled in with Cypress mulch (my very favorite), and now we are just watching to see the progress.
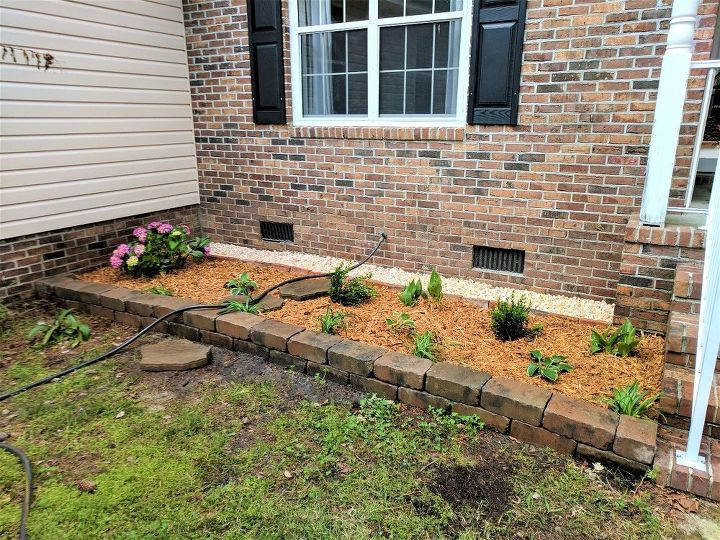
This is the bed on the other side of the steps. I added a dwarf Hydrangea in the corner because it gets slightly more shade than the rest of the bed....I am hoping it will do well there.....Looking forward to cut flowers later!
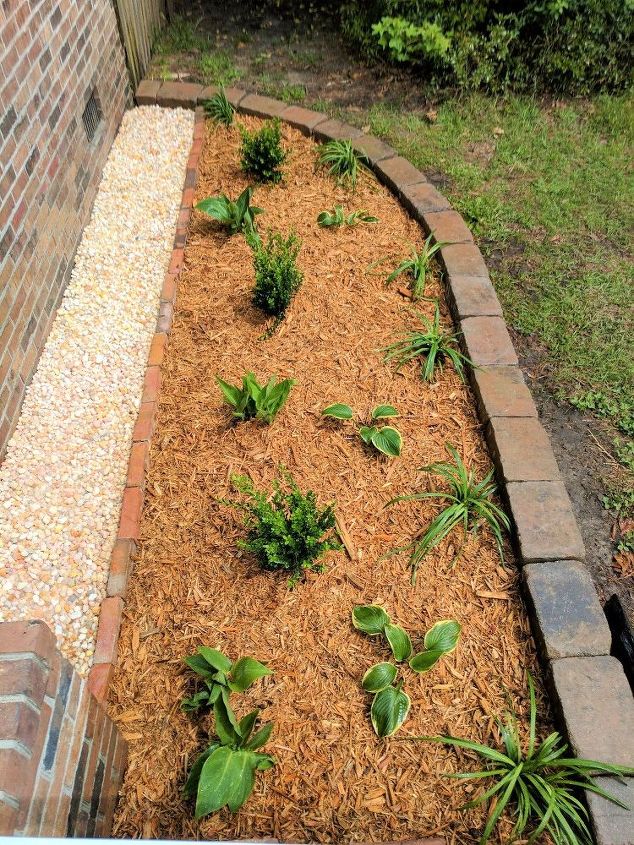
This view shows the rock strip a little better, as well as the plant spacing. I love how clean and neat the beds look now!
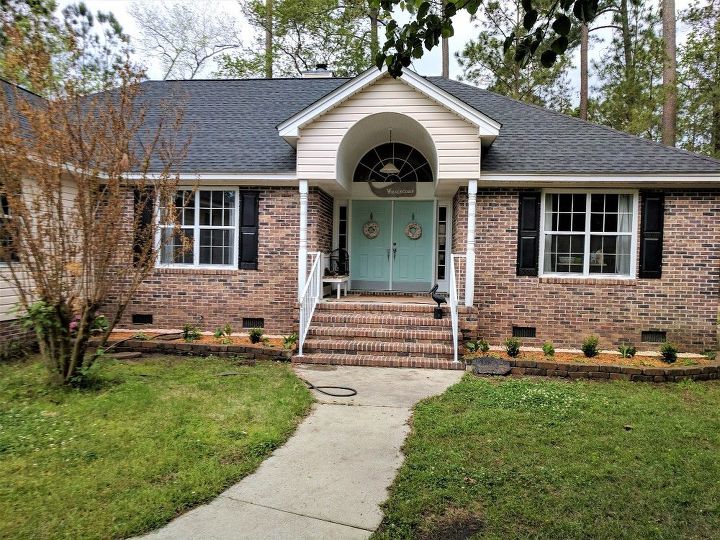
AFTER! The finished plants in place, and we love how clean and neat the front of the house looks now. I can't wait for things to start growing and filling in so we will have lots of greenery and colors to admire! Thanks for following along on our project! Hope you enjoyed it as much as we did! Just FYI - The total cost of this project, including blocks, plants, mulch, rocks, etc was approx $400, but we feel that it will drastically improve the curb appeal of our house for many years to come! What do you think?
Comments
Join the conversation
2 of 107 comments
-
I agree with one poster about painting or white washing the brick. Another suggestion is to beef up the columns and add some plain corbels to balance out the overhang.
-
It looks gorgeous!!!


Frequently asked questions
Have a question about this project?
If you mowed the lawn and trimmed the edges to the path your spruce up would be complete
Lovely! I love your door colour! What's it called?
Removing the old shrubs made such a difference! Love that you used a pop of color on your front door too! I think if you were to use a dark brown or black mulch in the beds, it would stand out more because of your brick, shutters and front door. Hope I haven't offended you.