


How to Install a Custom Shower Pan in Less Than 2 Hours

8 Materials
$500
2 Hours
Easy
Many homeowners want to remodel a shower but are fearful of the shower pan. In this project we share how to install a custom shower pan in less than 2 hours. This is the KBRS Tile-Basin® that we ordered for a homeowner and installed in a master bathroom. This pan replaced a fiberglass version that was leaking into the kitchen downstairs. You'll see how this new technology makes shower remodeling easier for homeowners.

Step 1 is to start with a sound and level subfloor. The KBRS Tile-Basin® requires a 3/4" wood subfloor made from plywood or OSB.
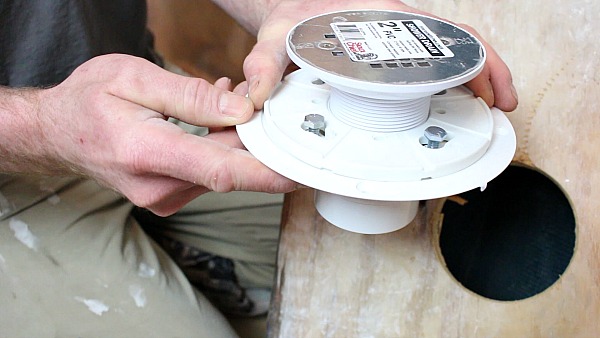
Step 2 is to install a standard clamping ring style shower drain. These are very familiar to plumbers in case you don't want to install it yourself. It glues to the existing pipes (ABS or PVC) and is screwed to the subfloor.
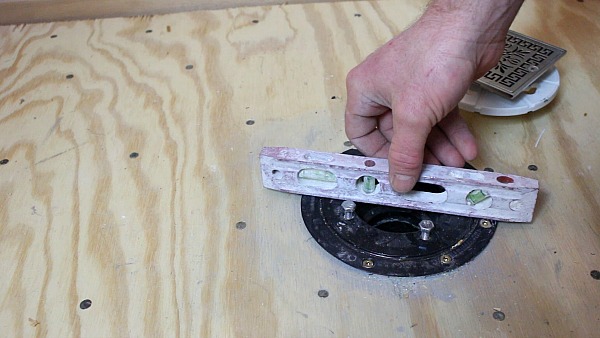
Once the drain is installed double check that it's level with the subfloor.
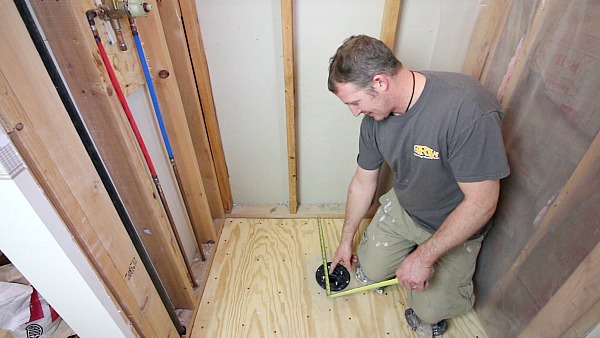
Step 4 is to get four measurements for the custom shower pan.
Measurement 1 is the width of the shower minus 1/2"
Measurement 2 is the depth of the shower minus 1/2"
Measurement 3 is the center of the drain to the back wall minus 1/4"
Measurement 4 is the center of the drain to the mixing valve wall minus 1/4"
These dimensions are required by KBRS who then makes the shower pan to your custom shape, size, and drain location.
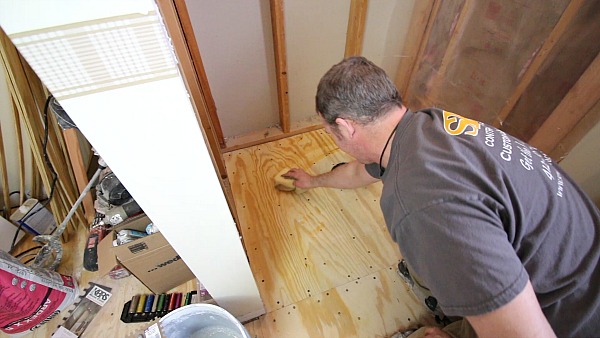
Step 5 is to wipe off the wood subfloor with a damp sponge. This cleans the surface and prevents the thin-set's (in the next step) moisture from being removed.
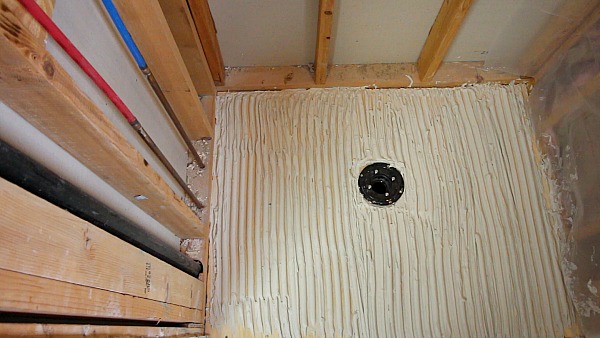
Step 6 is to burn the thin-set into the subfloor (simple covering the floor with a thin layer) then directionally trowel it in one direction with the KBRS provided 3/4" U-Shaped trowel.
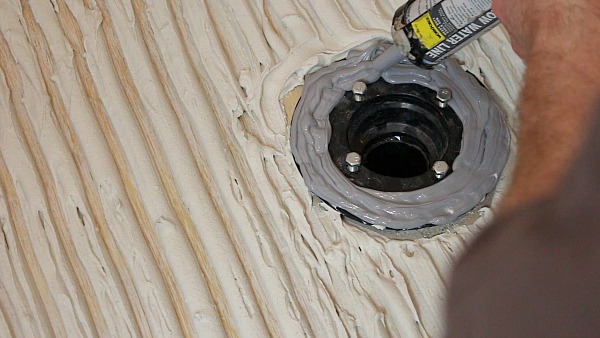
Step 7 is to apply 2 to 3 thick beaks of PolySeal® from KBRS to the drain.

Step 8 is to set the Tile-Basin® on the thin-set and drain. Then add the clamping ring to the top of the pan using the provided screws.
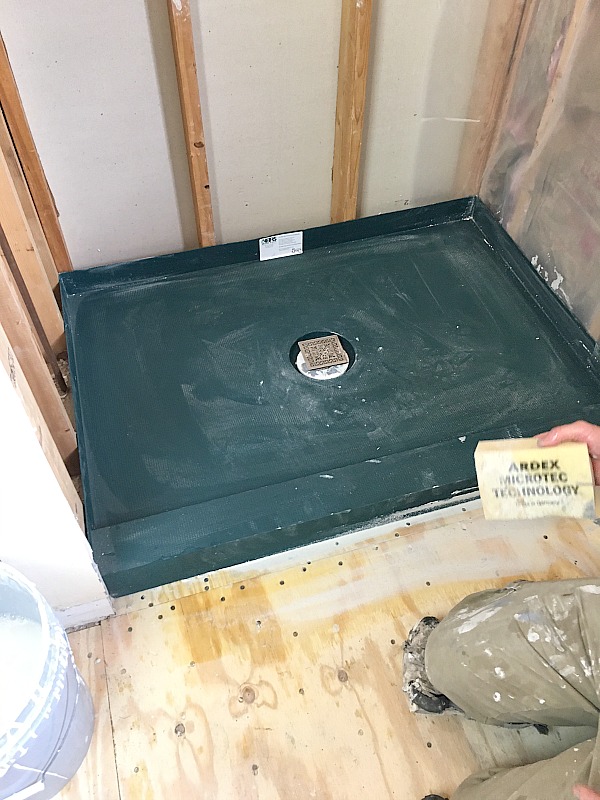
This is what the Tile-Basin® looks like installed.
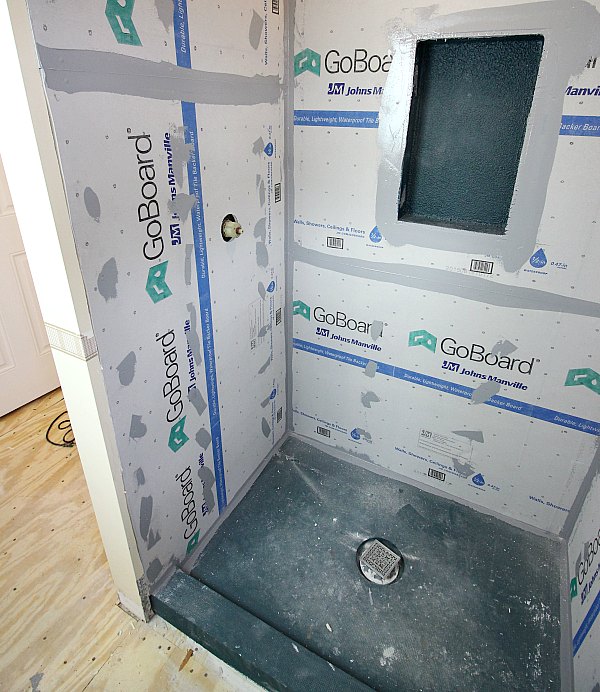
This is what all the waterproofing looked like when we were done. GoBoard® was used as the backer board.
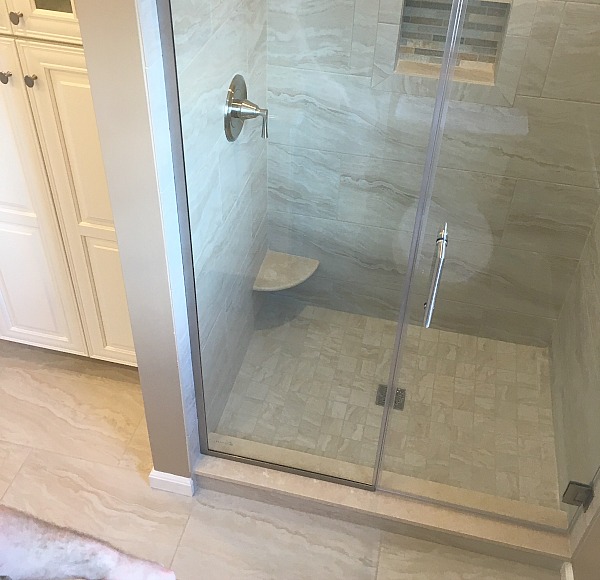
This is the finished shower after all the tile, which was done by Steve White from SRW Contracting, Inc here in Pittsburgh, PA
{
"id": "3840348",
"alt": "",
"title": "",
"video_link": "https://www.youtube.com/embed/08CTgbgAw0Y",
"youtube_video_id": "08CTgbgAw0Y"
}
{
"width": 634,
"height": 357,
"showRelated": true
}
Watch our video for all the details. This project took us less than 2 hours to install the pan and the GoBoard® waterproofing backer board on the walls.
The Tile-Basin® needs to be flood tested like most pans. Then you can tile over it. Let us know what you think of the Tile-Basin® and if you have questions about this project. We'd be happy to help. -Jeff
Comments
Join the conversation
2 comments
-
Great post! :)
-
Awesome information. Can't wait to remodel my bathroom!
Thanks for sharing.


Frequently asked questions
Have a question about this project?
Can we re tile on top of old tile We have no leaks just discoloration from years of cleaners etc