


No Sew Outdoor Pom Pom Pillows
8 Materials
On a budget, but would love your porch or outdoor deck to pop with color this summer? You’ve come to the right place! I have always had a weakness for brightly colored outdoor items. Bright colors just shout the words, “Summertime is here”. Who is ready for summer? I sure am
Here is a 6 step project to make yourself some beautiful DIY No Sew Outdoor Tassel Pillows for little money.
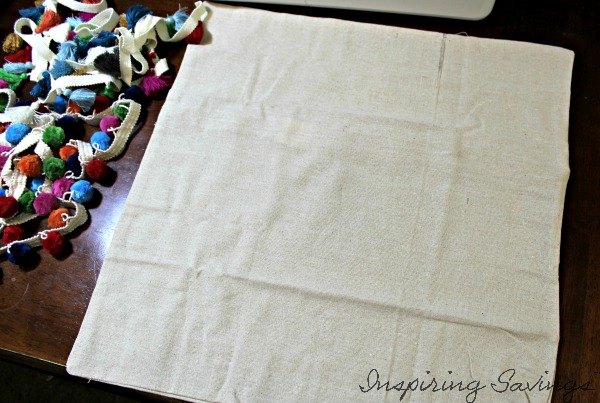
Wash and dry your pillow cover as instructed. If you plan on purchasing your pillow cover.
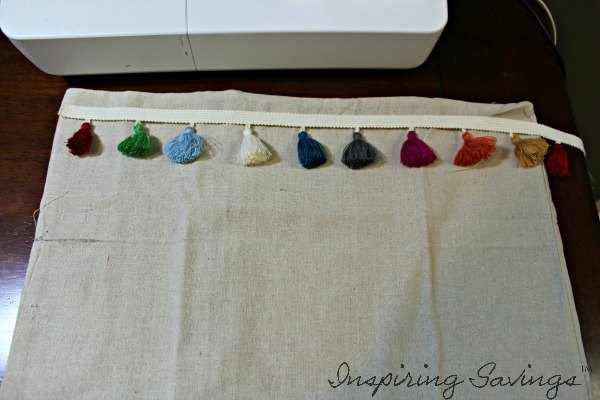
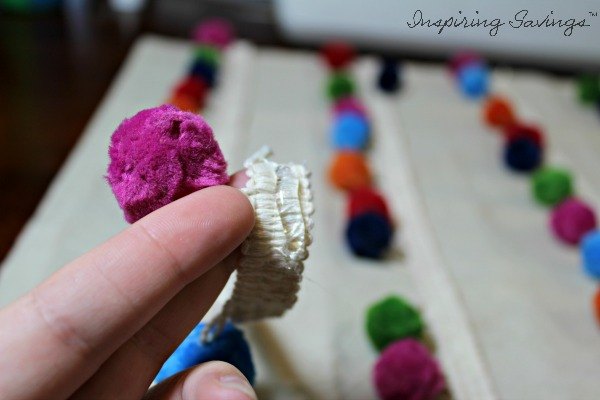
Lay your pillow cover flat and measure out your trims. Cut to your desired length. Two yards gave me 4 rows and 3 yards gave me 6. How much you decide to put on your pillows is all about personal preference!
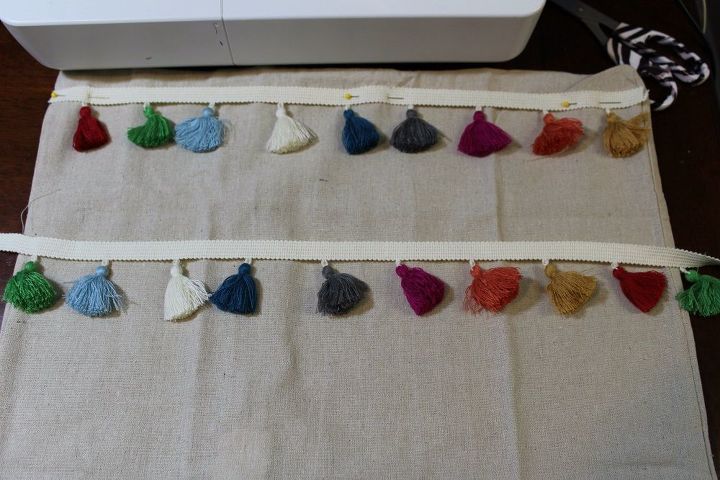
Arrange your rows of trim on your pillow cover.
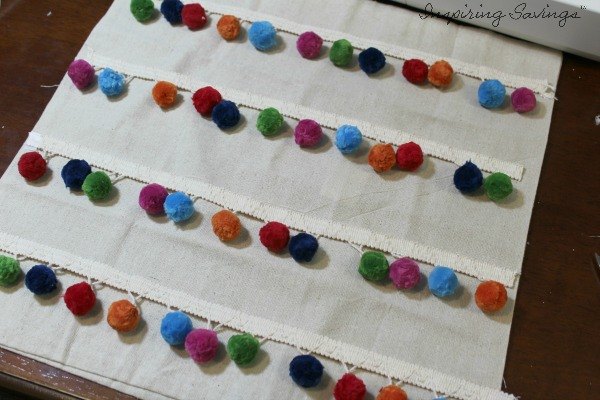
You will want to leave a few inches between the top of your pillow and your first row as well as a few inches from the bottom of your pillow to the last row.
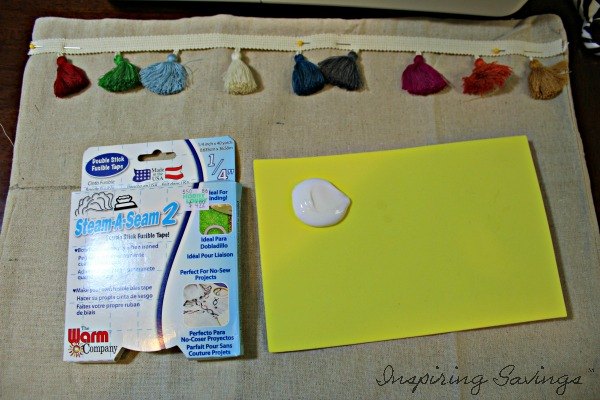
Using your choice of adhesive/glue attach your rows to the pillow form. You can use Steam a Seam (just follow the package’s instructions) and your iron or you can use glue.
I did one pillow in fabric glue and another in hot glue. Both came out great!
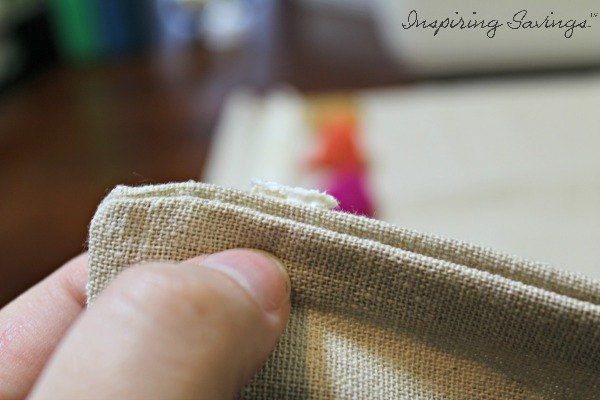
The edges of the trim will unravel a bit. I like to use liquid seal sealant on my edges, but if you are using glue, then you can always dab a bit of glue on the edges and that will work too. Let dry. Insert your pillow form or fill with Poly-fil.
To View my My Completed Pom Pom Pillows - Click here
To View More Related Frugal Living Posts From Jen

Want more details about this and other DIY projects? Check out my blog post!


Frequently asked questions
Have a question about this project?