


A Safer Way to Lime Wood

2 Materials
A Safer way to Lime Wood
I am so excited to bring you this tutorial because I love the look of Limed wood, but hate the toxin laden, labor intensive aspect lurking behind the beauty.
You might know this technique as being called Lime Waxing, Lime Washing, White Washing or even Cerusing. Best described as highlighting wood grain or the pores. There are lots of ways to do this and I’m not big on doing things like everyone else. So here is my zero VOC, Earth & Animal Friendly version of Cerusing.
Notes:
- No Wax means no reapplying!
- Protection: mask up before sanding, tiny airborne particles from wood or finishes are scarring to the lungs and you never know what toxins lay under each layer of finish so lets keep it safe!
- Stay tuned for more Limed Wood projects. Be sure to follow us on Instagram.
Non Toxic Grain Highlighting…..The Shabby Way
- First prepare your wood. All species of wood are different and some work better than others. Sand all the old finishes off and see what you have. (Oak is my favorite, show me a house with ugly gold Oak cabinets and I see a beautiful Cerused finish.)
- Raise the grain! Follow the grain, Scrub with a wire brush (brass bristles are my favorite) then wash wood surface with a damp rag. Let Dry.
- Smooth your surface. Finish with a 220-grit sand paper.
- Do a final cleaning. I use a vacuum attachment then a dry rag to make sure all the dust has been removed. *If you love the look of your raw wood as is, skip to step #7 . This dresser had several different types of wood so the colors where inconsistent and needed to be painted or stained first.
- Paint or stain. Keep it thin, don't let it fill in your exposed grain. I used one thin coat of Great Greige
- Wet sand. This isn't required but I love the smooth finish you get and it cuts down on brush strokes.
- Mist with water
- Lightly sand with a wet sanding sponge.
- Wipe down with a wet rag. Let Dry
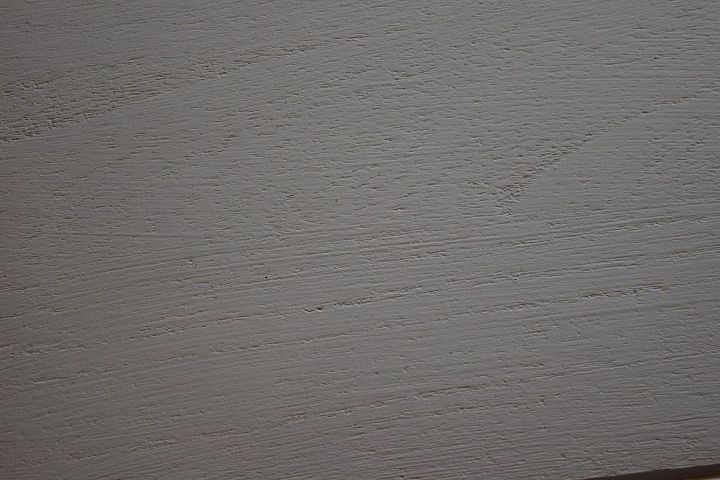
- Highlight the Grain! Apply White reVAX with a brush in small sections, then press into the grain with a plastic putty knife wiping away extra on your knife. *Repeat after it has had plenty of time to dry for even more contrast.
That’s it, protected and highlighted with one product!
Learn more: https://www.shabbypaints.com/safer-way-lime-wood/
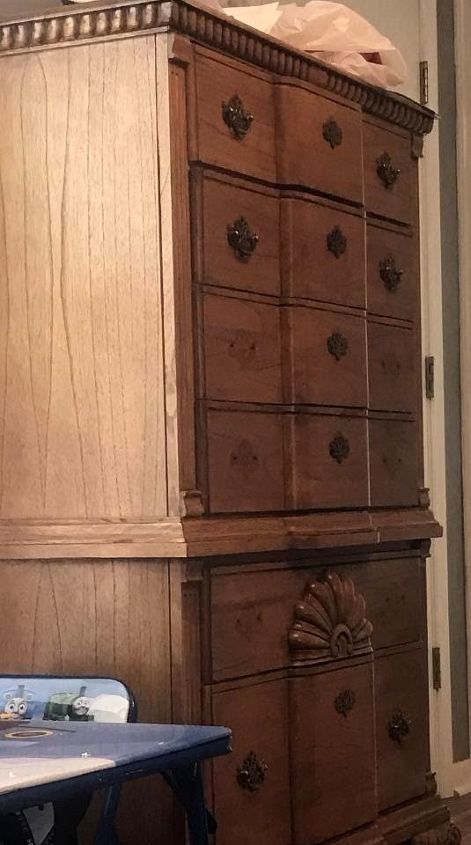
Before
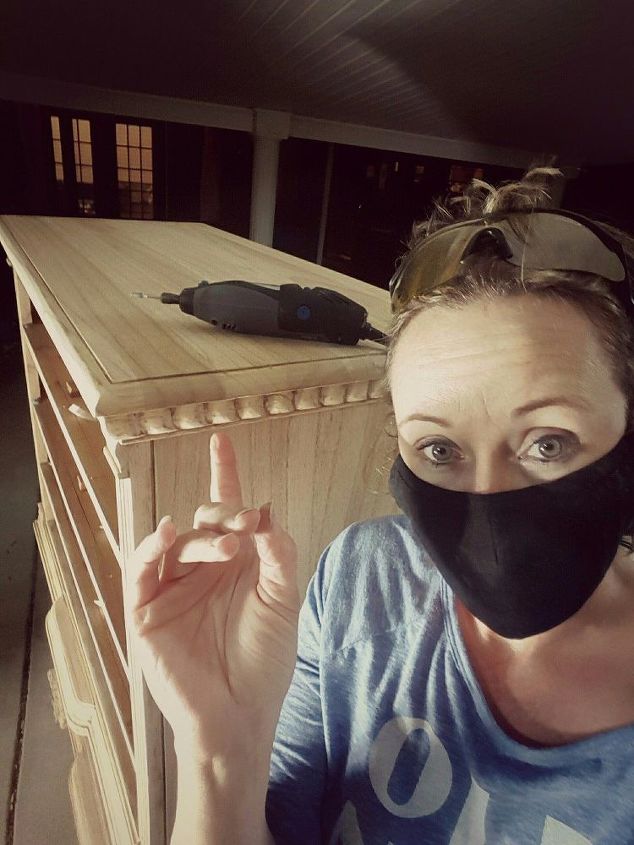
Sanded
Painted one thin coat. Great Greige
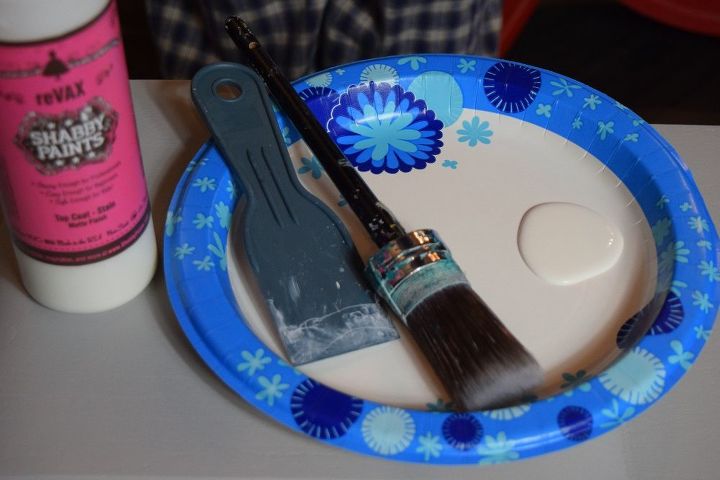
Tools
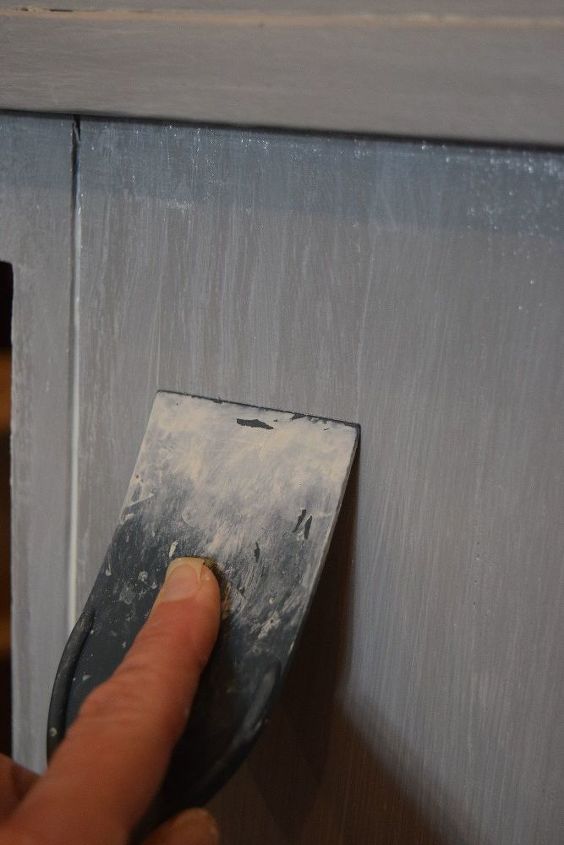
Press into grain with a plastic putty knife.
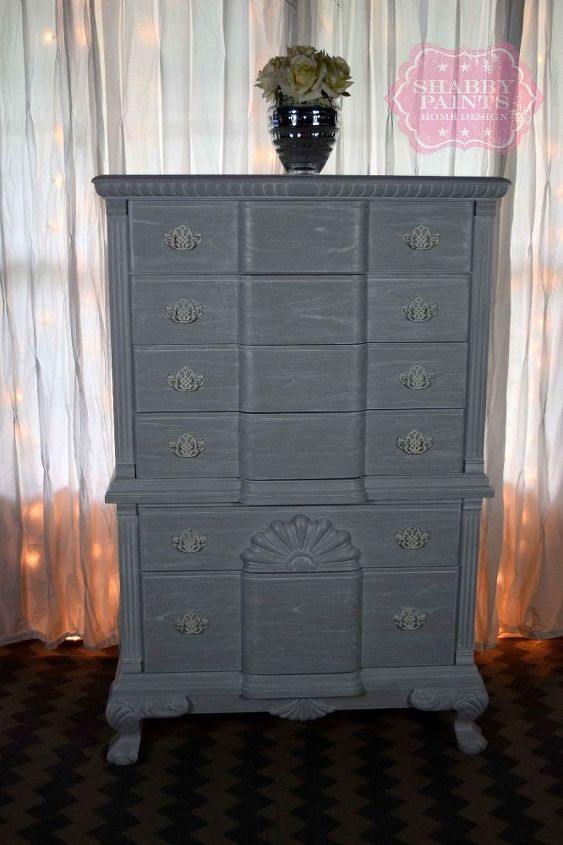
Happy After
{
"id": "3859089",
"alt": "",
"title": "",
"video_link": "https://www.youtube.com/embed/G_-KFYsDLjE",
"youtube_video_id": "G_-KFYsDLjE"
}
{
"width": 634,
"height": 357,
"showRelated": true
}
How to video


Frequently asked questions
Have a question about this project?