


Gold Medallion Pillow DIY
4 Materials
$10
2 Hours
Easy
My daughter recently came home for her summer break. We had a lovely, though very short time, with her and somehow it came up in the conversation that sofa in their apartment could really use some pillows.
This was a very fortuitous pronouncement as my husband had just diagnosed me with ‘a pillow problem’. Somehow in his distorted view of the world, he thinks that the 9 pillows on our bed is 7 pillows too many!! I surely don’t get it…but in any event, I was able to use 2 of the pillows that were up in the attic to make these pillows for our daughter, thereby reducing the stash that seems to cause him issues.
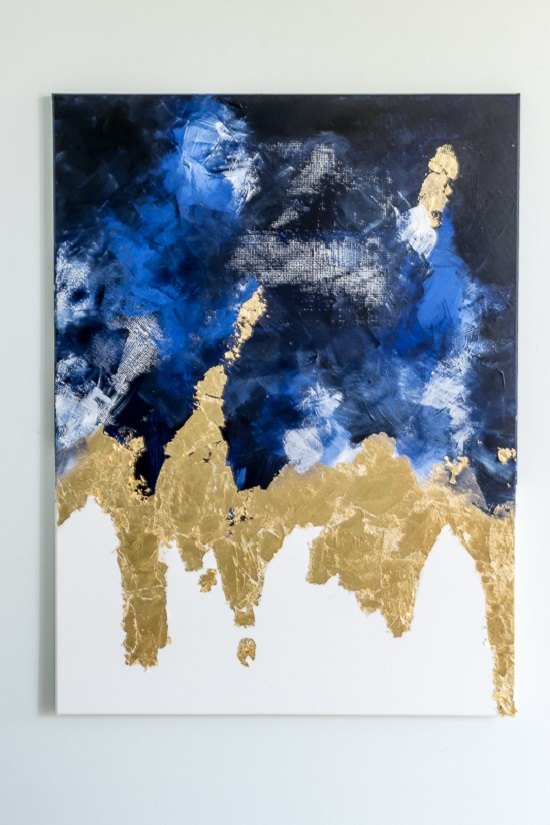
I had painted a gold/blue abstract painting for her apartment in the fall and she wanted to stay with that 'theme'.
And lucky for her I had a roll of Gold Iron On Foil that I was dying to try out with my still new-ish Cricut, as I’m still pushing this handy little machine to see what all it can do. However, unlucky for me…I didn’t read the directions and wasted an entire roll of foil. So…
N&N Pro Tip: When using the Cricut Iron On Foil, put the good side (the side you want to show, in this case the gold foil) FACE DOWN on the mat.
Anywho…once I figured out the right way to cut the Iron-On Foil, this project was easy, fun and more importantly, was just what the girls wanted for their apartment.
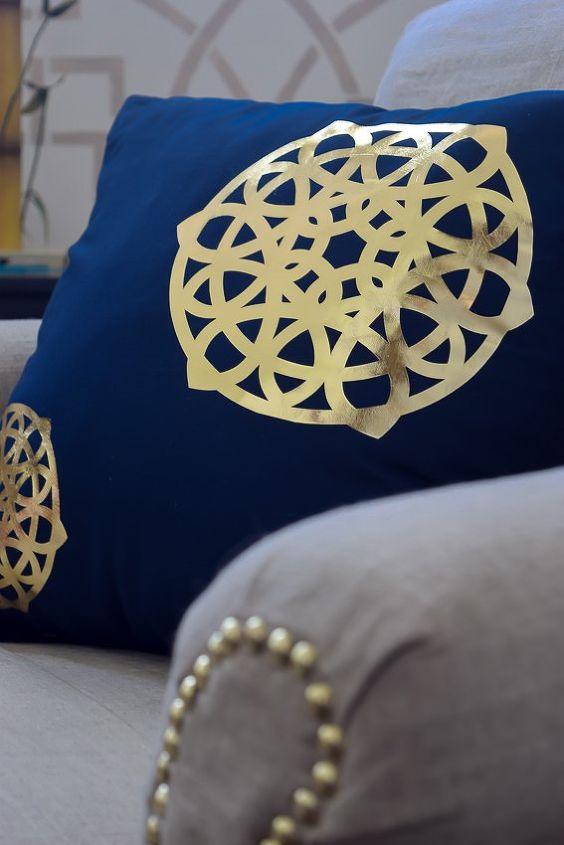
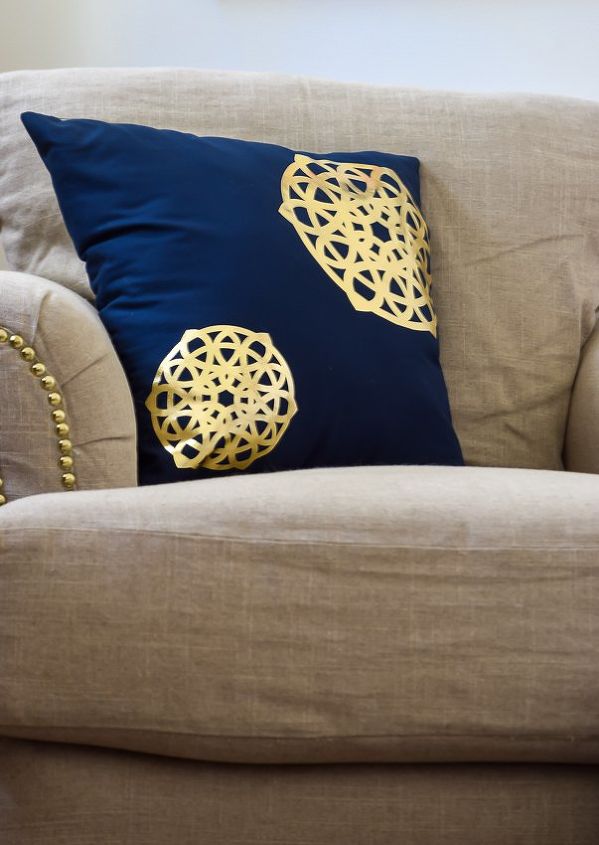
I used Paper Lace 2 in Cricut Access ( for the medallion and cut it in several different sizes. A standard grip mat worked perfectly.
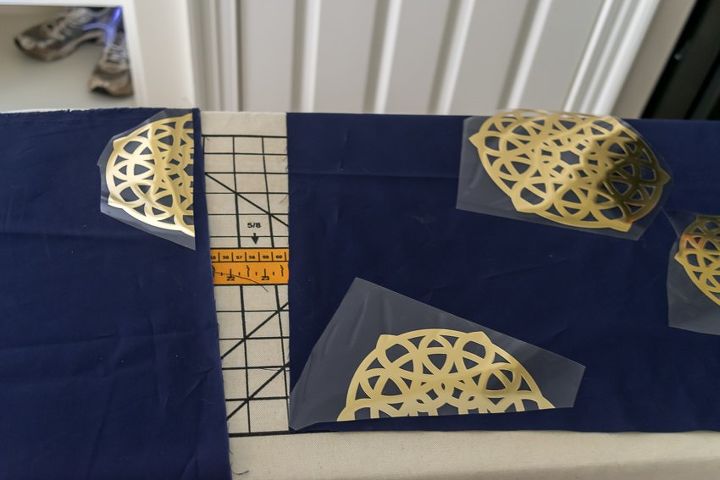
For each pillow, I cut at least one medallion in half…I like the look of them being half on and half off the pillow.
Ironing on the foil was super easy. If, when you peel the clear liner off a wee bit of the foil wants to pull up, then stop and iron the decal again, making sure the liner is between the iron and the decal.
I’ve got to honestly admit that the Cricut is really opening up crafting and making opportunities and my mind is always working on new Cricut possibilities.
Here’s a little video just showing the weeding of the medallion and peeling off the liner. No rocket science here, but just to show you how easy it is.
{
"id": "3896804",
"alt": "",
"title": "",
"video_link": "https://www.youtube.com/embed/cqwi4ApSuK0",
"youtube_video_id": "cqwi4ApSuK0"
}
{
"width": 634,
"height": 357,
"showRelated": true
}
I sewed the three sides of the pillow with my machine, filled it with polyfil and then hand-stitched the fourth side close.
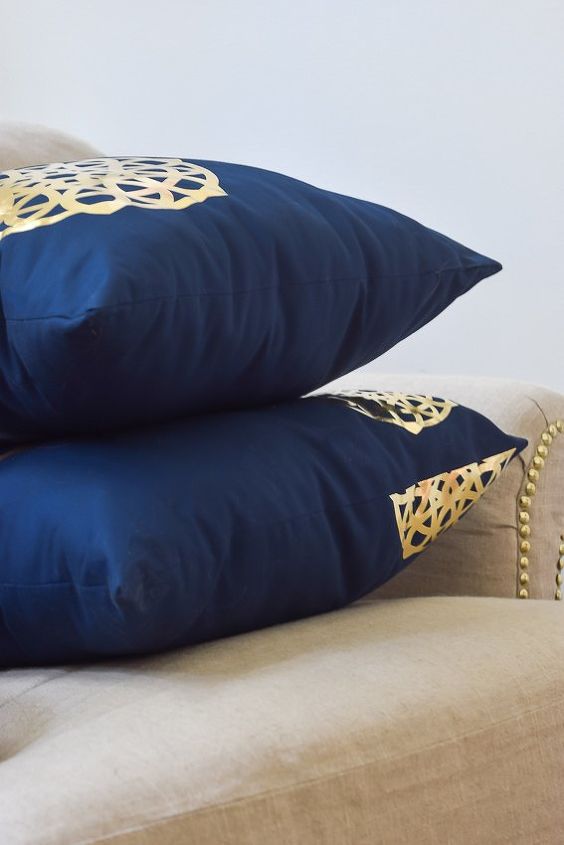
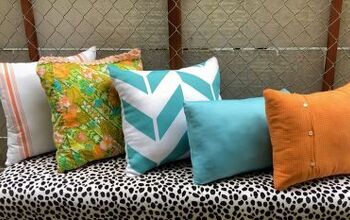
And the pillows are now a lovely addition to my daughter's sofa...yippee...and dI have 2 fewer pillows in the house...double yippee.

Want more details about this and other DIY projects? Check out my blog post!


Frequently asked questions
Have a question about this project?