


Swirl Pendant Lamp DIY

by
Kacy Sheng
$10
3 Hours
Medium
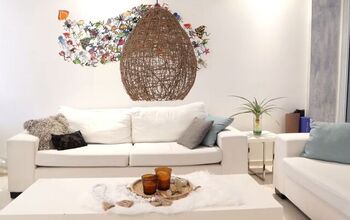
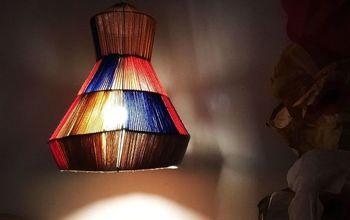
I was looking at all the spiral lamps on the web and highly intrigued by the art forms. I started constructing it in my head and looking out for some handy materials that can be used to make one. This is a lamp that you can make with ease. Not only is it a great decor item for your living space, but a great addition to your parties. Using only simple materials like paper cups and sketch pad, you can produce a spiral elegant lamp, much of a designer's taste. Here I provide written instructions, as well as a video tutorial derived from my youtube channel EzyCraft. Have fun!
{
"id": "3964023",
"alt": "",
"title": "",
"video_link": "https://www.youtube.com/embed/ojpznOoaXXA",
"youtube_video_id": "ojpznOoaXXA"
}
{
"width": 634,
"height": 357,
"showRelated": true
}
Watch the video tutorial for a complete understanding of construction!
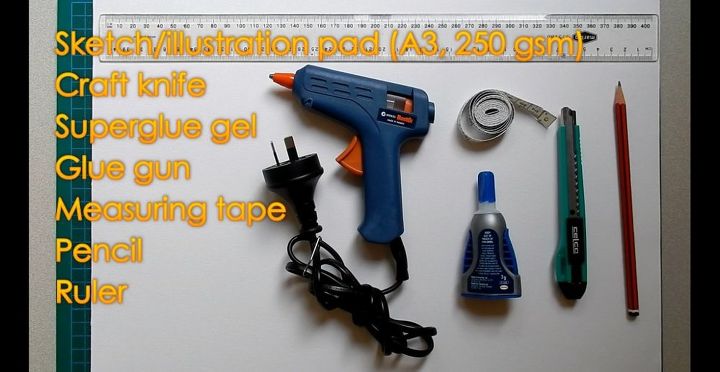
To commence this project, you will need several items:
Sketch/illustration pad (A3, 250 gsm)
Craft knife
Superglue gel
Glue gun
Measuring tape
Pencil
Ruler
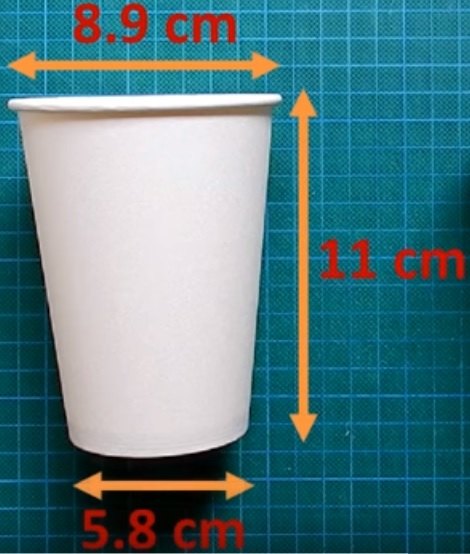
Two medium sized paper cups are also required. Here is the cup that I used in this demo. Note that you do not need to use the cups of the same dimension as mine. However, minor adjustment of distance is required when you attach the lampshade paper strips. This will be reiterated later.
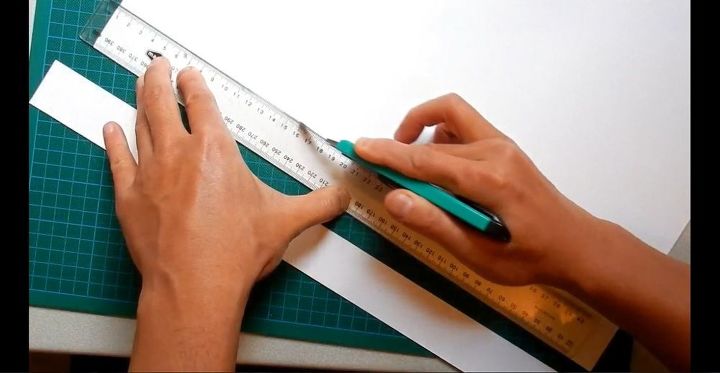
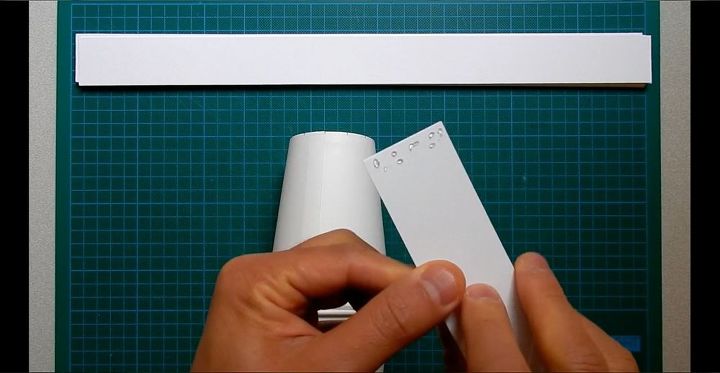
Cut out 13 paper strips (3.6 cm x 42 cm) from your A3 sketch/illustration pad. This should be quite easy to perform, as the A3 size gives an immediate 42 cm length. These strips will be used later to construct outer layer of the lamp.
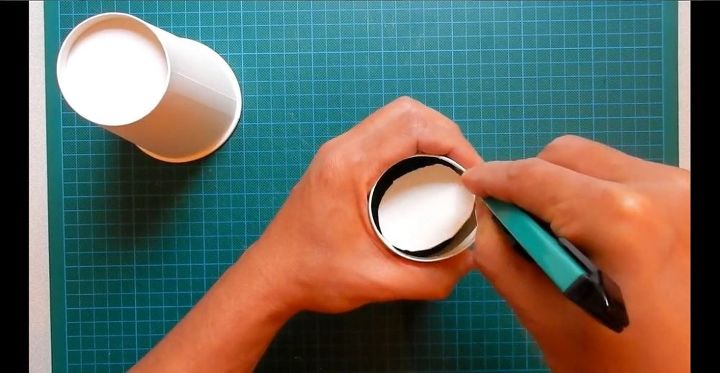
Start making the inner body of the lamp for hanging the globe and for attaching the paper strips. First of all, remove the bottom face of a cup. Clean up the residues on the edge to give it a neat appearance. The opening not only serves to cast the light, but ensures the ease of changing the light bulb.
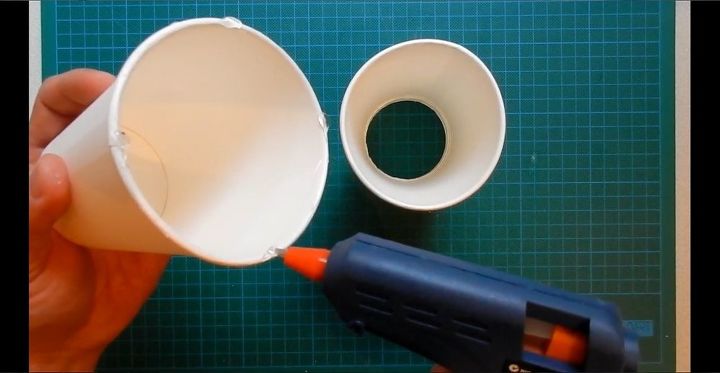
Apply 4 drops of heated glue on the rim of one cup.
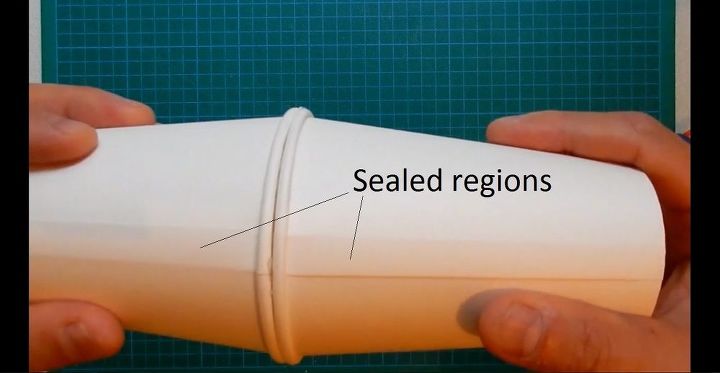
Stick 2 cups together evenly. In the meantime, pay attention to alignment of the sealed lines/regions. Apply slight force on cups to minimize the gap.
Apply heated glue to completely seal the gap.
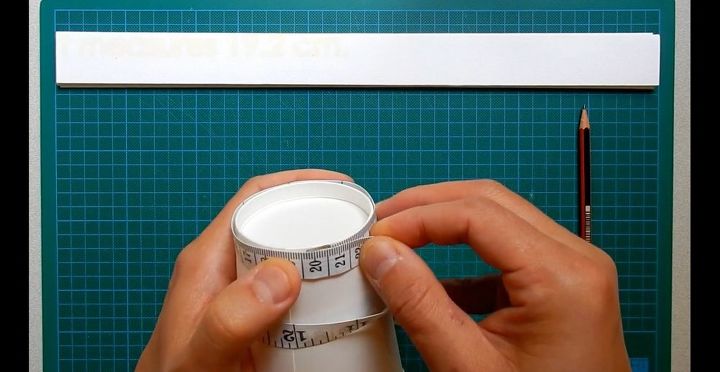
Measure the circumference of the small circle and divide it by 13. In my case, it is 19.2 cm/13 = 1.48 cm.
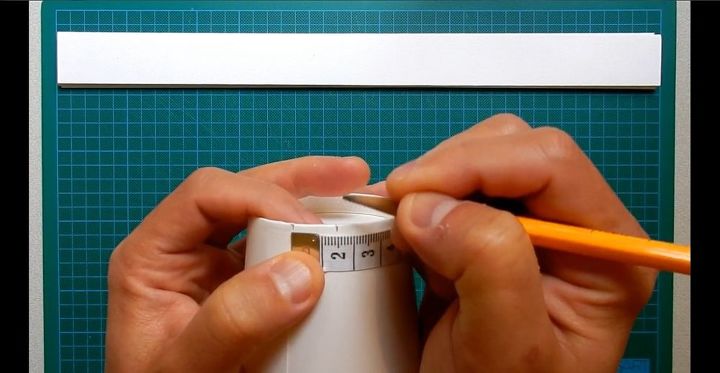
Mark on every 1.48 cm, starting from the sealed line. You will mark for 13 even intervals. Mark the second cup in the same way, starting from the aligned sealed region, such that its markings are directly opposite to those on the first cup.
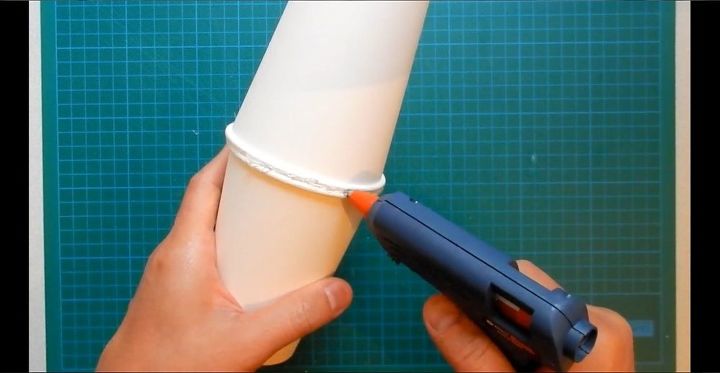
Apply a few superglue gel droplets within the first centimeter of the paper strip.
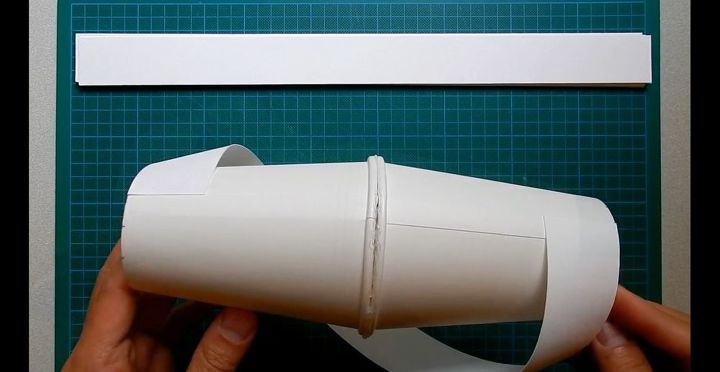
Attach the strip on the first marking. The top side should lie flush with rim at start. Bring the other end to the other cup and attach it on the marking directly opposite.
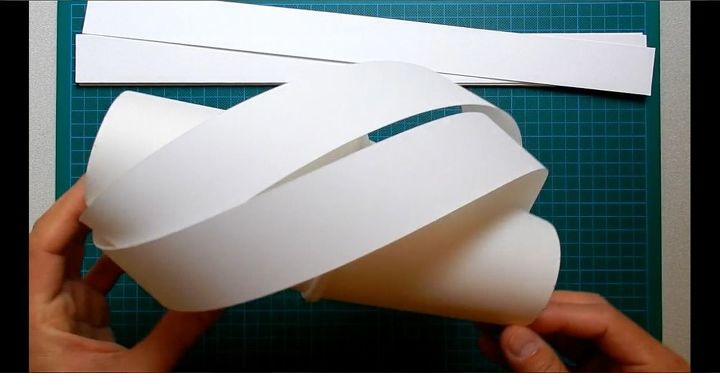
Attach the second strip in the same fashion. Note that the attached 2 strips should be just in contact in the middle. If 2 strips crowd each other or stay far apart, you will need to adjust the distance of strips. This may result in an increase of decrease of the strip number required. If this is the case, you will have to start from step 6 again.
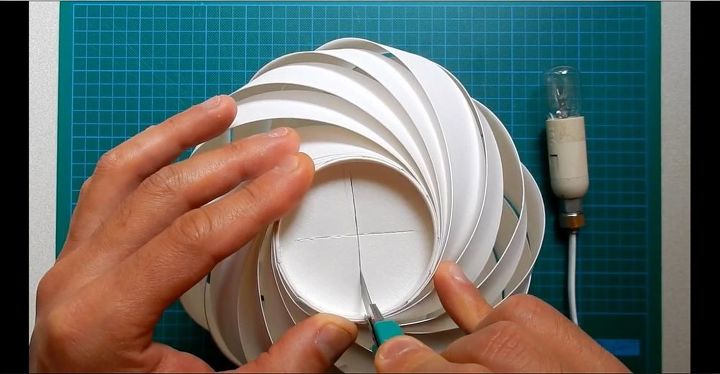
After completing the strip attachment, draw and cut a cross on the top face. make sure the cross lies on the center.
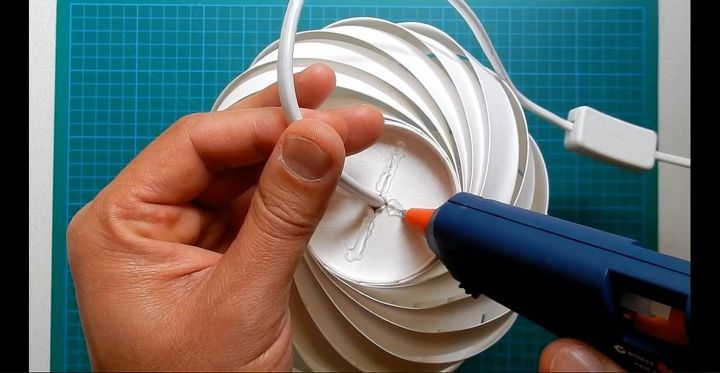
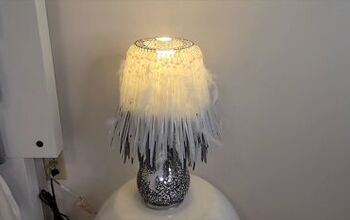
Place the globe and its accessories into the cup. Please use a light globe that is below 15W. Although in this project I used an incandescent light, LED light is the best choice in terms of energy efficiency. Avoid using the globe that is over 15W, as it can produce too much heat. Seal the cuts with glue or strong adhesive. Avoid using the tape, as its adhesive power loses with rising temperature. To this end, you have finished making a beautiful lampshade. Enjoy the glow!
Comments
Join the conversation
4 of 68 comments
-
Just beautiful! it's on my list!
-
Amazing! Just brilliant. I love it.


Frequently asked questions
Have a question about this project?
where is the finish project?
Beautiful! Would it work the same if you used colored paper? Or could you dye the white sketch pad paper?
First, I think you're project is fantastic, extremely creative and very well done. Thanks for sharing.
My question is, have you ever tried spray painting them after they where completed. Maybe spray painting the paper before assembling. What are your ideas on the aspect of painting them. Again thank you very much for sharing it's a brilliant idea.