


Faux Tile Kitchen Back Splash Makeover
$2
5 Hours
Easy
I'm in the midst of a DIY kitchen makeover and since there was no budget for a new tile back splash a cheap and easy makeover was definitely in order.
Plus, going through the mess of removing the old back splash to put in a new one just didn't appeal to me at all.
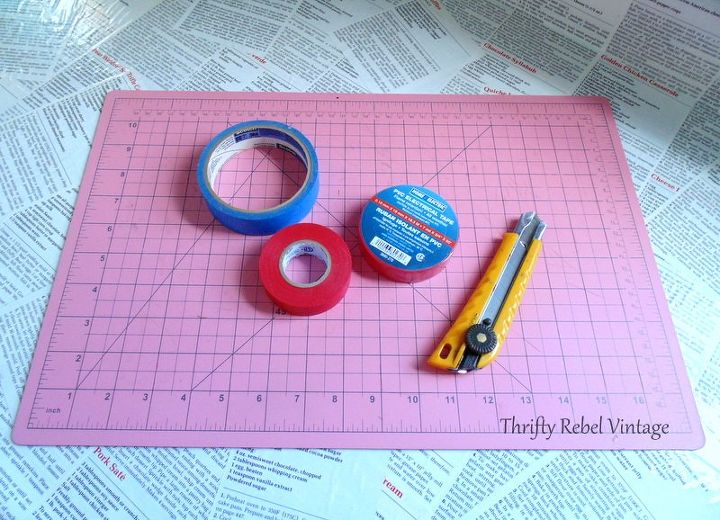
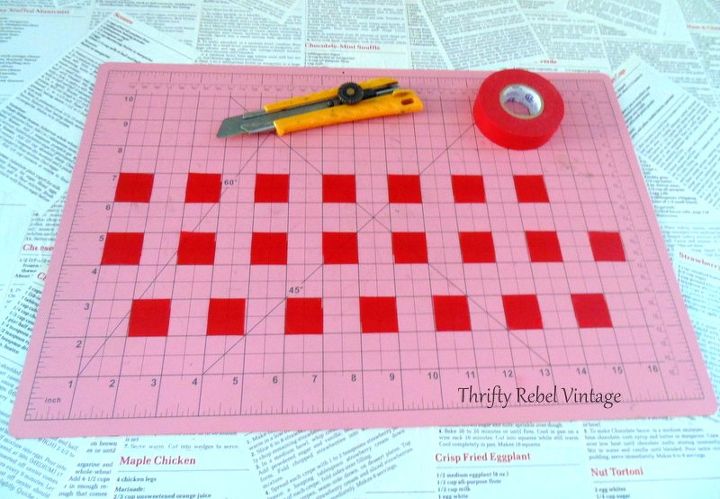
All you need for this makeover is a craft cutting mat, an exacto knife, some painter's tape, and a roll of red PVC electrical tape... or whatever colour you want to use.
Yes, you read that right... electrical tape.
It's the coolest stuff!
It comes in a bunch of different colours and is only $1.99 for a 60 foot roll. At my local Home Building Centre it's available in red, green, yellow, blue, black, and white.

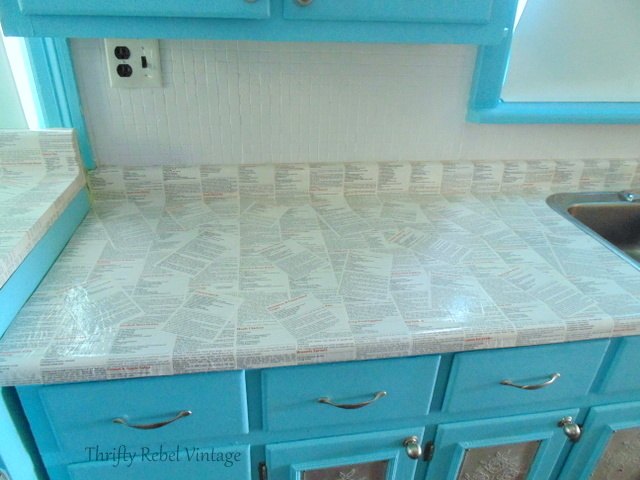
So here's a before of my kitchen counter and the ceramic tile backsplash that John and I installed about 10 years or so ago.
The back splash looked great with my sage green kitchen, but with my new aqua and red colour scheme it definitely had to go.
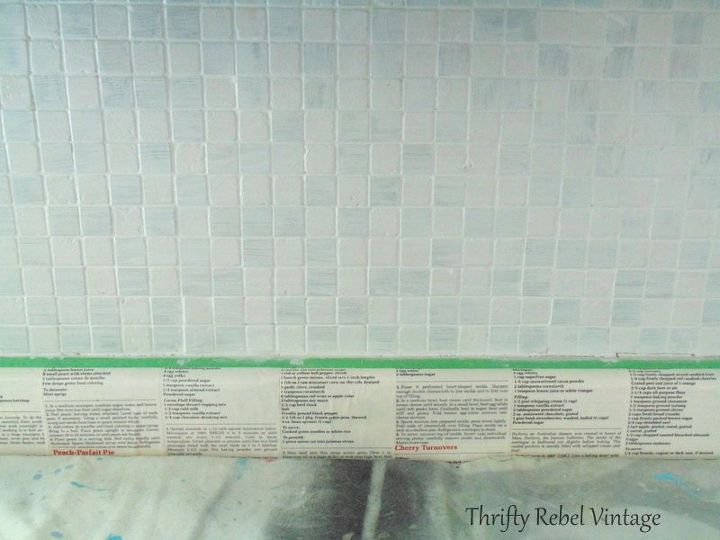
I rarely use painter's tape, but in this case I did. I really wanted to protect the decoupaged top of my kitchen counters where it meets the backsplash.
Not sure what happened to the blue painter's tape in the supplies pic above, but I ended up using some green instead.

To paint the tile I used the same high hide white water based paint and primer combo that I used on my kitchen walls. This is after one coat, and I did three.
I know there are probably better products out there for painting tile, but most of them are very noxious. I refuse to use anything indoors that requires a mask. Not good for us or our fur babies.
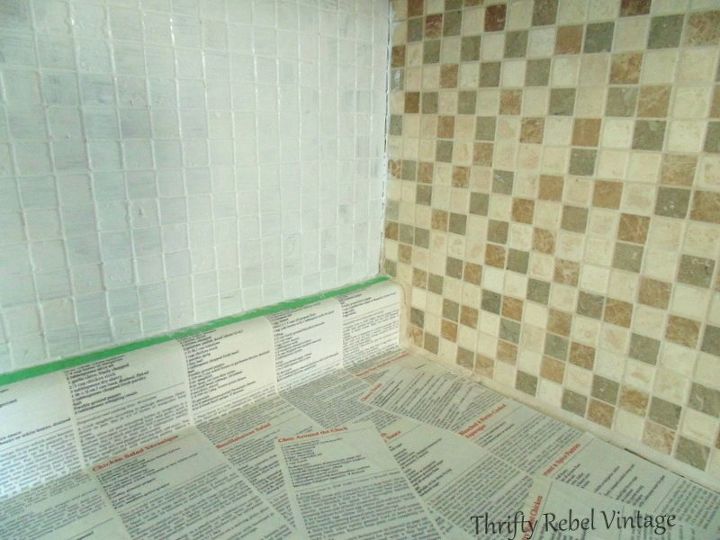
Here you can see what the same area looked like after the back splash got its three coats of paint.
It looked so much better already, but for me it still needed a little zing to make it sing.
Enter the red electrical tape.
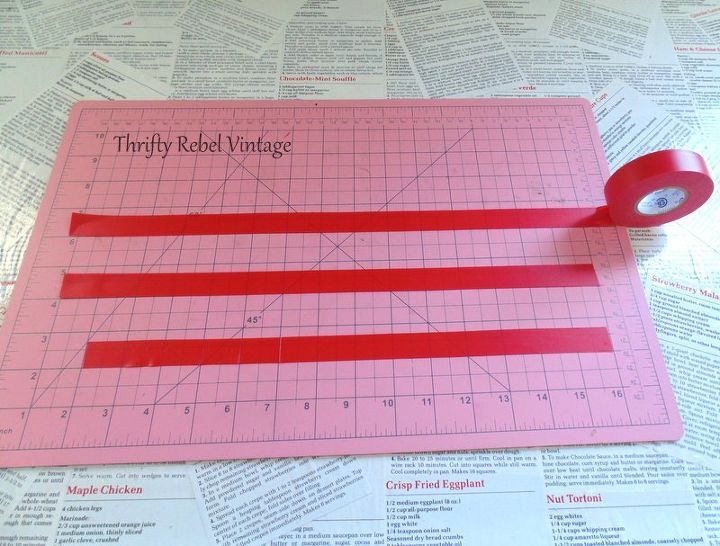
Red duct tape would probably work for this too, but I really loved the tone and the finish of the PVC electrical tape. It almost has the look of opaque glass, and it was cheaper than the duct tape. Also the electrical tape is paper thin, which just works much better for this project.
I used the craft cutting mat, which is divided in inches, and put down lengths of tape. This PVC tape stretches a bit so it's best to let it relax before pressing it down on the cutting mat.

Then I used the exacto knife to cut at the inch marks.
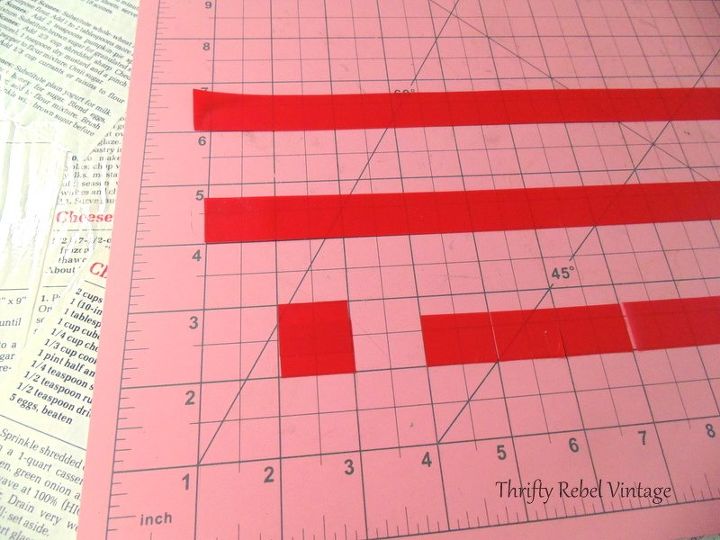
Because the electrical tape is only about 3/4" wide and my ceramic tiles are about 1" I stuck two pieces of the tape together to make one tile.
Like this.
After I had my tiles together I trimmed as needed.
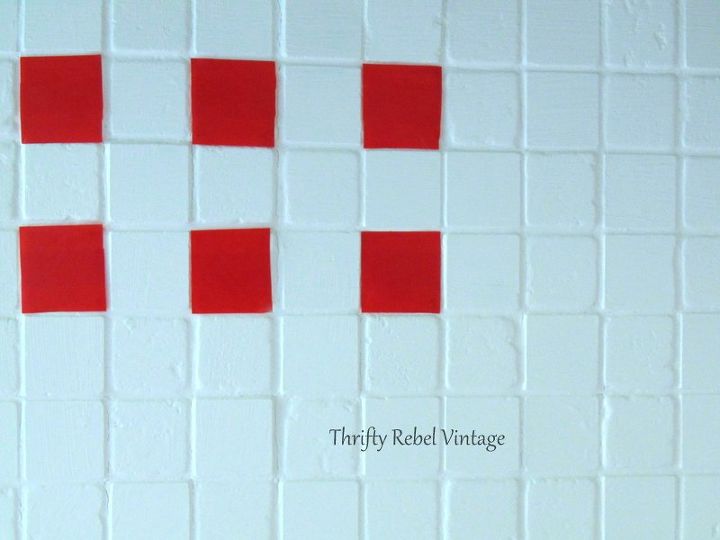
Then I simply applied them on the back splash in a pattern that I liked.
I let the paint cure for an entire day before applying my electrical tape faux tiles. I was able to re-position the tape tiles if I needed to within a few minutes of putting them down.
After about 30 minutes I did a test on one tile just to see what would happen and it did pull a bit of the paint off. That's totally not a surprise, but I'll be protecting this with a top coat when I'm done.
I was sure of my pattern so this wasn't a problem for me.
Here's the before.

And the after.
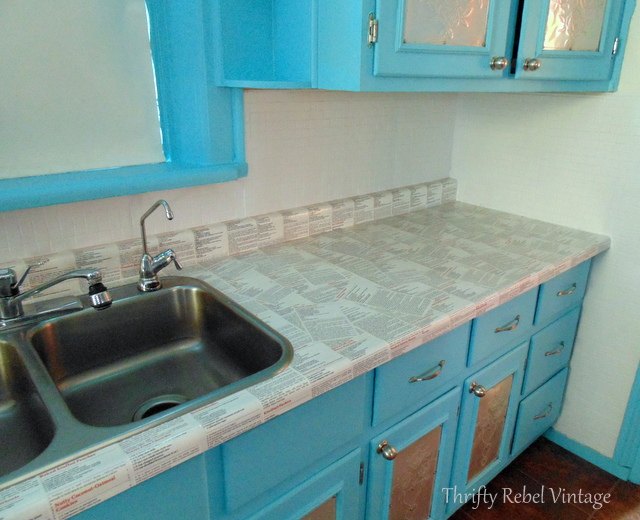
The before.
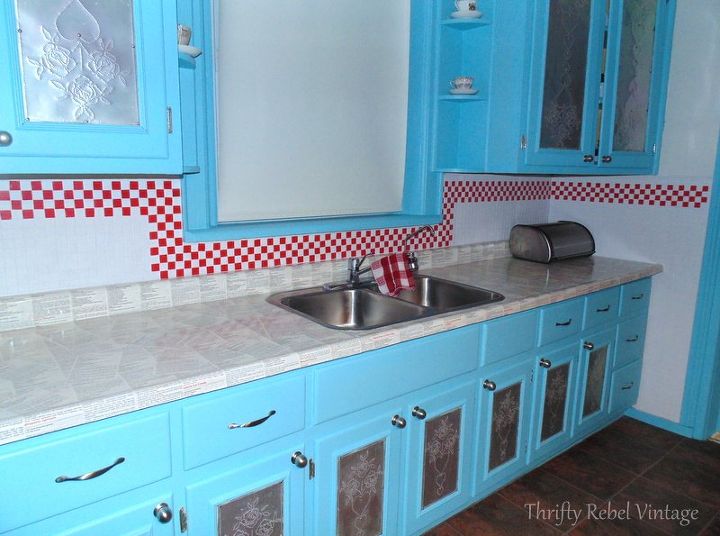
And the after.
In the pics you can see a bit of a reflection of the red faux tiles in the counter, but that's not visible to the naked eye.
I chose not to do the whole back splash because I didn't want it to overwhelm my recipe'd counters. And I put the red tiles high up on the two sides because I wanted them to be visible above the things that will be on the counters... like my vintage bread box.
Once my faux tiles were in place I applied 3 coats of the same Stays Clear poly that I used on my counters. This is a must to protect the back splash, but also to make it wipeable.
So after spending an afternoon cutting over 600 electrical tape squares to make over 300 faux tiles I'm very happy with how it turned out.
The $2 price was perfect for this low budget, practically no budget, makeover. Actually it was less than $2 because I didn't use the whole roll.
I like my decor details to make me smile. This cheap and easy kitchen back splash makeover adds some fun and is very cheerful. I'm hoping this lasts for years and years.
Also check out my Decoupaged Recipe Kitchen Counters.

Want more details about this and other DIY projects? Check out my blog post!


Frequently asked questions
Have a question about this project?